


![[Add - on] Jackery Manual Transfer Switch for Explorer 5000 Plus - Jackery](http://www.jackery.com/cdn/shop/files/add-on-jackery-manual-transfer-switch-for-explorer-5000-plus-9017324.png?v=1754016782&width=350)


![[Add - on] Jackery Manual Transfer Switch for Explorer 5000 Plus - Jackery](http://www.jackery.com/cdn/shop/files/add-on-jackery-manual-transfer-switch-for-explorer-5000-plus-9017324.png?v=1754016782&width=324)


You've measured the distance, calculated the load, and you're staring at a wire amperage chart wondering if 12 AWG is enough. Most homeowners and DIY enthusiasts face this exact moment of uncertainty when wiring.
This guide cuts through the confusion around ampacity ratings, voltage drop calculations, and the National Electrical Code (NEC) standards. You'll learn exactly how to select the right wire gauge for home circuits, solar installations, RV builds, and portable power projects.
Understanding Wire Gauge and Ampacity
The size of a wire is directly related to its ability to safely carry electrical current. Two key terms define this relationship: American Wire Gauge (AWG) and ampacity.
What is American Wire Gauge (AWG)?
American Wire Gauge (AWG) is the US standard for measuring the diameter of electrical wire. The system has an inverse relationship: a smaller AWG number indicates a thicker wire. A thicker wire has less electrical resistance and can carry more current safely.
What is Ampacity?
Ampacity is the maximum amount of current, measured in amps, that a wire can handle continuously before its insulation is damaged by heat. This rating is fundamentally about heat management, not just power delivery. Exceeding a wire's ampacity causes it to overheat, which is a primary cause of electrical fires.
What Are the Risks of Incorrect Sizing?
Selecting the wrong wire gauge has significant consequences.
- Undersized Wires: Present a severe fire hazard and cause poor performance due to voltage drop, starving your devices of the power they need.
- Oversized Wires: Are unnecessarily expensive, bulky, and more difficult to install in tight spaces.
What is the 80% Rule for Continuous Loads?
For any load that runs for three hours or more, such as lighting or a refrigerator, you must adhere to the 80% Rule. This safety standard dictates that the circuit should only use 80% of the wire and circuit breaker's total amp rating. This provides a crucial safety buffer to prevent overheating during prolonged use.
4 Factors That Change Your Wire's True Rating
A wire amperage chart provides a baseline, but real-world conditions can dramatically alter a wire's safe current-carrying capacity. You must account for these factors to ensure safety and performance.
How Does Conductor Material Affect Ampacity?
Copper is the industry standard for residential and commercial wiring due to its excellent conductivity. Aluminum is sometimes used for service entrance lines because it is lighter and less expensive, but it is less conductive. An aluminum wire must be a larger gauge than a copper wire to carry the same amount of current safely.
How Does Insulation Temperature Rating Affect Ampacity?
Every wire has a temperature rating on its insulation, typically 60°C, 75°C, or 90°C. This number indicates the maximum temperature the insulation can withstand before breaking down. A wire with a higher temperature rating can handle more heat, which often allows for higher ampacity ratings under specific conditions.
How Do Ambient Temperature & Bundling Affect Ampacity?
A wire's environment directly impacts its ability to dissipate heat. Wires installed in hot locations, like an attic during summer, cannot cool themselves as effectively and their ampacity must be derated, or reduced.
Similarly, when more than three current-carrying conductors are bundled together in a conduit, the trapped heat requires a derating of all the wires.
Why is Wire Length & Voltage Drop Critical?
For long wire runs or low-voltage DC systems, voltage drop is a critical consideration. As electricity travels down a wire, it encounters resistance, causing the voltage to decrease by the time it reaches the device. This is especially pronounced in 12V or 24V systems where the initial voltage is already low.
To ensure your appliances and electronics run correctly, you should target a maximum of 3% voltage drop for most circuits. Exceeding this can lead to dim lights, inefficient motors, and damage to sensitive electronics. For a deeper dive, learn how to calculate voltage drop.
How to Choose the Right Wire Size in 4 Steps
Follow this four-step process to move from a basic chart to a safe, real-world wire selection.
Step 1: Determine Your Circuit's Amperage
First, calculate the total current your devices will draw. You can find the amperage by dividing the total power (Watts) by the system voltage (Volts).
For example, a 1000W electric stove on a 120V home circuit draws 8.3 Amps (1000W / 120V = 8.3A). For more on this relationship, see our ultimate guide to amps, watts, and volts.
If the device will run for three hours or more, apply the 125% Rule (the inverse of the 80% Rule) for continuous loads. Multiply your calculated amps by 1.25 to find the minimum ampacity your wire must support. For the stove example, 8.3A x 1.25 = 10.4A.
Step 2: Find a Starting Wire Size Using an NEC Chart
Use an ampacity table from the National Electrical Code (NEC) as your baseline. Match your required ampacity (10.4A in our example) to the corresponding wire gauge (AWG) in the column that matches your wire's insulation temperature rating (e.g., 75°C for standard NM-B house wire).
Step 3: Correct for Real-World Conditions
Next, derate the wire's ampacity if it will be in a high-temperature environment or bundled with other wires. NEC tables provide specific correction factors for these conditions. When in doubt, it is always safer to derate and choose a thicker wire.
Step 4: Calculate for Voltage Drop and Upsize if Needed
This is the final and most important check, especially for long runs or low-voltage DC systems. Use a reliable online voltage drop calculator. You will need to input your system voltage, amperage, total wire length (round-trip distance), and the starting wire gauge you selected in Step 2.
If the calculator shows a voltage drop greater than 3%, you must upsize to a thicker wire (a lower AWG number) and run the calculation again. Repeat this process until the drop is below the 3% threshold.
Practical Application: Powering Projects with a Portable Power Station
Portable power systems introduce unique wiring challenges that demand careful attention to detail.
Why Do Portable Systems Demand Careful Wire Sizing?
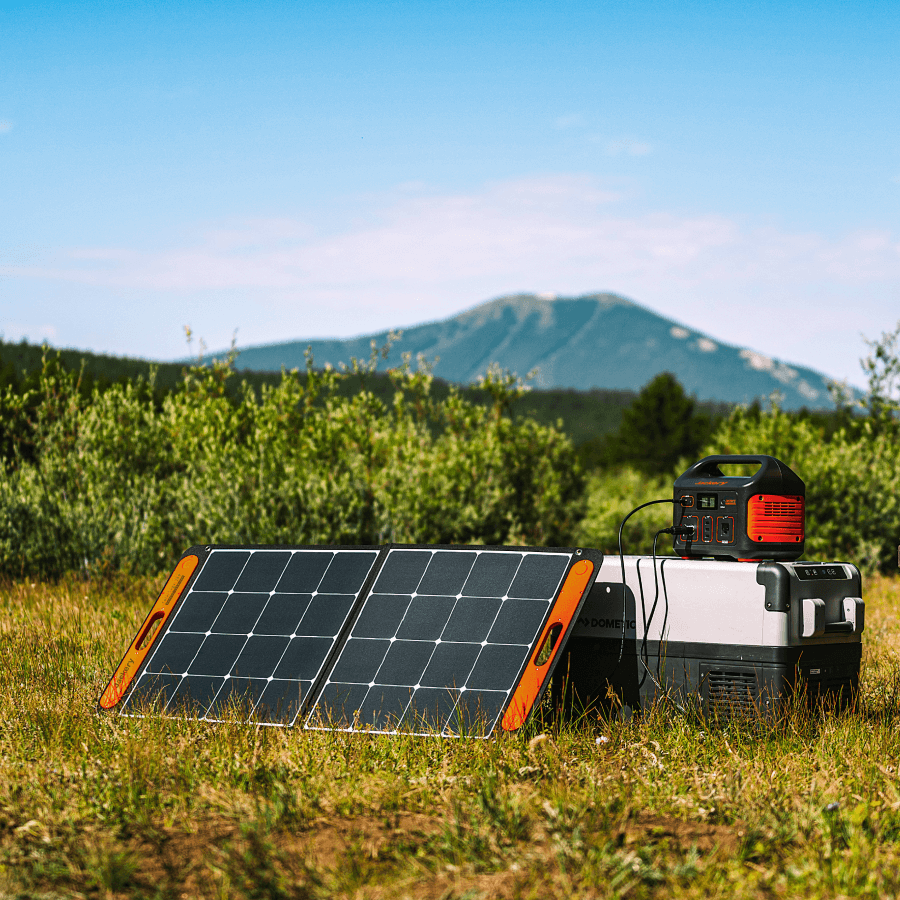
Low-voltage DC systems, like a 12V battery or portable power station output, draw significantly higher amperage to deliver the same amount of power as a 120V AC system (Power = Volts x Amps). This high amperage makes voltage drop a much more severe issue. A high-capacity portable power station is an excellent solution for delivering reliable energy, but the wiring must be sized correctly to handle the load.
Example: Powering High-Demand Tools Off-Grid
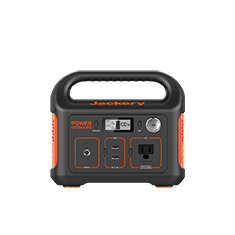
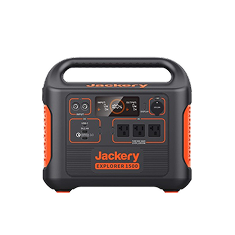
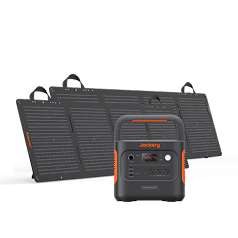
Imagine you are at a remote cabin build and need to run a 1000W work light and a 900W electric saw simultaneously. A high-output power station is the perfect tool for this job.
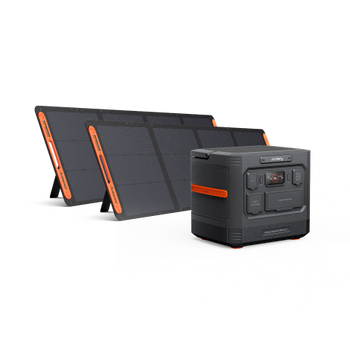
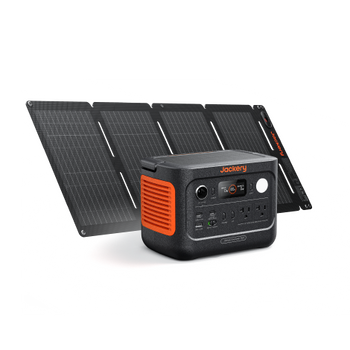
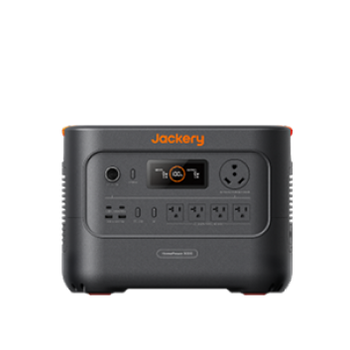
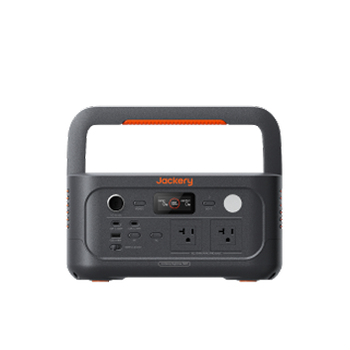
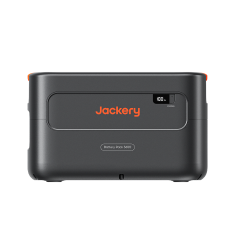
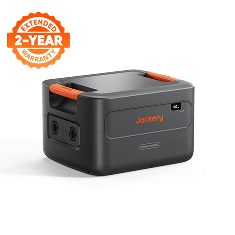
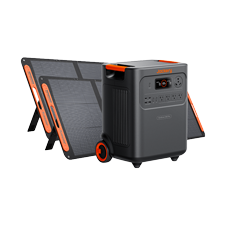
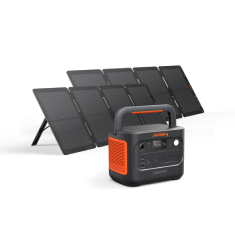
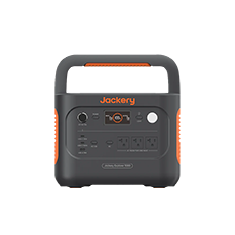
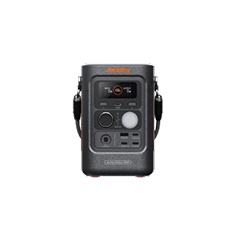
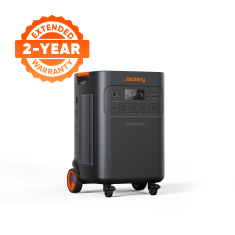
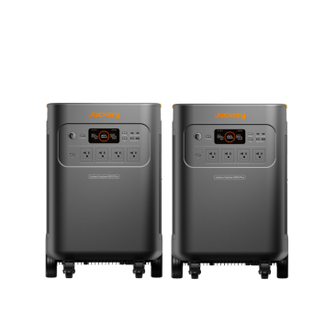
The Jackery Solar Generator 2000 v2 is an ideal choice for this scenario.
- Continuous Output: 2200W
- Capacity: 2042Wh
- Key Features: 1.7-hour Emergency Super Charge, LiFePO4 battery with over 10-year lifespan, UPS <20ms
This station easily handles the combined 1900W load. However, even with a powerful source, the extension cord connecting the tools is a critical safety component. A standard 14 AWG 100-foot extension cord would be unsafe, as it would overheat and cause significant voltage drop. A heavy-duty 10 AWG cord is required to minimize fire risk and ensure the tools receive full power.
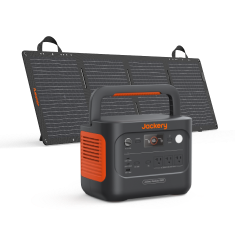
Example: Sizing Wires for an RV or Van Build
When wiring a 12V system in an RV or van for lights, a fan, and a small fridge, voltage drop is the primary challenge. A 60W refrigerator on a 12V system draws 5 Amps (60W / 12V). If you use a thin 16 AWG wire for a 15-foot run (30 feet round-trip), the voltage drop will be significant, causing the fridge's compressor to work harder and less efficiently.
Using a voltage drop calculator reveals that a 12 AWG wire is necessary to keep the drop below 3% and ensure the appliance runs correctly. For these applications, a versatile power station can simplify the entire setup.
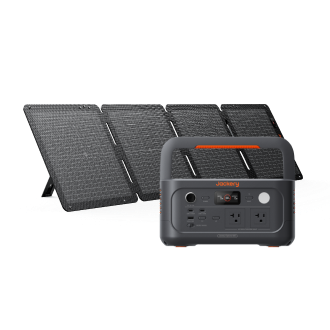
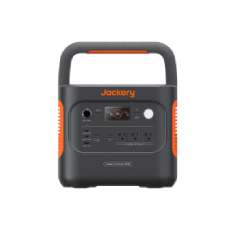
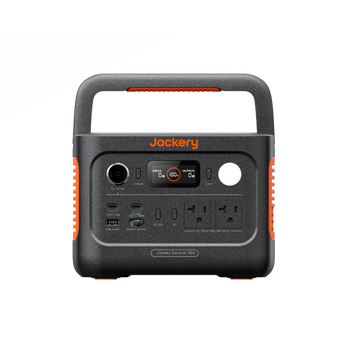
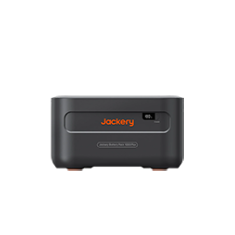
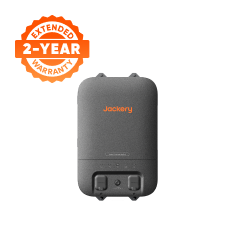
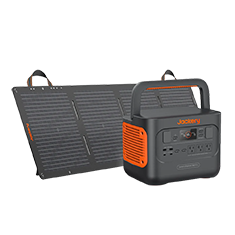
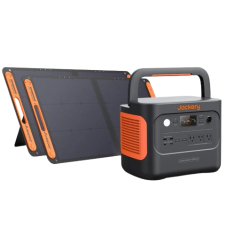
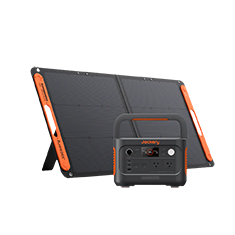
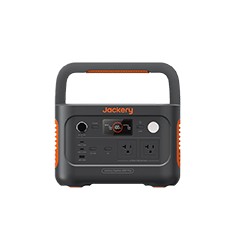
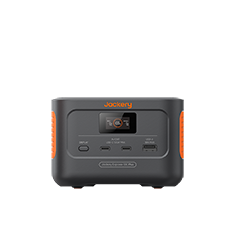
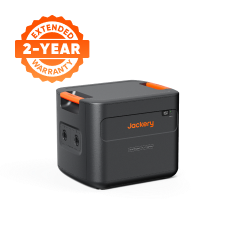
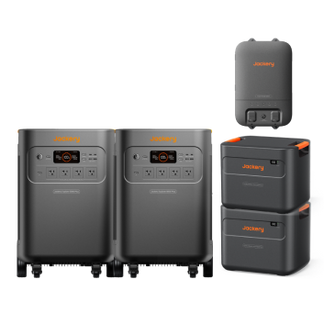
The Jackery Solar Generator 600 v2 is a compact and capable option.
- Continuous Output: 500W
- Capacity: 640Wh
- Key Features: LFP battery with 6,000-cycle lifespan, UPS functionality (<10ms switch time)
This unit can power these 12V items directly, reducing complex wiring while providing reliable off-grid energy. When wiring your own DC system, reference a dedicated battery cable size chart and consider using purpose-built solar panel wires & cables for any solar charging setup.

Safety Checklist and Final Recommendations
- Always match the wire gauge to the circuit's fuse or breaker. The breaker's primary job is to protect the wire from overcurrent.
- Use a comprehensive online calculator to check both ampacity ratings and voltage drop simultaneously. It is the fastest and safest method.
- For portable power applications, use high-quality, flexible stranded wire and ensure all connections are tight, secure, and protected from the elements.
- When in doubt about wire size, always go one size up (a lower AWG number). The small additional cost is negligible compared to the risk of fire or equipment failure.
- Consult a licensed electrician for any permanent in-wall wiring, modifications to your home's service panel, or any installation that requires a permit.
Frequently Asked Questions
How does the type of circuit breaker (e.g., standard vs. GFCI/AFCI) influence my wire sizing decisions, if at all?
The breaker type (GFCI, AFCI) adds specific safety protections against ground faults or arc faults but does not change the fundamental wire gauge required for a given amperage. The wire size is always determined by the load and the breaker's amp rating.
Are there specific considerations for grounding wire size, or does it follow the same ampacity rules as current-carrying conductors?
Grounding wire sizing is different because it doesn't carry a continuous load. Its size is determined by the rating of the circuit's overcurrent protection device (the breaker or fuse) according to NEC tables.
When using flexible extension cords for temporary setups, how do I account for their often-lower temperature ratings or different insulation types compared to permanent wiring?
Always check the specific ratings printed on the extension cord's jacket and packaging. If the rating is lower or if the cord will be used in a hot environment, you should upsize to a thicker gauge (lower AWG) to compensate.
Beyond the 3% target, are there scenarios where a lower voltage drop (e.g., 1%) is critical, such as for sensitive electronics or medical equipment?
Yes, for highly sensitive electronics, medical equipment, or long-run LED lighting systems, aiming for a 1-2% voltage drop is recommended. This ensures stable power delivery and protects the longevity and performance of the device.
What are the common pitfalls or mistakes beginners make when using online voltage drop calculators, and how can they avoid them?
Common mistakes include entering the one-way distance instead of the round-trip wire length, selecting the wrong conductor material (copper vs. aluminum), or not applying the 125% multiplier for continuous loads. Always double-check these inputs for an accurate result.