


![[Add - on] Jackery Manual Transfer Switch for Explorer 5000 Plus - Jackery](http://www.jackery.com/cdn/shop/files/add-on-jackery-manual-transfer-switch-for-explorer-5000-plus-9017324.png?v=1754016782&width=350)


![[Add - on] Jackery Manual Transfer Switch for Explorer 5000 Plus - Jackery](http://www.jackery.com/cdn/shop/files/add-on-jackery-manual-transfer-switch-for-explorer-5000-plus-9017324.png?v=1754016782&width=324)


The Necessity of Cleaning Solar Panels
Keeping solar panels clean is not just a matter of aesthetics; it directly affects their efficiency and performance. Over time, dirt, dust, bird droppings, pollen, and other environmental residues accumulate on the surface of panels.
The Efficiency Impact
According to data from the National Renewable Energy Laboratory (NREL), dirty solar panels can lose between 7% and 25% of their energy output annually depending on the severity of the soiling. These substances turn into a layer that acts as a barrier between sunlight and the photovoltaic cells. This obstruction prevents optimal solar absorption, reducing the efficiency of the solar panel and extending the time it takes to see a return on your investment.
The Cementation Risk
A common misconception is that rain is sufficient to clean panels. While heavy rain can wash away loose dust, it often fails to remove grime. In fact, morning dew can mix with dust to create a mud-like substance. As this dries in the sun, it forms a hard, cemented layer that is difficult to remove and significantly blocks light. This underscores the importance of knowing how to clean solar panels manually to guarantee consistent and reliable performance.
Importance of Sunlight Absorption
For solar panels to function optimally, they need to absorb as much sunlight as possible. Any obstruction on the surface—even a small patch of bird droppings—can create a hot spot that diminishes the efficiency of the entire string of cells. Regular cleaning ensures the panels receive an unobstructed flow of sunlight, allowing them to convert solar energy into electricity efficiently.
Determining Cleaning Frequency in the US
Cleaning solar panels is not a one-time task but an ongoing process directly correlating with environmental exposure. The frequency of cleaning should be arranged depending on various factors, such as climate conditions, the local environment, and the tilt of the panels.
General Guidelines
For most US regions, a thorough cleaning 1 to 2 times per year is sufficient. However, understanding how to clean solar panels involves recognizing the unique conditions of your location:
- Southwest (AZ, NV, CA): In arid regions prone to dust storms and low rainfall, quarterly cleaning may be necessary. The lack of rain allows dust to build up rapidly.
- Northeast/Midwest: An annual cleaning is often recommended in late spring to remove pollen and again in late autumn to clear falling leaves before winter snows.
- Agricultural or Industrial Zones: If you live near farms (dust and pesticides) or airports/highways (pollution and exhaust), you may need to clean your panels every 3 to 4 months.
Monitoring Performance
The best way to determine if your panels need cleaning is to monitor your energy production. If you notice an unexplained drop in output on your monitoring app—especially during sunny days—it is likely due to soiling.
Essential Tools and Materials
Selecting the right tools for cleaning solar panels is crucial to ensure a safe and effective process. Using the wrong chemicals or abrasive tools can strip the anti-reflective coating on the glass, permanently damaging the panel.
Recommended Equipment
- Soft Brush or Sponge: Use a soft-bristle brush or a high-quality car washing sponge. This effectively removes dirt and grime without scratching the sensitive glass surface.
- Squeegee: A plastic-blade squeegee is essential for drying the panels to prevent water spots, which can block sunlight just as much as dust.
- Extension Pole: To clean rooftop panels safely from the ground or a stable ladder position.
- Bucket and Hose: Ensure a steady water supply. A standard garden hose with a spray nozzle is ideal. Avoid high-pressure washers, as the intense pressure can damage the seals around the panel frame and force water into the electrical components.
Safe Cleaning Solutions
- Deionized or Distilled Water: If possible, use deionized water for the final rinse. Tap water, especially in "hard water" areas, contains minerals (calcium and magnesium) that leave white deposits on the glass when they dry, reducing efficiency.
- Mild Detergent: Use a mild, biodegradable dish soap (like Dawn). It cuts through grease and organic matter effectively.
- Vinegar Solution: For stubborn mineral deposits or hard water stains, a diluted solution of white vinegar and water can be effective.
What to Avoid
- Harsh Chemicals: Never use bleach, ammonia, or industrial-strength glass cleaners (like Windex). These can strip the anti-reflective coating and damage the silicone sealants.
- Abrasive Materials: Steer clear of steel wool, scouring pads, or rough cloth. Even micro-scratches can refract light away from the solar cells, lowering efficiency.
Step-by-Step DIY Cleaning Process
Follow this step-by-step guide for a safe and effective clean:
Step 1. Safety First: Shutdown and Timing
- Do I need to turn off solar panels to clean? Absolutely. For your safety and the safety of the electrical system, consult your manufacturer's manual to shut down the system (usually via the AC/DC disconnects) before you begin.
- Avoid Thermal Shock: Plan your cleaning for early morning or late evening. Solar panels can reach temperatures of up to 150°F+ during the day. Spraying cold water on hot glass can cause "thermal shock," leading to cracks that permanently destroy the panel.
Step 2. Initial Rinse
Start by spraying the panels with plain water from your hose. This removes loose dust, leaves, and debris. Removing the loose grit first prevents you from dragging it across the glass during the scrubbing phase, which could cause scratches.
Step 3. Gentle Scrubbing
Mix your mild detergent with water in a bucket. Dip your soft brush or sponge into the solution and gently scrub the glass. Focus on problem areas like bird droppings or tree sap. Do not press too hard; let the soap do the work.
Step 4. Thorough Rinsing
After scrubbing, thoroughly rinse the panels with clean water. This step is critical. If soapy residue is left behind, it becomes sticky and will attract dirt even faster than before. If available, use deionized water for this final rinse to prevent spotting.
Step 5. Drying
Use a squeegee or a clean microfiber cloth to dry the panels. This leaves the surface streak-free and maximizes light transmission.
Step 6. Inspection and Restart
While up there, conduct a visual inspection for any signs of wear, cracks, or loose wiring. Once the panels are dry, turn the system back on and check your monitoring app to ensure everything is functioning correctly.
Professional vs. DIY: Costs and Safety
While DIY cleaning is cost-effective, there are times when hiring a professional is the smarter choice.
When to Hire a Professional
- Safety Concerns: If your roof is steep, slippery, or higher than one story, do not risk injury.
- Physical Limitations: Cleaning an array requires physical exertion and balance.
- Specialized Equipment: Professionals have access to deionized water filtration systems and water-fed pole brushes that clean more effectively than a garden hose.
Cost Analysis
In the United States, professional solar panel cleaning typically costs between $150 and $350, depending on the number of panels and the accessibility of the roof. While this is an added expense, the 15-25% efficiency gain often pays for the service through energy savings, especially for larger systems.
Advanced Solar Optimization: The 33% Rules
For those looking to maximize their solar investment beyond just cleaning, it is helpful to understand the "33% Rules" prevalent in the US solar industry. These rules affect both safety and performance.
The Fire Code (Safety)
The International Fire Code (IFC) often dictates that solar arrays on residential roofs must leave clear pathways for firefighters. Typically, if the panels cover less than 33% of the roof plan view, an 18-inch clearance is required at the ridge. If they cover more than 33%, a 36-inch clearance is often required. Understanding this helps homeowners understand why their installer may have left gaps on the roof.
Inverter Oversizing (Performance)
The second "33% rule" relates to efficiency. It is common practice to install up to 33% more DC solar panel capacity than the AC inverter's rating. Since panels rarely produce 100% of their rated power (due to heat, dust, or angle), oversizing ensures the inverter runs closer to its maximum capacity for more hours of the day, capturing more energy during mornings and evenings.
Keeping your panels clean is vital to this strategy. If you have oversized your array but the panels are dirty, you lose the benefit of that extra capacity.

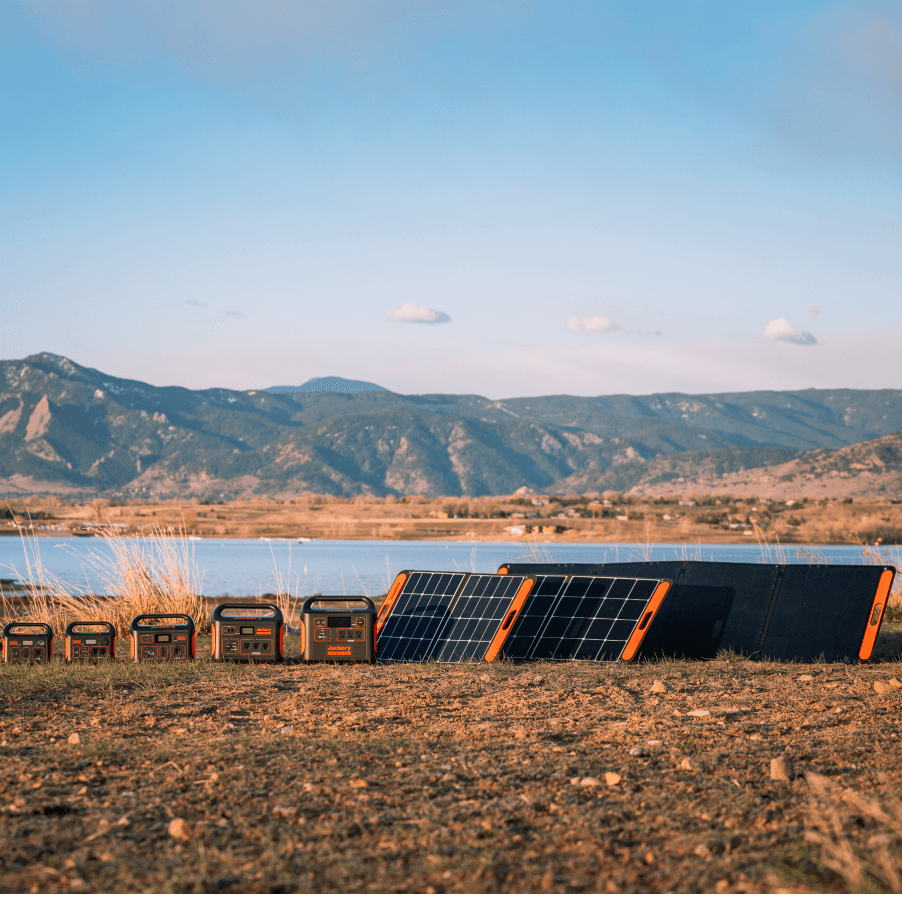
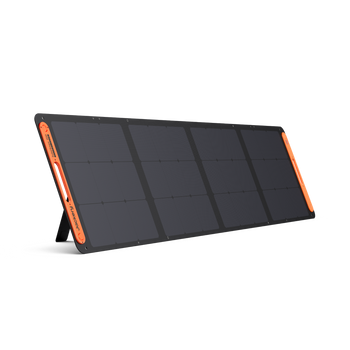
Product Recommendation: Jackery SolarSaga Series
While rooftop solar requires climbing ladders and careful scheduling, portable solar energy offers a flexible, easy-to-maintain alternative. Jackery’s line of portable solar panels is designed for high efficiency, durability, and ease of cleaning. Because these panels are deployed on the ground or on portable stands, they are significantly easier to wipe down and maintain than roof-mounted units.
Jackery offers a range of solar panels to suit every power need, from heavy-duty backup to lightweight travel solutions.
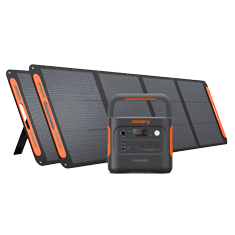
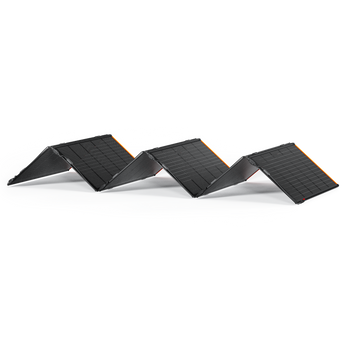
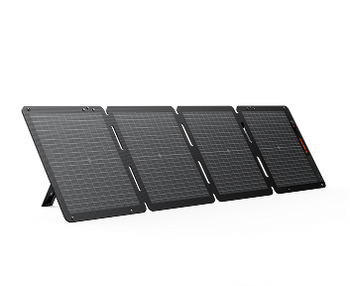
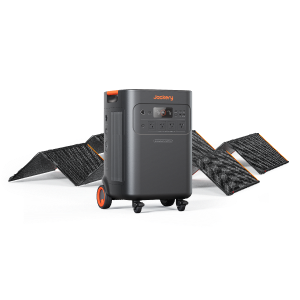
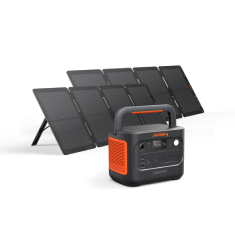
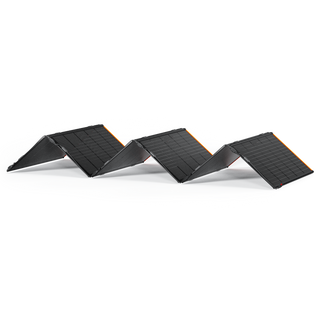
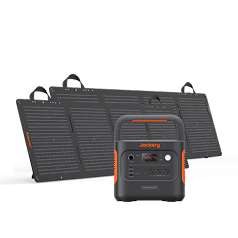
Jackery SolarSaga 500X: The Powerhouse for High Demand
The Jackery SolarSaga 500X is a high-performance solar panel designed for users who need serious power. With a 500W output, it captures sunlight efficiently even in less-than-ideal conditions.
- Easy Maintenance: Its surface is designed to repel dust, and since it is portable, you can easily angle it for cleaning without ladders.
- Durability: Built to withstand outdoor elements, making it ideal for extended off-grid living or home backup.
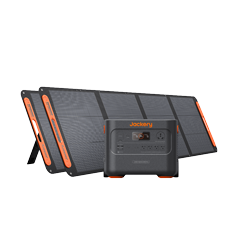
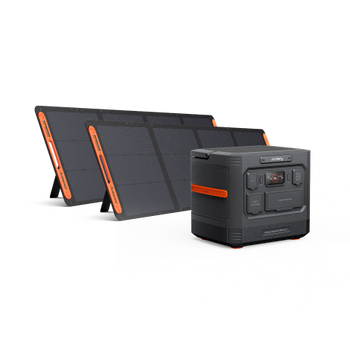
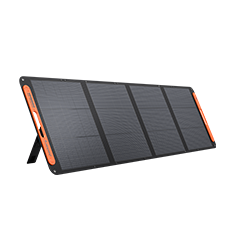
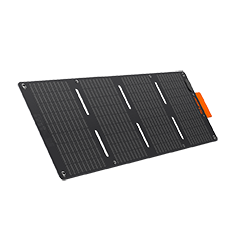
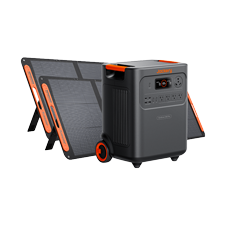
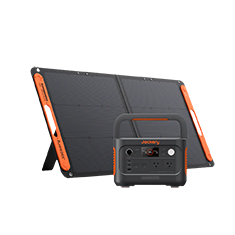
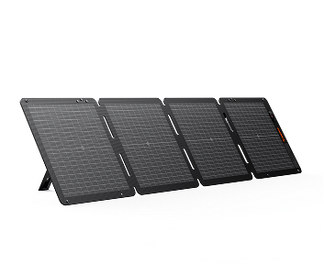
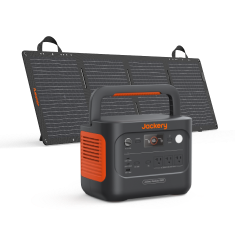
Jackery SolarSaga 200W: The Standard for Portable Power
The Jackery SolarSaga 200W is a favorite among RVers and campers. It strikes the perfect balance between portability and power output.
- High Conversion Rate: It utilizes advanced solar cells to maximize conversion efficiency. Keeping this panel clean with a simple wipe of a microfiber cloth ensures you get the fastest possible charge for your power station.
- Waterproof Rating: IP68 waterproof rating allows it to withstand harsh weather, and makes it safe to clean with a damp cloth.
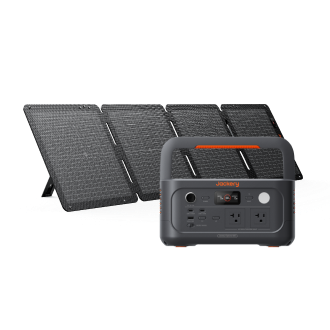
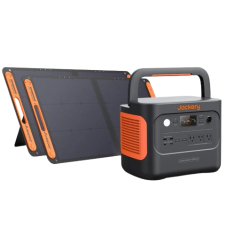
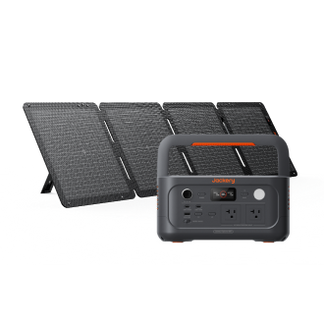
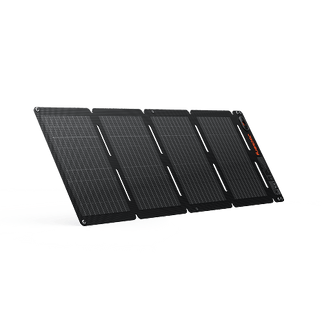
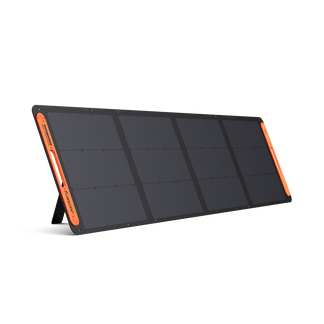
Jackery SolarSaga 100W: Versatile and Lightweight
The Jackery SolarSaga 100W is the go-to solution for weekend trips and emergency kits.
- Foldable Design: Its foldable nature protects the glass surface when not in use, reducing the accumulation of dust during storage.
- User-Friendly: Weighing only 9.1 lbs, it is incredibly easy to handle. If it gets dirty during a camping trip, a quick rinse and wipe are all it takes to restore peak performance.
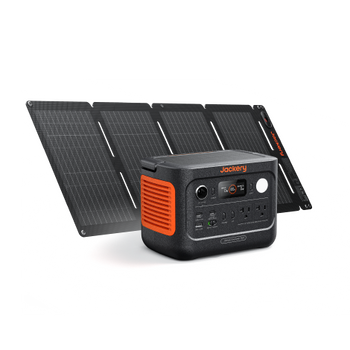
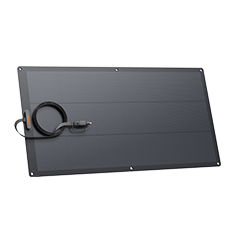
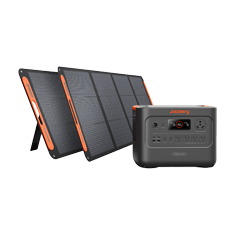
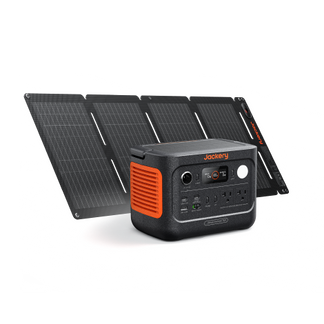
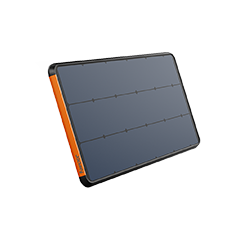
Jackery SolarSaga 40W Mini: Compact Efficiency
For those who need ultra-portability, the Jackery SolarSaga 40W Mini is the ideal choice.
- Grab-and-Go: Ideal for charging smaller devices or topping off smaller power stations.
- Minimal Maintenance: Its small surface area means cleaning takes mere seconds, ensuring you are always ready to capture solar energy on the go.
Note on Cleaning Portable Panels: Because Jackery SolarSaga panels are often used near the ground, they may collect dust or mud more quickly than roof panels. However, their accessibility makes maintenance a breeze. We recommend a quick visual inspection and a wipe with a soft, dry cloth after every outdoor use. For heavier soil, use a damp cloth with mild soap, ensuring the ports remain dry.
Conclusion
Regular maintenance extends the longevity of your solar panels and maximizes your energy savings. By following the steps outlined in this guide—using the right tools, avoiding harsh chemicals, and adhering to safety protocols—you can prevent the 7-25% efficiency loss associated with dirty panels.
For more details on the specific care and maintenance of your portable solar gear, always refer to your product user manuals. Trust in Jackery – your reliable partner in clean, green energy solutions.