

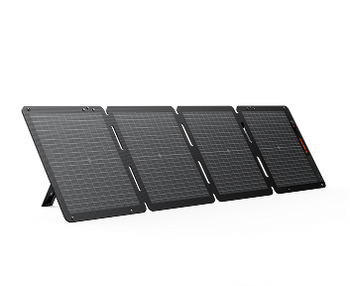
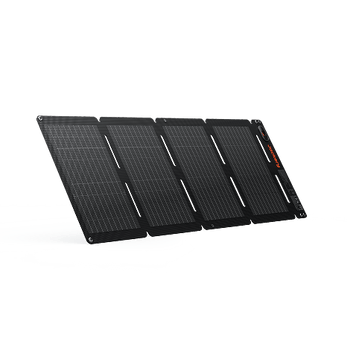














![[Add-on] Jackery SolarSaga 500 X - Jackery](http://www.jackery.com/cdn/shop/files/add-on-jackery-solarsaga-500-x-1493607.webp?v=1786503068&width=324)
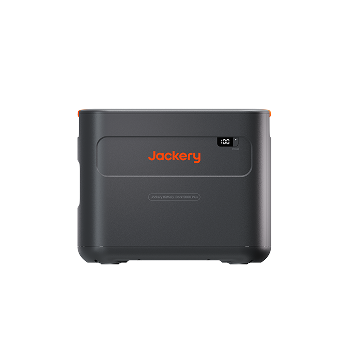
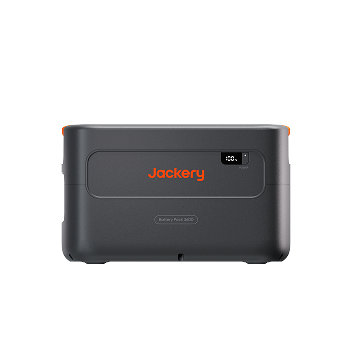
![[Add-on] Jackery Battery Pack 5000 Plus - Jackery](http://www.jackery.com/cdn/shop/files/add-on-jackery-battery-pack-5000-plus-6713401.webp?v=1786503068&width=324)












300W Solar Setup: The 5-Step Framework for Powering Your RV or Van
Quick Answer: A single 300W 12V solar panel rarely delivers its rated output in real-world conditions—expect 200–250W peak on a good day. To reliably power an RV or van, you need to size your battery bank for at least one full day of autonomy, choose an MPPT charge controller (not PWM), and match the inverter to your largest surge load. A properly planned 300W system can keep a fridge, lights, and devices running indefinitely during sunny stretches, but it won’t carry you through multiple cloudy days without a backup charging source.
Key Takeaways
- Budget for 200–250W real-world output from a 300W panel—nameplate ratings are measured under ideal lab conditions that rarely occur on a vehicle roof.
- A 100Ah LiFePO4 battery (1,080Wh usable) is the minimum practical size for overnight loads, but 200Ah (2,160Wh) provides far more reliable cloudy-day coverage.
- MPPT charge controllers are mandatory for 300W panels—a PWM controller wastes 20–30% of the power and can damage a 12V battery with excessive voltage.
- Pure sine wave inverters are non-negotiable for sensitive electronics; size the inverter at least 20–30% above the largest appliance’s startup surge.
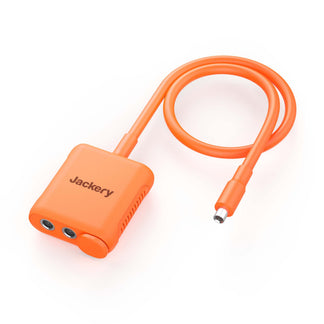
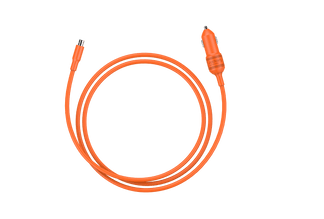
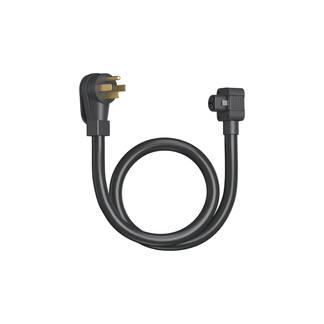
- Voltage drop from undersized wiring silently kills performance—use pre-made cables rated for your system’s amperage and length to avoid guesswork.
The Reality Check Before You Buy a 300W Panel
Most budget “300W” panels deliver only 150–200W in actual use because the rating assumes 1,000 W/m² irradiance, 25 °C cell temperature, and a perfect tilt angle—conditions your van roof will hit only briefly. Planning every calculation around 300W leads to disappointment on cloudy days.
A 300W panel’s Vmp sits around 36V—far too high for direct connection to a 12V battery. Without a proper charge controller, you risk overcharging and damaging the battery. A PWM or undersized MPPT unit negates the panel’s potential and can create safety hazards.
After powering a fridge for 12 hours (480Wh) and a laptop, users worry a single panel won’t refill a 100Ah battery before nightfall. The math says it can—under ideal sun—but real-world factors stretch charging time from 2 hours to 6 or more. The solution isn’t a bigger panel; it’s a correctly sized battery and a backup charging method for sunless days.
Step 1: Calculate Your Real Daily Energy Budget (Not Just Panel Wattage)
Your total daily consumption is the sum of every device’s watt-hours, not the panel’s wattage rating. List every appliance, its running watts, and daily hours. Multiply watts by hours to get watt-hours (Wh). Example:
- RV fridge: 40W × 12h = 480Wh
- LED lights: 10W × 5h = 50Wh
- Laptop charger: 60W × 3h = 180Wh
- Phone charging: 10W × 4h = 40Wh
- Water pump: 50W × 0.5h = 25Wh
- Fan: 30W × 8h = 240Wh
Total: 1,015Wh
Add a 20% buffer for inverter losses, wiring inefficiency, and unexpected loads: 1,015Wh × 1.2 = 1,218Wh daily. This is the number you need to replenish each day.
Now match your budget to your location. A 300W panel producing a realistic 220W average over 5 peak sun hours (typical for many US locations in summer) yields about 1,100Wh per day—close to the 1,218Wh target, but tight. In winter or cloudy regions with only 3 peak sun hours, the same panel delivers around 660Wh, less than half your needs. You’ll either need a second panel, a larger battery, or load reduction.
Peak sun hours are not daylight hours; they’re the equivalent number of hours at 1,000 W/m² irradiance. A location with 10 hours of daylight might have only 4 peak sun hours if clouds or low sun angle reduce intensity.
Step 2: Size Your Battery Bank for Nighttime and Cloudy Days
Battery capacity in watt-hours is the real metric. A 12V 100Ah battery stores 1,200Wh, but usable capacity depends on chemistry.
Battery Type |
Depth of Discharge |
Usable Wh from 100Ah (12V) |
LiFePO4 |
80–90% |
960–1,080Wh |
Lead-acid / AGM |
50% |
600Wh |
Lead-acid needs twice the amp-hour rating to deliver the same usable energy as LiFePO4.
Size for at least one full day of autonomy. With a daily budget of 1,218Wh:
- A 100Ah LiFePO4 battery (1,080Wh usable) falls short by 138Wh—you’d drain it completely every night, shortening its lifespan.
- A 200Ah LiFePO4 battery (2,160Wh usable) gives you nearly two days of buffer for cloudy stretches.
Charging time math: a 300W panel delivering 25A at 12V charges a 100Ah battery from 50% SOC in about 2 hours under ideal conditions. Real-world charging drops to 5–8 hours for a full 100Ah battery from empty due to cloud cover, panel angle, and wiring losses. A single panel may not refill overnight depletion by evening—especially in winter. Many van owners add a second panel or a DC-DC charger from the alternator as a backup.
Example:
(Battery capacity (Wh) × Depth of Discharge) ÷ Daily consumption (Wh) = Days of autonomy
(2,160Wh × 0.9) ÷ 1,218Wh = 1.6 days
This 1.6-day buffer handles one full cloudy day without dipping below 10% SOC. For longer bad-weather stretches, you’ll need shore power or alternator charging.
Step 3: Choose the Right Charge Controller (MPPT vs. PWM)
Controller |
Charging Current from 300W Panel (Vmp 36V) |
Efficiency Gain |
Safety |
Suitable When |
MPPT |
~25A at 12V |
20–30% boost (converts excess voltage into current) |
Safe; regulates voltage properly |
Required for panels with Vmp >24V (virtually all 300W panels) |
PWM |
8.3A at 12V |
None—wastes excess voltage as heat |
Dangerous: can expose battery to 36V+ during bulk charge if regulation fails, tripping BMS or damaging cells |
Only if panel Vmp is very close to battery charging voltage (14.4–14.6V), rare |
When shopping for a controller:
- Choose one rated at least 30A to handle the 25A output.
- Ensure the maximum PV input voltage is well above the panel’s open-circuit voltage (Voc)—typically 45–50V for a 300W panel.
- A 100V-rated MPPT controller gives you headroom to add a second panel in series later.
Step 4: Select an Inverter That Matches Your Surge and Continuous Loads
Inverter selection rules:
- The inverter must handle the largest appliance’s startup surge, not just its running watts. A mini-fridge that draws 80W running can surge to 400W when the compressor kicks on; an inverter that can’t deliver that burst will trip or fail to start the fridge.
- Pure sine wave inverters are mandatory for sensitive electronics (laptop chargers, variable-speed tools, anything with a motor). Modified sine wave can cause buzzing, overheating, or permanent damage.
- Inverter efficiency averages 90–95%, so a 300W AC load draws ~330W from the battery—factor this into runtime calculations.
- Idle draw is a hidden drain: an inverter left on 24/7 can waste 10–30W continuously, that’s 240–720Wh per day, enough to flatten a 100Ah battery in two days. Turn the inverter off when not in use, or choose a model with a low-power search mode.
Size the inverter at least 20–30% above your largest surge:
- For a 400W surge fridge and a 200W TV: choose a 600–800W continuous-rated inverter.
- For a microwave (1,000W continuous, 1,500W surge): upgrade to a 1,500–2,000W unit.
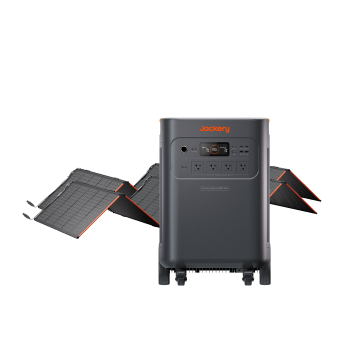
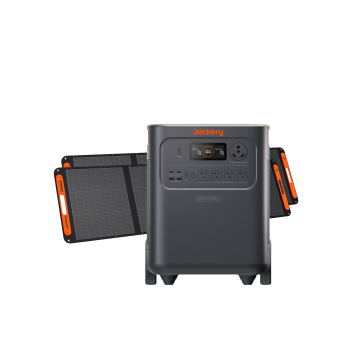
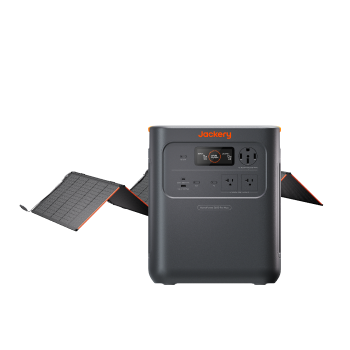
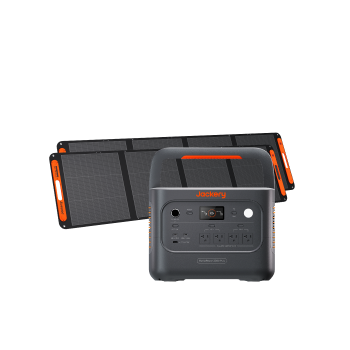
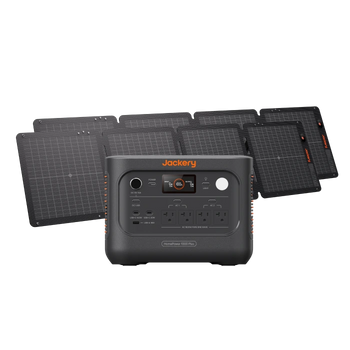
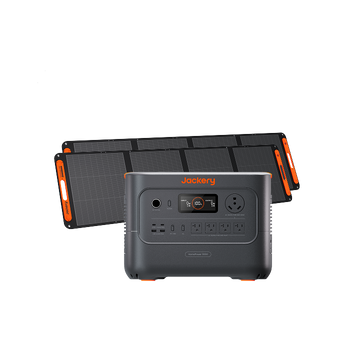
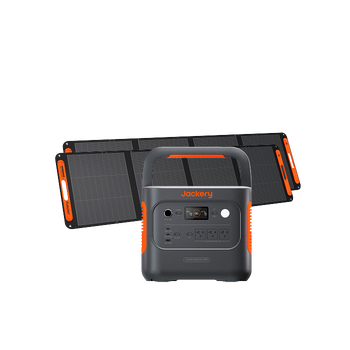
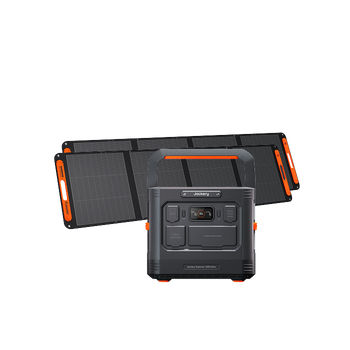
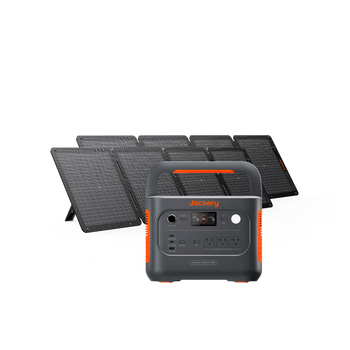
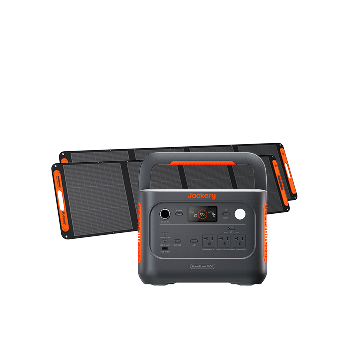
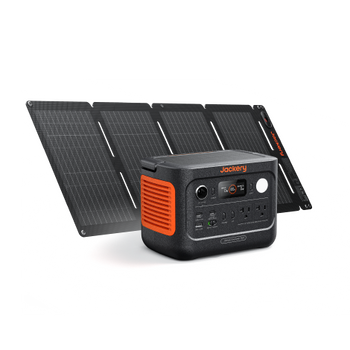
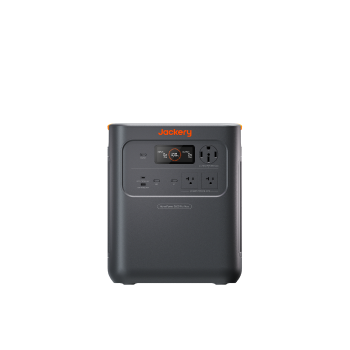
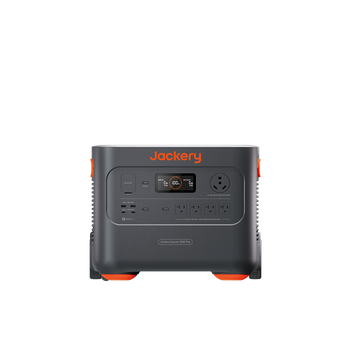
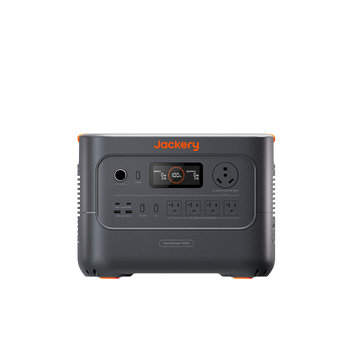
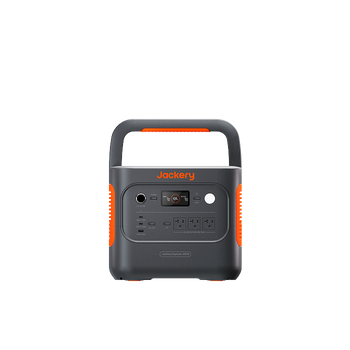
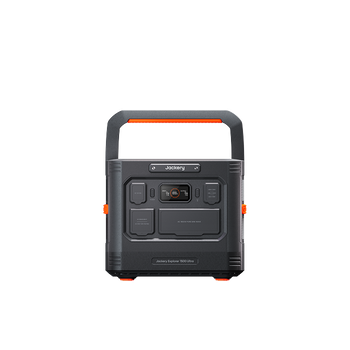
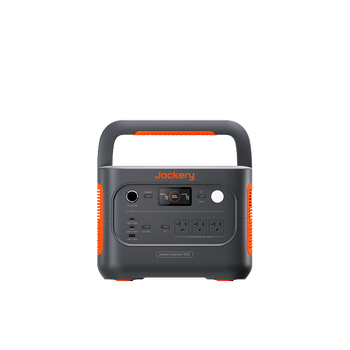
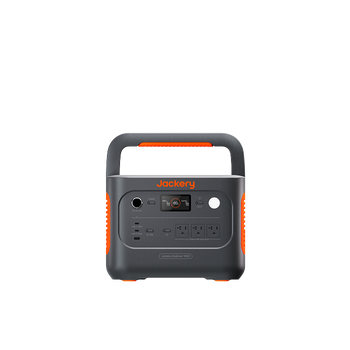
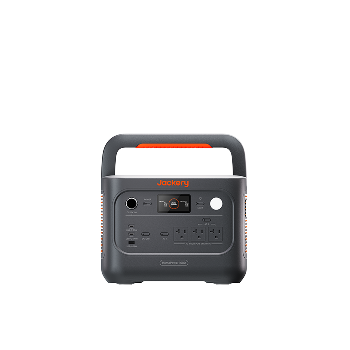
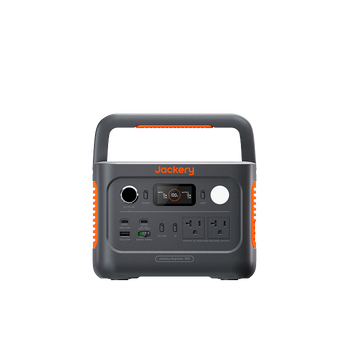
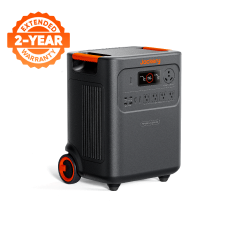
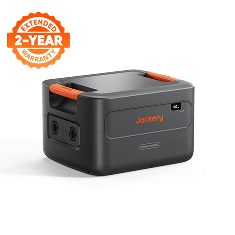
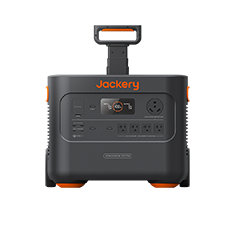
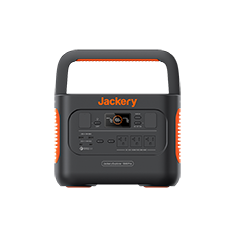
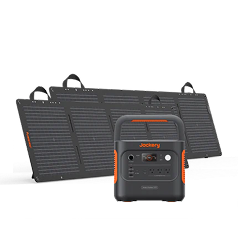
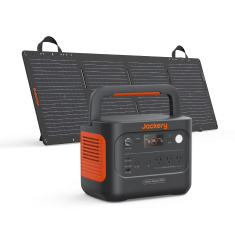
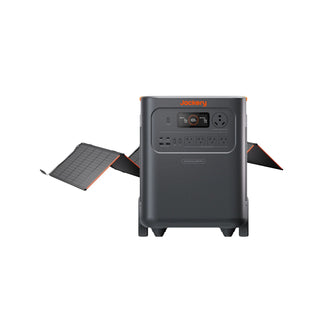
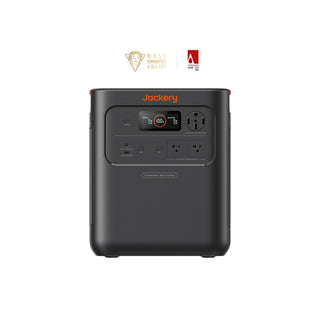
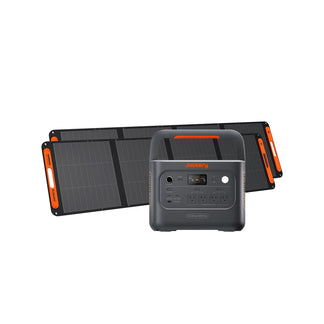
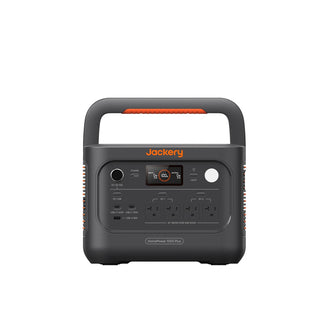
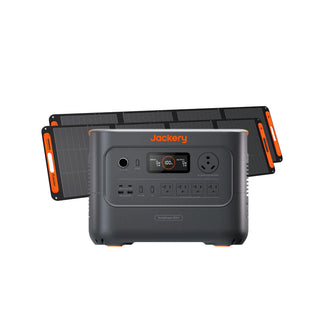
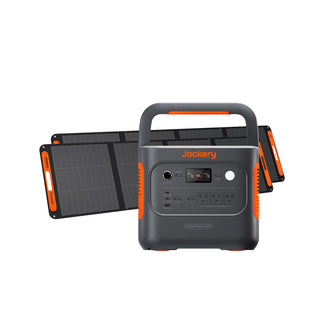
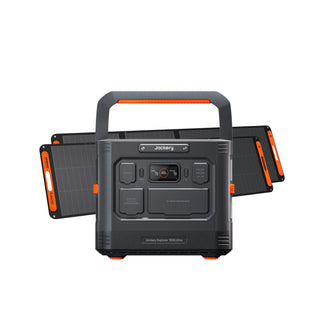
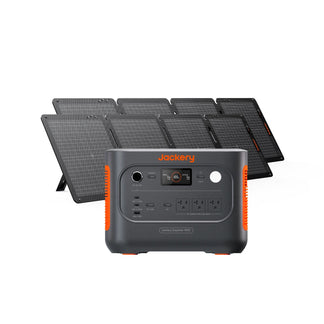
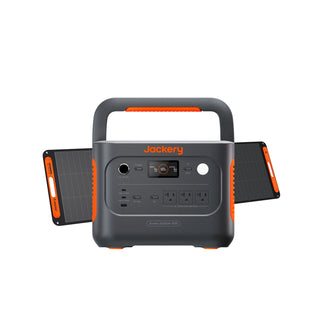
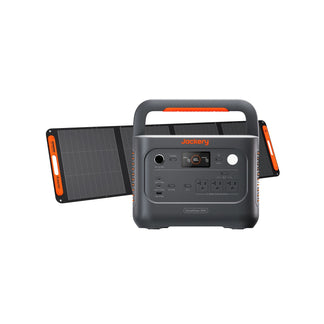
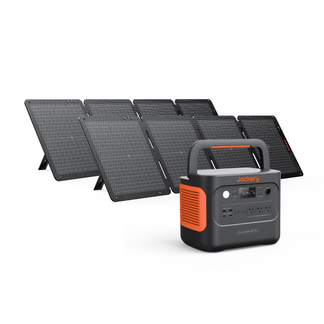
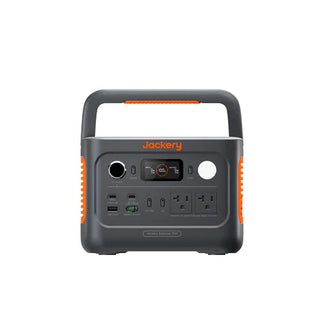
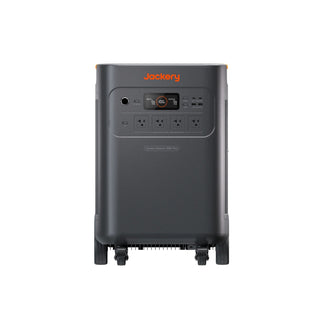
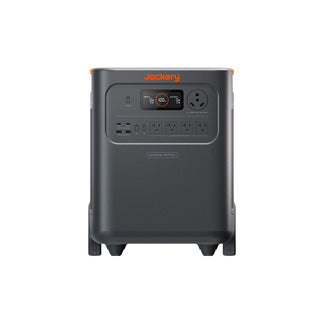
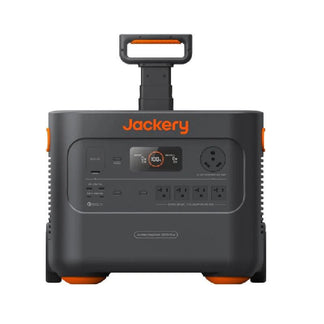
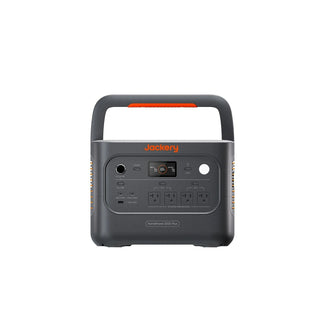
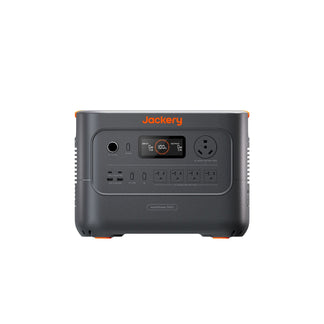
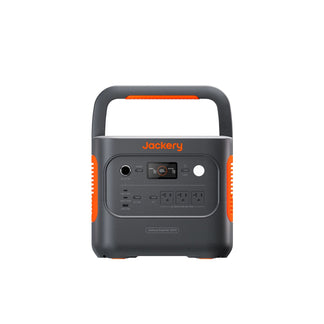
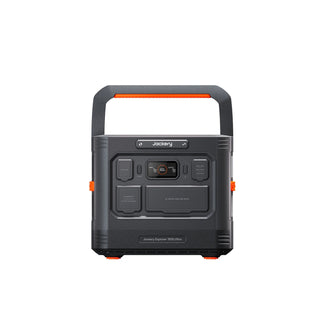
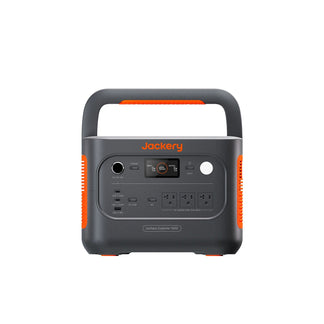
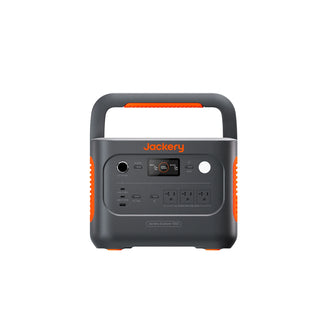
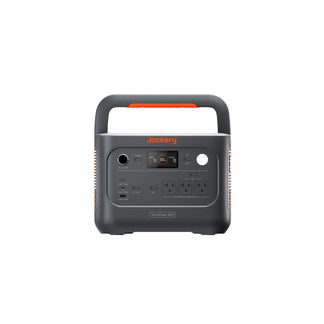
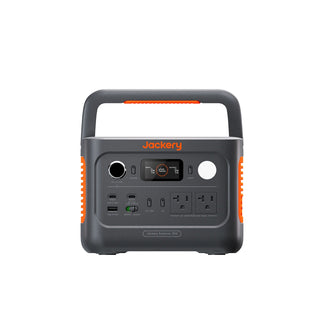
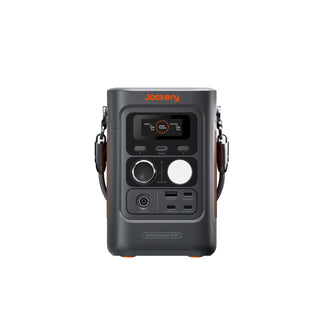
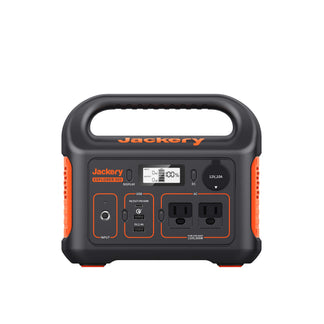
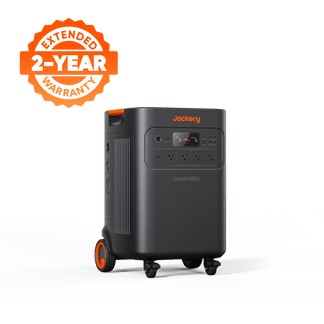
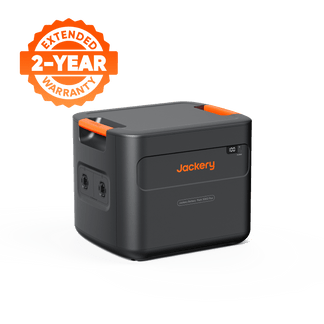
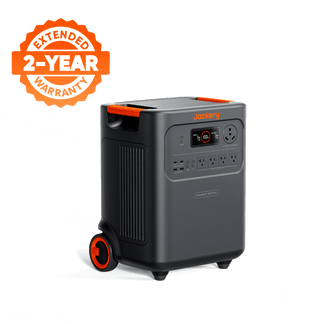
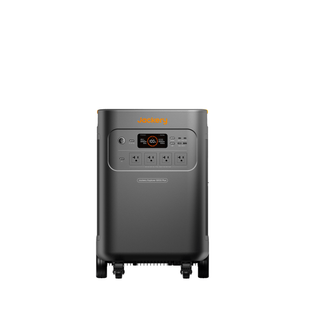
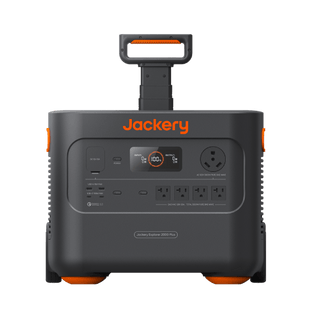
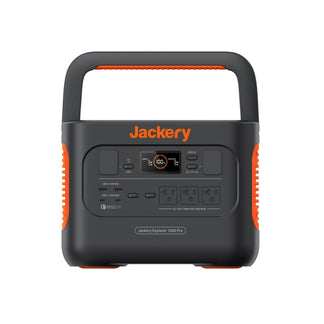
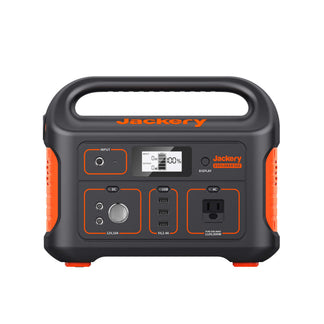
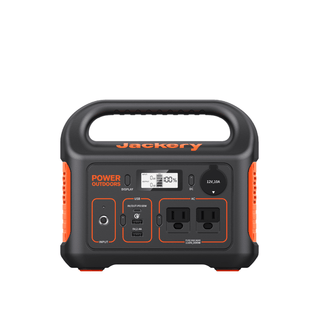
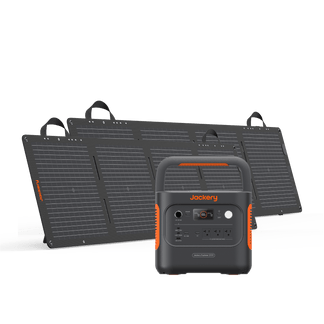
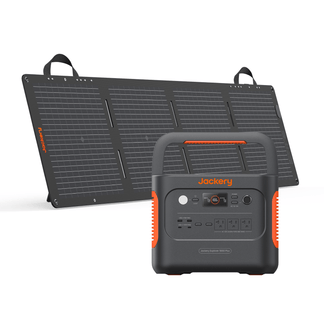
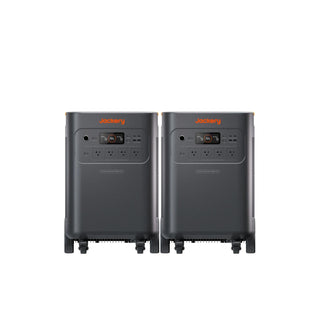
Jackery’s portable power stations integrate a pure sine wave inverter, MPPT charge controller, and battery into one unit—eliminating the need to match separate components. The Explorer 1000 v2’s **1,500W** output handles a fridge surge with ease, and the Explorer 2000 v2’s **2,200W** rating can run a small air conditioner or microwave.
Step 5: Wire, Fuse, and Mount for Safety and Efficiency
Wiring and fusing guidelines:
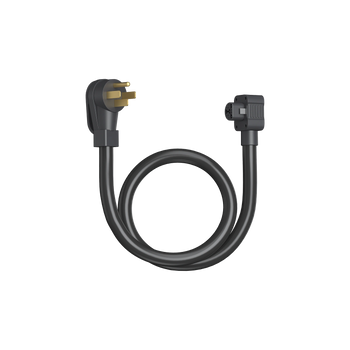
- Use pre-made solar cables rated for at least 30A.
- For cable runs over 10 feet, use heavier-gauge extension cables to keep voltage drop below 3%.
- Match fuse ratings to the wire gauge; place fuses as close to the battery positive terminal as practical.
- Align fuse ratings with the charge controller and inverter capacities. Many portable power stations and all‑in‑one systems have built‑in protection, eliminating separate fuse calculations.
Panel orientation matters more than most realize. Follow these guidelines for maximum yield:
- Tilt angle: Tilt the panel at your latitude angle (e.g., 40° in Denver) and face true south in the northern hemisphere for maximum daily yield.
- Flat roof penalty: On a flat van roof, you’ll lose 10–15% compared to an optimal tilt, but portable panels you can reposition make up for that.
- Wiring: Marine-grade wiring and sealed connectors prevent corrosion in humid or coastal environments—standard automotive wire degrades quickly.
- Cooling: Leave at least 2 inches of air gap behind the panel for cooling; panels lose about 0.5% efficiency per degree Celsius above 25°C.
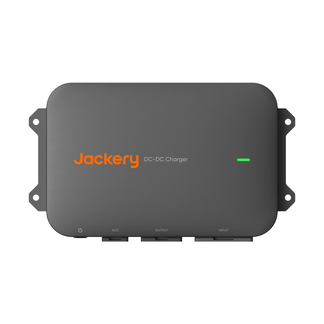
Always have a backup charging method. A single 300W panel cannot sustain through multiple consecutive cloudy days. A DC-DC charger from the alternator or a shore power battery charger ensures you can top up when the sun doesn’t cooperate.
Jackery Solutions for Your 300W Solar Setup
Here’s how the Explorer 1000 v2 and Explorer 2000 v2 fit a 300W solar setup:
Model |
Battery (Wh) |
Usable (Wh) |
Continuous Output |
Surge |
Solar Input |
Key Capabilities |
Explorer 1000 v2 |
1,070 |
963 |
1,500W |
3,000W |
400W |
Runs RV fridge ~24 h, charges laptop up to 24 times |
Explorer 2000 v2 |
2,042 |
1,838 |
2,200W |
4,400W |
400W (dual) |
Runs fridge 46 h, powers microwave, electric skillet, or small AC |
Use Case |
Recommended Setup |
Why It Fits |
Weekend van trips with fridge, lights, and laptop |
Explorer 1000 v2 + solar panels |
963Wh usable covers 1–2 days; panels replenish in ~5 sun hours |
Full-time vanlife with microwave or AC needs |
Explorer 2000 v2 + solar panels |
1,838Wh usable runs larger loads; 400W solar input recharges faster |
Minimalist setup with only lights and phone charging |
Explorer 1000 v2 + solar panels |
Overkill for the load, but provides multi-day autonomy without sun |
For charging from shore power or a generator during extended cloudy periods, the Explorer 1000 v2 and Explorer 2000 v2 support AC input at up to 800W, refilling in about 1.5 hours. This hybrid approach—solar when available, grid when not—is the most reliable strategy for off-grid living.
Frequently Asked Questions (FAQ)
How long do 300W solar panels typically last?
Monocrystalline panels reliably produce power for 25–30 years, with output degrading about 0.5% annually. After 25 years, you’ll still get around 85% of the original rating.
Will my 300W panel still work in winter?
Yes, but expect 40–60% less daily energy due to shorter daylight, lower sun angle, and potential snow coverage. Tilting the panel steeper helps shed snow and capture low-angle sun.
Do I need a separate battery monitor for my setup?
A shunt-based battery monitor is strongly recommended. Voltage readings alone cannot accurately show state-of-charge for LiFePO4 batteries, which maintain a flat voltage curve until nearly empty.
Can I mix different brands of solar panels on one system?
Yes, but mismatched voltage and amperage specs reduce total charging efficiency. For best results, match all panel specifications—Vmp, Imp, and wattage—as closely as possible.
How much roof space does a single 300W panel require?
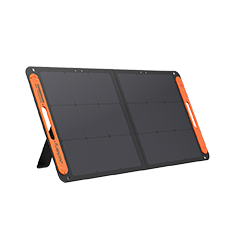
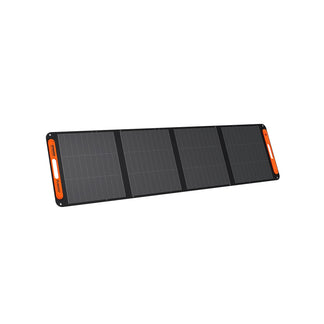
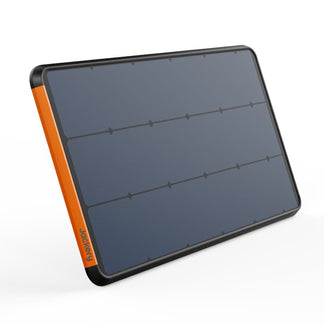
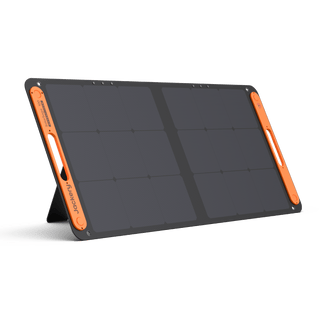
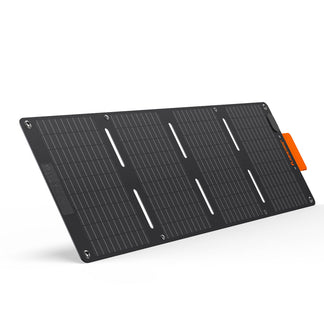
A standard residential-sized 300W panel measures roughly 64 by 39 inches and needs about 17 square feet of clear, unobstructed roof area. Portable folding panels like the SolarSaga 200W require no roof mounting at all.
Disclaimer:
The runtime mentioned for appliances powered by Jackery is for reference only. Actual runtime may vary under different conditions. Please refer to real-world performance for accurate results.

