


![[Add - on] Jackery Manual Transfer Switch for Explorer 5000 Plus - Jackery](http://www.jackery.com/cdn/shop/files/add-on-jackery-manual-transfer-switch-for-explorer-5000-plus-9017324.png?v=1754016782&width=350)


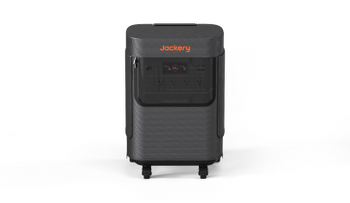
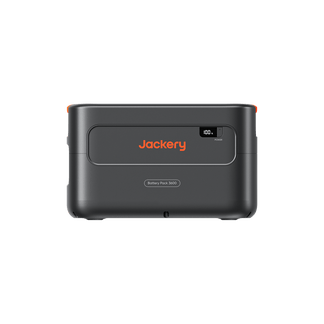
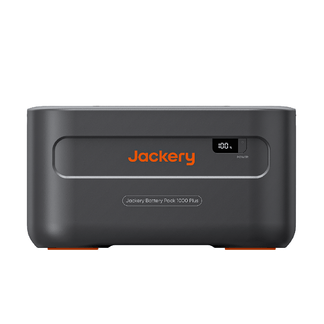
![[Add - on] Jackery Battery Pack 5000 Plus - Jackery](http://www.jackery.com/cdn/shop/files/add-on-jackery-battery-pack-5000-plus-6078351.png?v=1754016791&width=324)


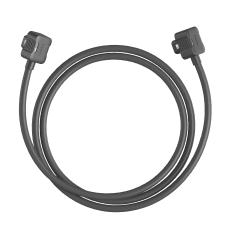
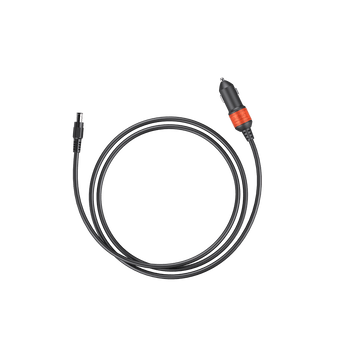
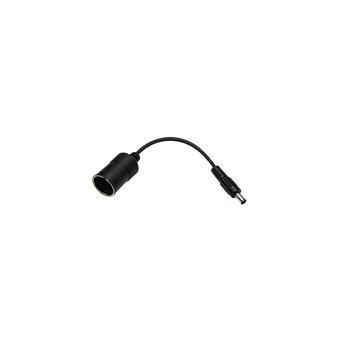
![[Add - on] Jackery Car Charging Cable - Jackery](http://www.jackery.com/cdn/shop/files/add-on-jackery-car-charging-cable-3882421.png?v=1754016863&width=324)


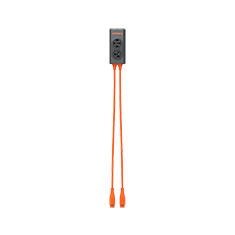
![[Add - on] Jackery Smart Transfer Switch - Jackery](http://www.jackery.com/cdn/shop/files/add-on-jackery-smart-transfer-switch-5842915.png?v=1754016784&width=324)
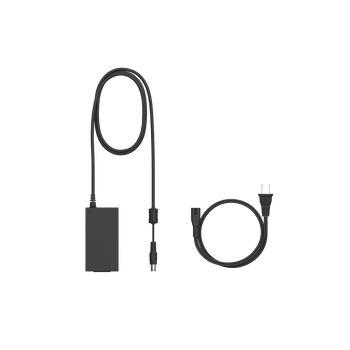
![[Add - on]Jackery 102W GaN 3 - Port Fast Charger - Jackery](http://www.jackery.com/cdn/shop/files/add-onjackery-102w-gan-3-port-fast-charger-6377742.png?v=1754016790&width=324)


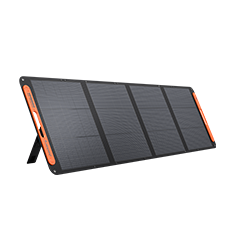
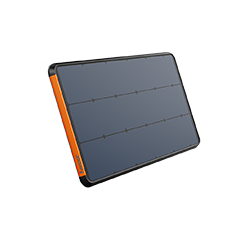
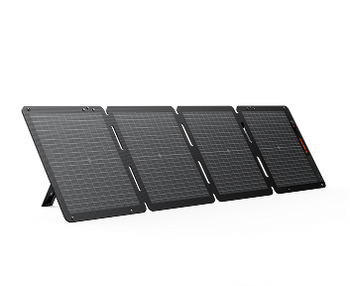
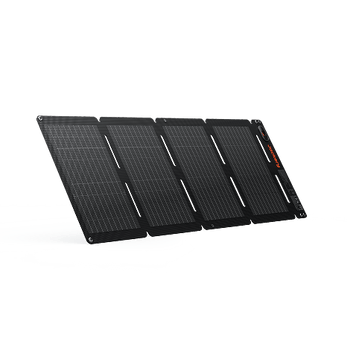
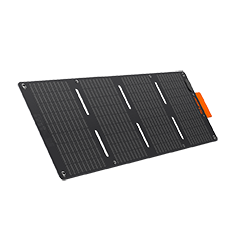
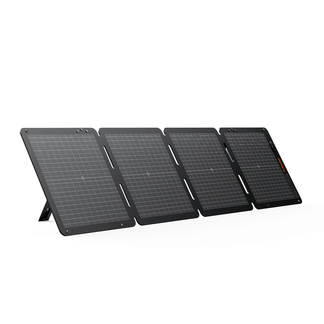
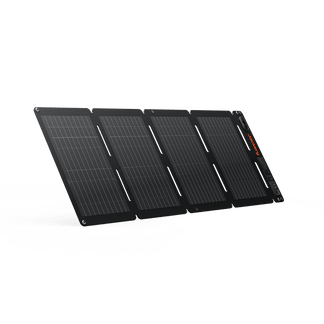
![[Add - on] SolarSaga 200W - Jackery](http://www.jackery.com/cdn/shop/files/add-on-solarsaga-200w-4834329.png?v=1754016915&width=324)


![[Add - on] Jackery Manual Transfer Switch for Explorer 5000 Plus - Jackery](http://www.jackery.com/cdn/shop/files/add-on-jackery-manual-transfer-switch-for-explorer-5000-plus-9017324.png?v=1754016782&width=324)


DIY solar panel projects are on the rise, but many end in frustration. Common hurdles include technical overwhelm, worries about electrical or fire hazards, and navigating a maze of permits and hidden costs.
This guide helps you balance DIY ambition with practical safety. You’ll learn the steps for a small-scale project and discover a simpler, hybrid approach that delivers reliable power without the risks of a full-scale installation.
The Reality of DIY Solar Installation: Weighing Ambition Against Risk
Understanding the scope of your project is the first step in deciding whether to DIY. The feasibility and risks change dramatically based on the size and purpose of your solar setup.
Where is the DIY Sweet Spot?
A DIY solar installation is most feasible for small, off-grid solar projects. These include:
- Powering an RV for a road trip
- Bringing light and convenience to a shed or workshop
- Creating a portable setup for camping and outdoor activities
In these scenarios, the electrical loads are smaller and the system is self-contained, reducing complexity and regulatory hurdles.
What are the High-Risk Scenarios?
Full home, grid-tied solar systems come with serious electrical risks and complex code requirements, making them a job for licensed professionals. They involve high-voltage DC power, connections to your home’s main panel, and coordination with your utility company.
For novices, mistakes can be dangerous, even life-threatening, and can cause major property damage.
What are the Hidden Costs of DIY Solar?
The initial savings of a DIY solar installation can be quickly eroded by overlooked expenses. While DIY can save thousands in labor costs, potentially cutting years off the payback period, potential repairs, voided warranties, and administrative burdens can negate these savings. These often include:
- Specialized tools like wire crimpers and multimeters
- Code-compliant wiring and conduits
- Durable mounting hardware
- Local permit fees
If a mistake is made, the cost of rework or hiring a professional to fix the system can eliminate any potential savings.
What are the Common Failure Points in DIY Solar?
The dangers of an improperly assembled system are real and can lead to several critical issues:
- Equipment Damage: Mismatching components, such as an inverter that can't handle the battery's output or a charge controller undersized for the solar panels, can lead to poor performance and equipment failure.
- Fire and Safety Hazards: Improper wiring and the lack of critical safety features like fuses and proper grounding can create significant fire risks.
- Voided Insurance and Warranties: A DIY installation can void your homeowner's insurance policy. Furthermore, manufacturer warranties often do not apply to systems that are not professionally installed.
Practical Instructions for a Small-Scale DIY Solar Installation
Disclaimer: This is a high-level guide for simple, off-grid systems and is not a substitute for professional electrical advice or adherence to local codes. Always prioritize safety.
Step 1: How Do You Perform an Energy Audit?
Before buying any equipment, you must know how much power you need.
- List Devices: Make a complete list of every device you plan to power, such as lights, fans, laptops, and phone chargers.
- Calculate Consumption: Find the wattage of each device and estimate how many hours per day it will run. Multiply wattage by hours to get daily Watt-hours (Wh). Sum the Wh for all devices to find your total daily energy requirement.
- Determine Peak Power: Add up the wattage of all devices that might run simultaneously. This total wattage is your peak power draw, which is essential for sizing your inverter.
Step 2: How Do You Size and Select Components?
With your energy needs calculated, you can choose the core components for your off-grid solar system.
- Solar Panels: Calculate the total panel wattage needed by dividing your daily kWh requirement by the average "peak sun hours" for your location. This will tell you how much solar generating capacity you need to recharge your batteries each day.
- Charge Controller: Choose between a Pulse Width Modulation (PWM) controller for budget builds or a Maximum Power Point Tracking (MPPT) controller for higher efficiency. Ensure its voltage and amperage ratings exceed your solar array's output.
- Battery Bank: Size your battery capacity in Amp-hours (Ah) or kilowatt-hours (kWh) to cover at least one full day's energy needs, with extra capacity for cloudy days. Select a battery chemistry (like lead-acid or Lithium Iron Phosphate/LiFePO4) based on your budget, lifespan needs, and maintenance tolerance.
- Inverter: Select a pure sine wave inverter to safely power sensitive electronics. Its continuous wattage rating must be higher than your calculated peak power draw.
Step 3: How Do You Plan the Physical Layout and Mounting?
Proper placement is crucial for both performance and safety.
- Panel Location: Identify a secure, unshaded location for your panels, ideally facing south to maximize sun exposure throughout the day.
- Mounting Hardware: Select appropriate mounting hardware (racks, brackets) designed for the surface, whether it's a roof, the ground, or a pole. For ideas on structures, you can explore options from pergola kits vs. custom-built.
- Component Housing: Plan a dry, well-ventilated, and accessible indoor location for the charge controller, batteries, and inverter. Good airflow is essential to prevent overheating.
Step 4: How Do You Execute the Wiring and Connections?
This is the most critical phase where safety is paramount. Follow this sequence precisely to avoid equipment damage.
The safe wiring sequence is:
- Connect the charge controller to the battery bank first.
- Connect the solar panels to the charge controller.
- Connect the inverter to the battery bank last.
You must also integrate several safety must-haves:
- Correct Wire Gauge: Use the proper wire thickness (gauge) for each connection to prevent overheating and potential fires.
- Fuses/Breakers: Install fuses or circuit breakers between the panels and controller, the controller and battery, and the battery and inverter for overcurrent protection.
- Grounding: Ensure all major components of the system are properly grounded according to electrical best practices to protect against faults.
The Expert-Level Hurdles of Traditional DIY Solar Planning
The planning phase of a traditional solar panel installation is a significant barrier that requires specialized knowledge. It goes far beyond simply picking parts off a shelf.
How Complex is System Design?
Calculating electrical loads, accounting for an inverter's surge capacity for starting motors, and correctly sizing a battery bank in usable kWh are tasks that are easy to get wrong. Miscalculations can lead to a system that underperforms or fails. This requires attention to detail, patience, and technical knowledge.
How Do You Navigate Permits and Regulations?
Furthermore, any system connected to a home requires navigating a maze of permits with local authorities (AHJs) and interconnection agreements with utility companies. This process can be slow, demanding, and frustrating for those unfamiliar with it.
Most jurisdictions also require professional-grade one-line wiring diagrams and site plans, which are typically beyond the skill set of a casual DIYer. This is a common challenge when planning for an off-grid cabin.
Why is Code Compliance Important?
Ensuring your installation adheres to local building and electrical codes is crucial. Inspectors may deny your system connection if it is not compliant, leading to costly rework.

The Plug-and-Play Hybrid Approach
A hybrid approach uses a pre-engineered, certified solar generator system for immediate, reliable power. This method bypasses the component-level complexity and electrical risks of a traditional DIY solar installation.
This solution offers several key benefits:
- Drastically Reduced Risk: It eliminates the guesswork in component matching and wiring, as the entire system is designed and tested to work together safely.
- Faster, Simpler Deployment: You can go from unboxing to having power in hours, not the weeks or months a full DIY project can take.
- Code-Compliance Simplified: Certified systems are engineered to meet established safety standards, which can ease integration and inspection processes.
- Scalability Without Rewiring: You can easily expand power capacity by adding compatible battery packs, not by redesigning and rewiring the entire system. For those interested in a smaller-scale project first, you can learn how to DIY a solar generator before scaling up.
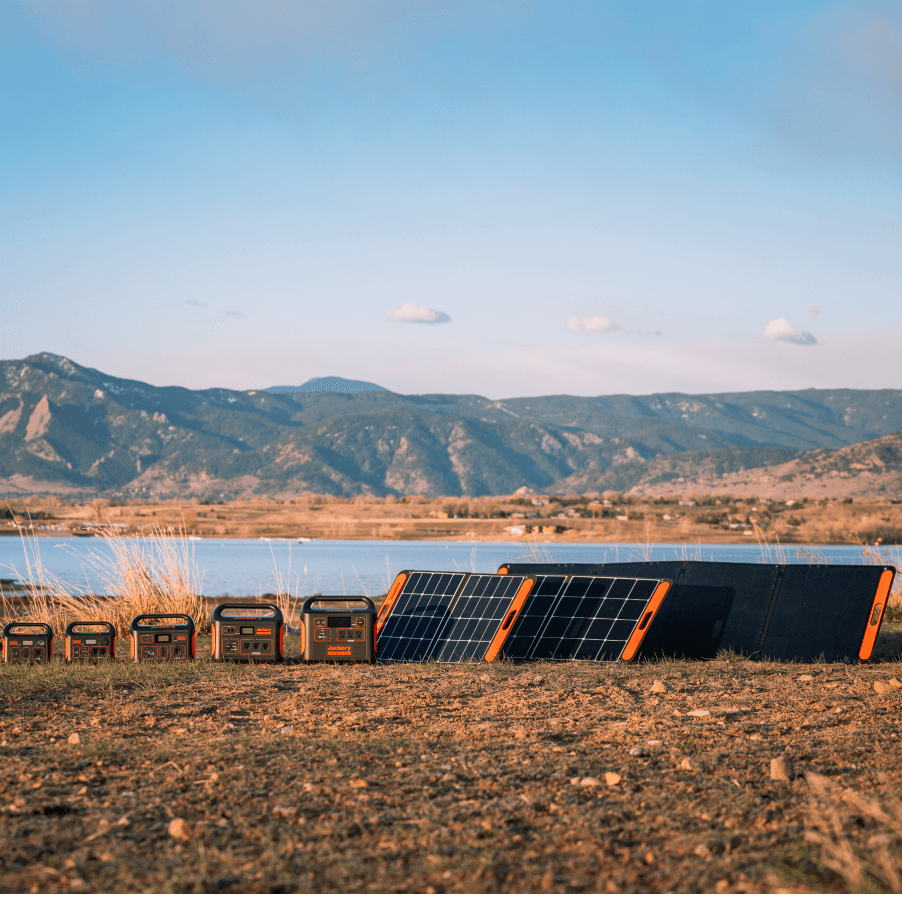
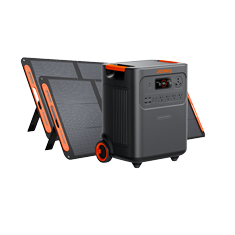
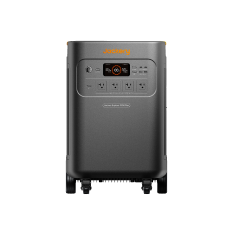
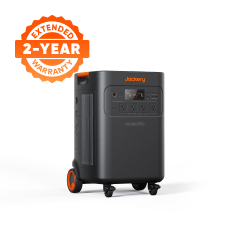
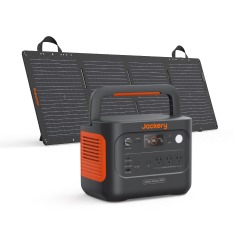
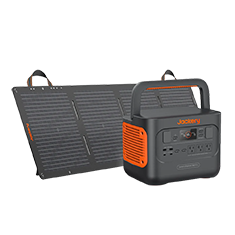
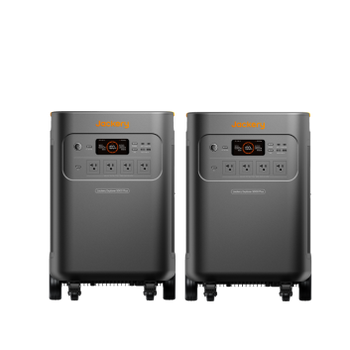
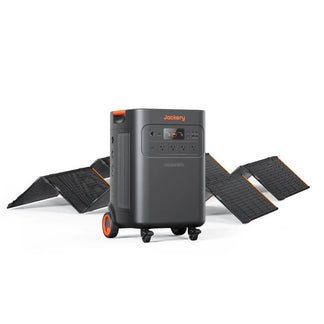
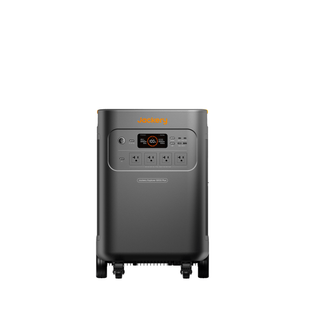
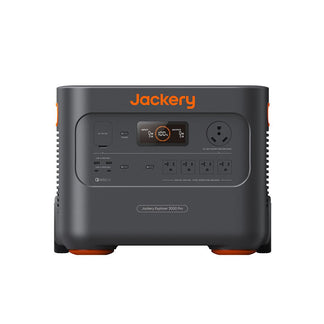
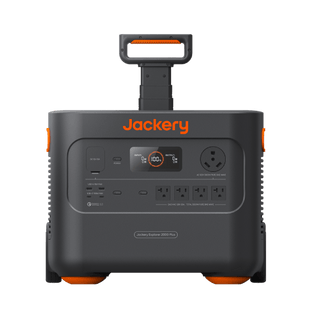
The Jackery Solar Generator 5000 Plus: A Robust Hybrid Solution
The Jackery Solar Generator 5000 Plus is the answer for homeowners who want serious backup power without the risks of a complex DIY rooftop installation.
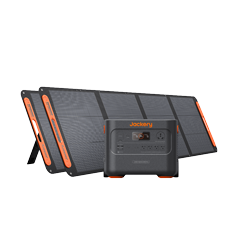
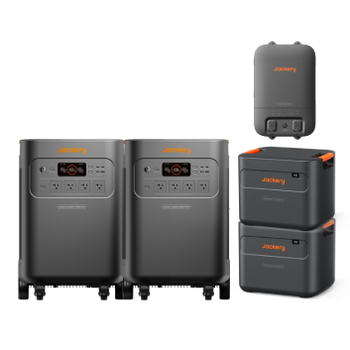
- Massive, Expandable Capacity: It starts at 5kWh and is expandable up to an incredible 60kWh, enough for short-term or even long-term essential home backup.
- Powerful, Versatile Output: It delivers 7200W-14400W with 120V/240V dual voltage, capable of running heavy-duty appliances like central air conditioners, well pumps, and electric stoves.
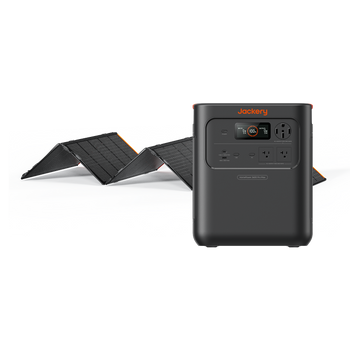
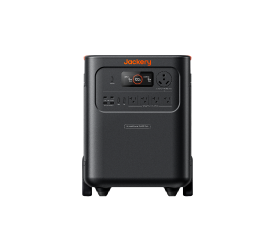
- Seamless, Uninterruptible Power: It features a 0ms power transition when paired with the Smart Transfer Switch (STS), ensuring critical devices like computers and medical equipment never lose power during an outage.
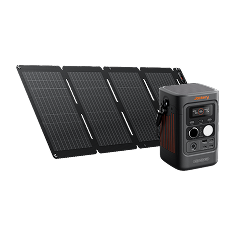
- Ultra-Fast Charging: It recharges from 0 to 100% in as little as 1.7 hours with 4000W of solar input, ensuring rapid recovery after use.
- Long-Term Reliability: It is built with a durable LiFePO4 battery designed for a long lifespan of over 10 years, providing a decade of energy security.
This system provides a reliable power source for everything from a small off-grid cabin to a full-sized home.
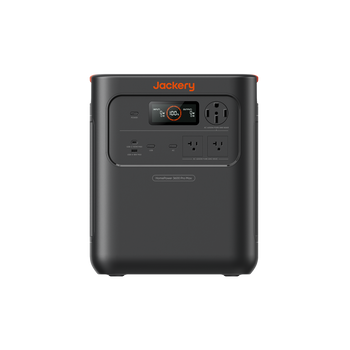
How Does the Smart Transfer Switch (STS) Integrate?
The Jackery Smart Transfer Switch (STS) is what elevates the SG5000Plus from a portable power station to a true home backup system. The STS is installed by an electrician and safely connects the solar generator to your home's main electrical panel. When a power outage is detected, it automatically switches designated home circuits over to the Jackery's power, restoring electricity to your essentials seamlessly.
You can see how it works in this video and learn more about the simple smart transfer switch installation process.
DIY Learning vs. Guaranteed Reliability
While a traditional DIY solar panel installation offers a deep and rewarding learning experience, it comes with significant risks, hidden costs, and complexity that should not be underestimated. For most home solar applications, professional installation is the safer and more reliable choice.
For homeowners whose primary goal is reliable, safe, and scalable home backup power, the Jackery Solar Generator 5000 Plus with a Smart Transfer Switch presents a more practical and reasonable alternative. This hybrid approach offers a balanced solution for those seeking energy independence without the full DIY risks.
Ultimately, you must assess your true goals. If the priority is immediate, dependable power and peace of mind, a certified, plug-and-play system is the most direct and effective path to energy independence.
Frequently Asked Questions
How does the efficiency of solar panels themselves vary between a DIY setup and a pre-engineered system like Jackery?
The efficiency of the panels is independent of the system type. However, a pre-engineered system like Jackery excels in overall system efficiency because its components are perfectly matched and optimized to work together.
Beyond the initial purchase, what are the long-term maintenance differences between a traditional DIY grid-tied system and a Jackery hybrid solution?
A traditional DIY system often requires more hands-on troubleshooting and individual component replacement. A certified system like Jackery has a streamlined warranty process and is designed for minimal user maintenance.
What are the insurance implications or potential policy changes I should be aware of when installing either a full DIY solar system or a certified hybrid solution like Jackery for home backup?
Home insurance providers may not cover damages resulting from unpermitted DIY electrical work. Using a certified, plug-and-play system like the Jackery Solar Generator 5000 Plus, especially when the transfer switch is installed by a professional, is generally viewed more favorably.