


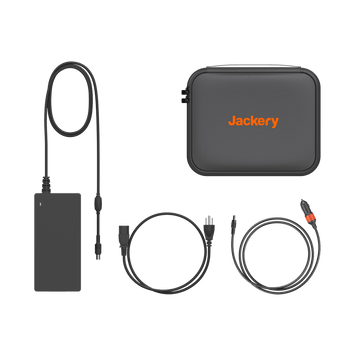


![[Add - on] Jackery Manual Transfer Switch for Explorer 5000 Plus - Jackery](http://www.jackery.com/cdn/shop/files/add-on-jackery-manual-transfer-switch-for-explorer-5000-plus-9017324.png?v=1754016782&width=350)


![[Add - on] Jackery Battery Pack 5000 Plus - Jackery](http://www.jackery.com/cdn/shop/files/add-on-jackery-battery-pack-5000-plus-6078351.png?v=1754016791&width=324)
![[Add - on] Jackery Car Charging Cable - Jackery](http://www.jackery.com/cdn/shop/files/add-on-jackery-car-charging-cable-3882421.png?v=1754016863&width=324)


![[Add - on] Jackery Smart Transfer Switch - Jackery](http://www.jackery.com/cdn/shop/files/add-on-jackery-smart-transfer-switch-5842915.png?v=1754016784&width=324)
![[Add - on]Jackery 102W GaN 3 - Port Fast Charger - Jackery](http://www.jackery.com/cdn/shop/files/add-onjackery-102w-gan-3-port-fast-charger-6377742.png?v=1754016790&width=324)


![[Add - on] SolarSaga 200W - Jackery](http://www.jackery.com/cdn/shop/files/add-on-solarsaga-200w-4834329.png?v=1754016915&width=324)

![[Add - on] Jackery Manual Transfer Switch for Explorer 5000 Plus - Jackery](http://www.jackery.com/cdn/shop/files/add-on-jackery-manual-transfer-switch-for-explorer-5000-plus-9017324.png?v=1754016782&width=324)


Unless the solar panel is tiny, it is strongly advised to utilize a solar charge controller when connecting a solar panel directly to a battery. Generally speaking, a 5-watt solar panel can be directly attached to the battery terminal, but anything more significant requires a solar regulator to prevent the battery from being overcharged.
Before we begin, it is essential to note that replenishing used energy is only sometimes possible with solar power. For instance, some people desire to recharge batteries for a trolling motor, boat, RV, house, electric scooter, remote cottage, etc., very quickly, typically in only a few days. Consider using a 30-watt solar panel to recharge a 100-amp-hour battery under the perfect summertime lighting conditions. The battery will be almost entirely charged after an entire week. You can see from this example that it will require a minimum of 100 watts of solar energy to recharge a 100-amp-hour battery in a few days fully.
The energy gathered from your solar panels is stored in solar batteries. The more solar energy your battery can hold, the better its capacity. It would be best if you had solar panels,a charge controller, and an inverter to use batteries as part of your solar installation. This article provides examples of how to charge a battery with solar panels and how long they last.
The Solar Panel Wiring Diagram
Solar panels can be used in two ways to charge batteries: directly or indirectly. An indirect connection occurs when the solar panel is connected to charge equipment connected to the battery. In contrast, a direct link occurs when the solar panel is connected to the battery directly.
Connect the solar panel's positive lead to the charge controller's positive terminal. After that, join the solar panel's negative lead to the charge controller's negative terminal. Connect the positive battery terminals of the batteries to the charge controller's positive battery terminals. After that, join the negative terminals of the batteries and the charge controller. Placing the solar panel in the sun should cause your charge controller to signal that the battery is charging. In most cases, while the battery is charged, typically, it has a light that flashes.

How to Charge A Battery from Solar Panels?
Although solar panels can directly charge the batteries, this is only sometimes the case. Solar panels can be used to charge batteries. Typically, a charge controller is required to protect the battery by converting the voltage output from the solar panel to a level appropriate for the battery being charged. Use a charge controller to manage the electricity flow from the solar panel to the battery if you directly charge a battery with one. In a panel system, a charge controller may also be referred to as a charge regulator or a solar regulator.
Method 1: DIY Battery to Charge from Solar Panel
Using a solar panel to charge your batteries is a fantastic method to generate clean, sustainable energy. Installing a charge controller, which controls the voltage from the solar panel as it is delivered to the battery, is necessary before you can begin.
Step 1: Install Charge Controller
Mount the charge controller away from the elements and on a solid surface. Even if your solar panels are firmly fixed, charge controllers should be installed if they are weather-proof. Instead, install the charge controller in a remote location and run cables from the panel to the controller.
Step 2: Connect to Your Battery
Your battery needs a positive and a negative wire connected to it. Either use cables with ring connections that fit the battery posts or wrap bare wires over them and attach them to the bars to secure them. It's best to be cautious if you can identify the positive and negative cables apart.
- For example, you could use a black wire for the negative and a solid red wire for the positive. Alternatively, you could use a solid red wire for the positive and a black wire with writing on it for the negative.
- Of course, you won't need to add new wires to the battery first if your battery bank already has them connected.
Step 3: Input Ports on Charge Controller
Slide the wire ends into the charging controller's input ports. Typically, there is no need to attach any connector to the ends of the wires that plug into the charge controller. Instead, insert the bare positive and negative wire ends into the relevant ports, then tighten the screws holding the wires in place with a screwdriver.
- Make sure to connect the positive and negative cords to the correct ports to avoid shorting out your controller or battery.
- Use 10-gauge or 16-gauge wire if you're attaching a 12V battery.
Step 4: Connect Wires to Charge Controller
The wires should be connected to the charging controller using MC4 connectors. MC4 connections are lengthy cylindrical fittings with a male and a female side and are often used to connect the output wires on solar panels. Fit MC4 connectors to the wires from your charging connector to ensure they bond properly. Similar to how you joined the output wires, slip the bare ends of the input wires into the input ports of the charging connection and tighten the screws using a screwdriver.
Step 5: Connect Controller to Solar Panel
Connect the controller's cables to the solar panel. After attaching the input wires to the charge connector, you should have two loose lines with MC4 connectors at either end. Snap the MC4 connectors into place by aligning the male and female ones with the corresponding ones from the solar panel. The connectors should "click" when they are firmly in place.
- Make that the male connector is attached to the female connector and vice versa.
- When working with electricity, you can always be careful. Check that the positive and negative cables are linked up correctly by rechecking them.
Step 6: Output on Charge Controller
Check it to make sure the charge connector's output is functional. Most charge connectors have a digital display that lets you see how much current is going to the battery. Double-check that everything is connected correctly if the readings are 0. Thanks to some charge connectors that can even talk with an app, you can check the voltage from your smartphone or tablet.
Step 7: Charge Battery from Solar Panel
Till it is charged, keep the battery connected to the connector. The size of the battery, the solar panel's wattage, and even the weather that day will all influence how long it takes to charge your battery. Your digital display will be helpful in this situation. The battery is almost fully charged when you see a decrease in output. It's okay to keep the battery on the charger until you need it because the charging connector will stop the battery's energy flow once it has been charged.
Method 2: Use MPPT Charge Controller
Solar panels can be a terrific method to recharge your batteries if appropriately used. Because it controls the power coming from the solar panel, a charge controller is crucial for using solar panels to charge batteries. Your batteries could suffer overcharging damage or even be ruined without a charge controller.
Step 1: Check the Solar Panel Wattage
The wattage should be visible on the panel's back. Your solar panel should often have a sticker on the back indicating the wattage it will generate. For instance, if your panel has 300W mentioned on the back, the array can output 300 watts of power.
- Use a multimeter to calculate the wattage output of your solar panel while it is exposed to the full sun if you don't have one of those or you build your solar array.
- The power output of solar panels is intended to exceed the voltage at which they are rated. For instance, a solar panel meant to produce 12V of power may make 17V. That is because they will only generate their maximum voltage in optimal circumstances.
- The battery may overcharge and get damaged if the solar panel generates more power than the battery can store. A charge controller can assist in avoiding this.
Step 2: Solar Watt Rating
Although most solar chargers are 12 VDC-only, we provide a small selection of 24-volt panels. Solar panels are typically wired in series when 24 volts or more are required. We can order solar panels specifically designed to deliver higher DC voltages, such as 24 volts, 36 volts, 48 volts, etc.
Subtract the battery voltage from the solar panel's watt rating. The wattage was mentioned on the solar panel's back and divided this amount by that value. In order to securely charge the battery, your charge controller must be able to manage the amps that are provided by this. If your number is in multiples of 30 amps, round it up to the next highest rating because charge controllers are frequently rated in multiples of 30 amps. You would reduce 300 by 12 to get 25 amps, for instance, if there is a 300W solar panel and you want to charge a 12V battery. You would then purchase a charging controller with a 30 amp rating.
Step 3: Choose an MPPT Charge Controller
For greater effectiveness, pick an MPPT charge controller. Charge controllers come in two primary categories: PWM and MPPT (Maximum Power Point Tracking) (Pulse Width Modulation). Both will manage the maximum voltage the solar panel can deliver to the battery. However, MPPT charge controllers have a 30% greater energy storage and transfer capacity than PWM ones. Additionally, PWM charge controllers cannot be used with strings of solar panels, while MPPT charge controllers can. The higher cost of these choices compared to PWM devices can be quickly offset by greater energy efficiency.
What Is The Charge Controller?
A charge controller controls the current from the solar panel to the battery. It functions as an on/off switch. Additionally, it guarantees that the battery is charged at the proper voltage.
Typically, a 12-volt solar panel produces more than that, providing more electricity than the battery requires. Only the necessary current will be allowed to flow to the battery via the charge controller, which will manage the voltage supplied.
The charge controller will also turn off the energy after the battery is fully charged. Preventing overcharging, which can harm the battery or reduce its lifespan, safeguards the battery. Once the battery begins to deplete, the controller will only start letting the current flow once more.
The Types of Charge Controller
You must choose the charge controller that will work best for your requirements and the solar panel system you have because there are two primary varieties.
- MPPT (Maximum Power Point Tracking)
The MPPT controller, the more advanced and expensive one, may couple a solar panel system with a battery of a varied voltage. In essence, this controller will monitor the voltage the battery requires and the panel output. To ensure that the battery is constantly charging optimally, that is, that the maximum amps are applied to the battery, it then matches the panel's output with that voltage.
- PWM (Pulse Width Modulation)
The less expensive and more common PWM charge controller is the better choice. The voltage of the battery and solar panels must match when utilizing a PWM. By delivering charge pulses to the battery, the PWM operates. The battery sends a long, nearly continuous pulse to recharge the battery when it is discharged. It sends brief pulses that keep the battery charged when it is nearly fully charged. These controllers do not fully utilize the maximum power output of a solar panel system and are better suited to smaller solar panel operations.
- On/Off Charge Controller
The most straightforward and affordable type are on/off charge controllers. When the battery is full, they simply stop the flow from the solar panel to the battery to avoid overcharging. A mechanical switch or keeping an eye on the battery voltage can do this. Off-off charge controllers are widely used by consumers to reduce costs, but they are less effective than MPPT systems. The effectiveness of a common off-off charge controller is roughly 85%.
|
Types of Charge Controllers |
Pros |
Cons |
|
MPPT |
Increase in charging efficiency Sizes up to 80 amps Flexibility |
Higher costs |
|
PWM |
Inexpensive, sizes up to 60 amps |
Not UL listed Without fittings for conduit |
|
On/Off Charge Controller |
Most affordable |
Less effective |
What Are The Batteries for Solar Panels?
- Deep Cycle Batteries
Of the three main types of secondary batteries, lead acid is the most popular and often used in the automotive industry. Batteries that contain nickel are used far less often. The use of lithium has become prevalent for secondary batteries, and many consumer products, like laptops and phones, use lithium-ion batteries.
The Types of Batteries for Solar Panels
The lead-acid secondary battery is the most often used and is one of the three primary, secondary battery kinds. Nickel-based batteries are used much less frequently. Many consumer goods, like computers and phones, employ lithium-ion batteries, which have become increasingly popular for secondary batteries.
- Lithium-ion Batteries
The demand for renewable energy sources has never been higher as the globe becomes more dependent on electronic devices. Solar panels have several disadvantages despite being one of the most well-liked renewable energy sources.
One of its main drawbacks is the need for a battery to store solar panels' energy. The most common battery for solar panel systems is a lithium-ion battery. However, charging one can be challenging. But using a solar panel to charge a lithium battery is relatively easy if you take a little time and care.
- Lead-acid Batteries
The lead-acid battery is the most prevalent kind of battery used in solar cells. Additionally, they are the earliest kind of rechargeable battery. The first lead-acid battery was created in 1859 by Gaston Planté, a French physicist. Lead and sulfuric acid combine chemically to produce an electric current, which is how lead-acid batteries operate. Lead-acid batteries can be charged with a solar power system.
Solar charging is a fantastic way to keep your lead-acid batteries charged without grid power. Lead-acid batteries are dependable and last for a very long time. They do, however, need some upkeep. Lead-acid batteries must be inspected frequently to ensure they are clean and corrosion-free.
- Deep Cycle Batteries
Deep cycle batteries are a particular kind of battery that can be repeatedly discharged and recharged without suffering any damage. They are frequently employed in solar energy systems, since they can store solar energy during the day and provide electricity at night or on overcast days.
Although using a solar panel to charge a deep-cycle battery is a straightforward operation, there are a few considerations to ensure the battery is charged effectively. Make sure the solar panel is getting enough sunlight first; if it is shaded, it will need more electricity to recharge the battery.
Also, connect the solar panel's positive lead to the battery's positive terminal and the panel's negative lead to the battery's negative terminal. Lastly, keep an eye on the charging procedure to ensure the voltage and current levels are within acceptable limits.
|
Types of Batteries |
Pros |
Cons |
|
Lithium-ion Batteries
|
0 maintenance Longer run time & lifespan |
Higher costs Require inspection |
|
Lead-acid Batteries |
Cheap Easily rechargeable |
Heavy Low energy density |
|
Deep Cycle Batteries |
Repeat rechargeable Harmless |
Regular maintenance |
What Are The Solar Panels?
Knowing what kind of solar panel to buy will be crucial if you choose to use solar power instead of conventional electricity sources or simply as a backup energy source. The panel's composition, size, and wattage output are essential factors to think about. Today, solar panels primarily come in monocrystalline, polycrystalline, and thin film. All three varieties serve the same purposes, although they are made differently and have unique advantages and disadvantages.
The Types of Solar Panels
Solar panels come in three main varieties: thin-film, polycrystalline, and monocrystalline. The suitable solar panel type for your installation will depend on elements particular to your property and desired system characteristics. Each kind has its distinct pros and cons.
- Monocrystalline Solar Panels
Monocrystalline solar panels are the most expensive form of solar panel available. It is primarily attributable to the manufacturing process; as solar cells are created from a single silicon crystal, producers must pay for the crystals' production. This technique, also known as the Czochralski process, uses a lot of energy and wastes silicon that can later be used to manufacture polycrystalline solar cells. Jackery is the top leading brand to produce high-quality monocrystalline solar panels.
- Polycrystalline Solar Panels
Generally speaking, polycrystalline solar panels are less expensive than monocrystalline ones. It is because silicon fragments are used to make the cells rather than a single, pure silicon crystal. It makes it possible to manufacture cells considerably more cheaply for both manufacturers and end users.
- Thin-film Solar Panels
Manufacturing a thin-film solar panel will primarily depend on the type you choose. CdTe solar panels are often the least expensive to make, whereas CIGS solar panels are significantly more expensive than CdTe or amorphous silicon.
Depending on the panels' cost, installing a thin-film solar panel system may be less expensive than installing a monocrystalline or polycrystalline system. Due to their reduced weight and excellent maneuverability, thin-film solar panels require less work during installation. They are more straightforward for installers to take up onto rooftops and fasten. As a result, labor costs will be lower, which will help lower the entire solar installation cost.
|
Types of Solar Panels |
Pros |
Cons |
|
Monocrystalline Solar Panels |
High efficiency and performance |
Higher costs |
|
Polycrystalline Solar Panels |
Lower costs |
Lower efficiency and performance |
|
Thin-film Solar Panels |
Portable and flexible |
Lower efficiency and performance |
Solar Panel Charging Considerations
There are a few tips when using a solar panel to charge a battery. The size of the solar panel is the most crucial factor. The solar panel must be big enough to charge the battery in the required amount of time. The kind of battery being utilized is the second factor to consider.
More power is needed to charge some batteries than others. The weather is the third factor. It may take longer to charge the battery if it is cloudy or overcast outside because solar panels operate best in direct sunlight.
Guidelines for maximizing solar battery charging:
- Follow these easy guidelines to maximize the effectiveness of solar battery charging: first, ensure the solar panel is positioned to receive direct sunlight for most of the day. The battery will be charged as effectively as possible by doing this.
- Second, to preserve the solar panel's efficiency, regular cleaning is necessary. Just wipe the panel's surface clean of dirt and debris with a cloth or brush to accomplish this.
- Finally, it's crucial to routinely check the battery to ensure it's not overcharged or undercharged.
How Long Do Solar Panels Last?
Home solar battery systems have a lifespan of five to fifteen years. To match the 20 to 30 year lifespan of your solar power system, it is almost certain that you will need to replace your solar battery if you opt to install one today. You might be wondering why the range is so wide. The type of battery you install, how frequently you use the battery, and where the battery is stored are a few variables that have a big impact on how long the solar panel lasts.
- Solar Panel Battery Type
Lead-acid, lithium-ion and saltwater batteries are the three most frequently employed in solar storage. The longest-lasting option among these three is lithium-ion batteries. Although they often have the most remarkable storage capacity, they are only sometimes the cheapest choice.
The extra money is beneficial, saving you money in replacement expenses down the road because the predicted cycle length is several times that of other options. The high DoD rate of lithium-ion batteries—often up to 80%—allows you to consume more of the battery's stored energy without endangering it.
- Solar Panel Usage
Most of a solar battery's usage cycles influence how long it will last. Fortunately, most solar batteries are deep-cycle, allowing them to discharge up to 80% of their stored energy before recharging.
Before recharging, some battery banks require a manual drain. Your solar battery charges automatically thanks to Jackery, preventing overcharging and ensuring your battery is as healthy and effective as possible for the longest time.
- Solar Battery Temperature
Most of a solar battery's usage cycles influence how long it will last. Fortunately, most solar batteries are deep-cycle, allowing them to discharge up to 80% of their stored energy before recharging.
Before recharging, some battery banks require a manual drain. Your solar battery will charge automatically with Jackery to prevent overcharging and ensure your battery lasts as long as possible in good condition.
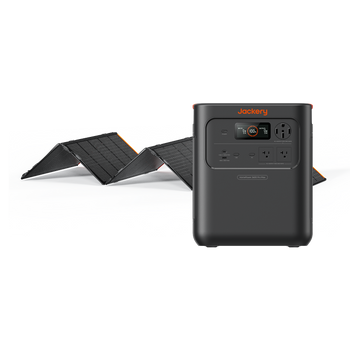
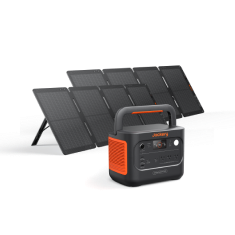
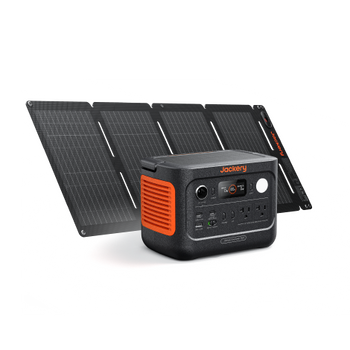
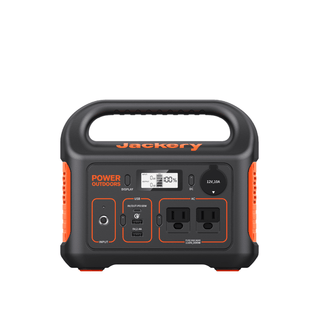
Jackery Portable Solar Panels
For simple carrying and use, Jackery portable solar panels can be folded and strapped. Making the most of the sun and converting it into clean energy is possible thanks to one of the sector's top 25% efficiency rates. Solar power can be used with the Jackery rechargeable portable power stations to keep your equipment charged. It could be an off-grid solar generating setup for backup power.

With monocrystalline solar cells and adjustable supports, the charging efficiency of Jackery portable solar panels can reach up to 25%. Utilize solar energy to its fullest potential. The Jackery power station is simple to connect to solar panels. Simply connect your portable power station's DC input to the DC interface. The solar panel may be folded and neatly packed in a bag for storage or transportation, giving you optimal exposure to the sun while using it.
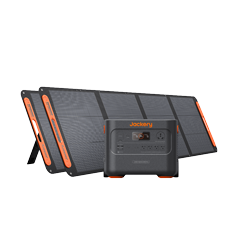
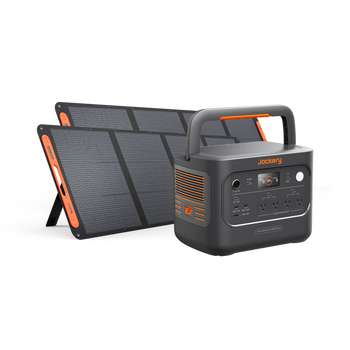
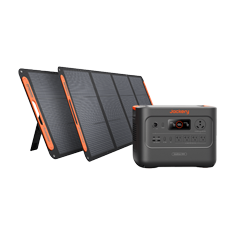
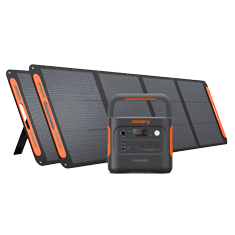
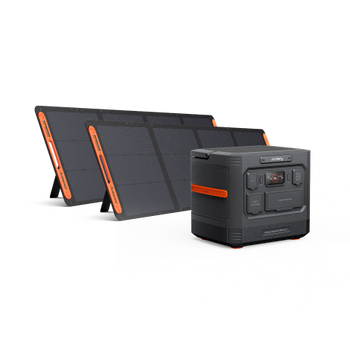
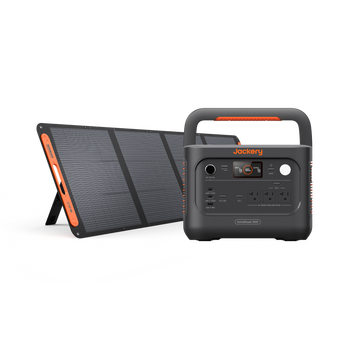
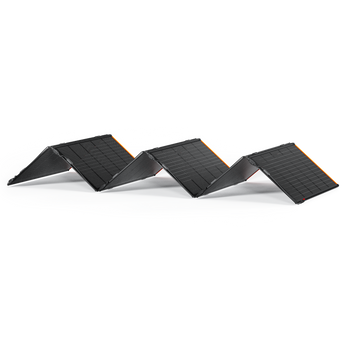
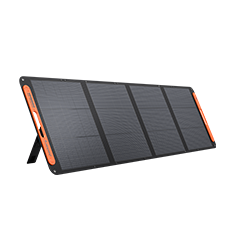
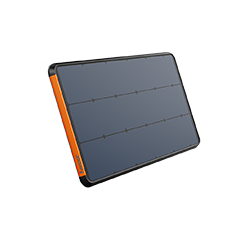
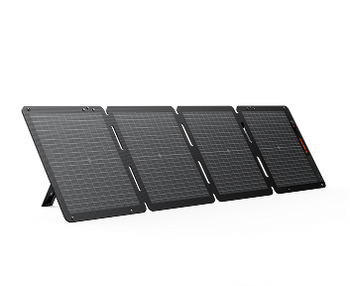
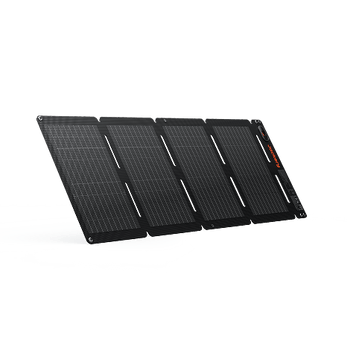
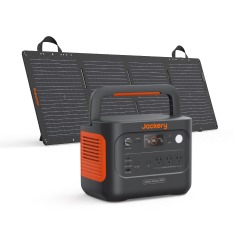
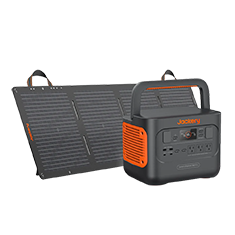
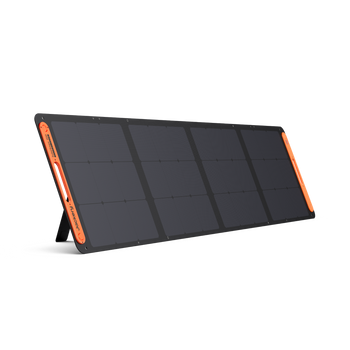
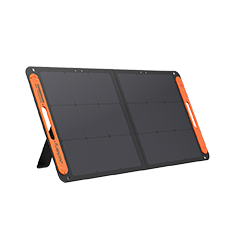
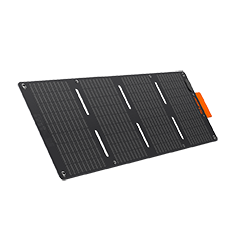
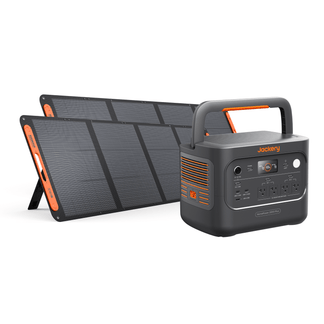
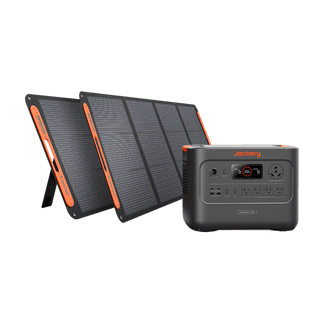
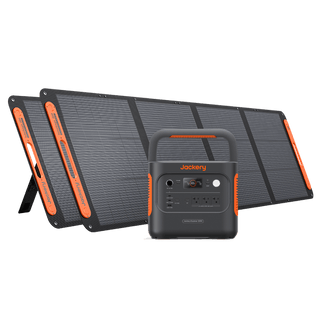
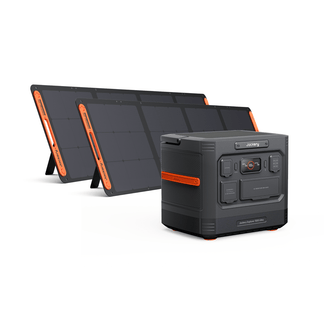
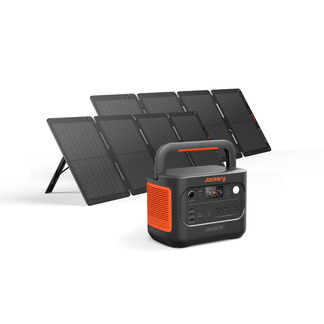
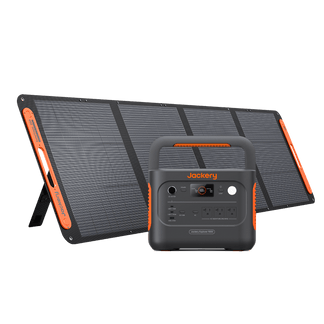
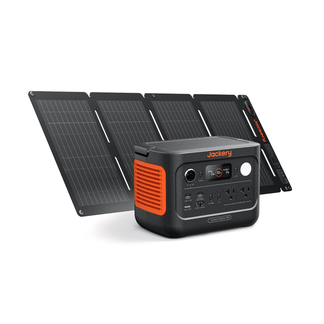
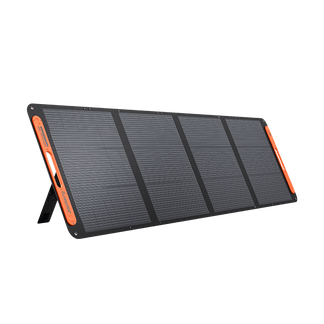
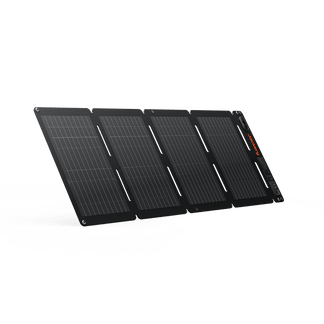
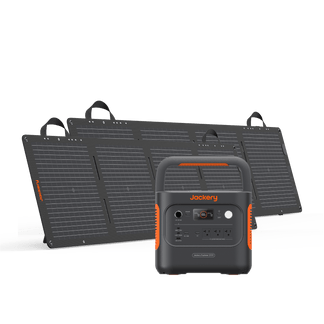
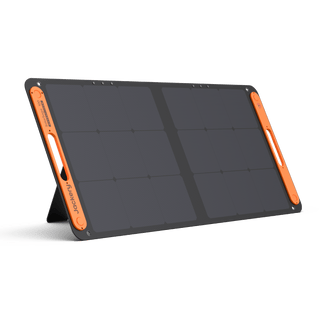
Jackery SolarSaga 200W Solar Panel
The advanced solar cells on the Jackery SolarSaga 200W Solar Panels offer a high conversion efficiency of up to 24.3%, providing more power under the same circumstances. The solar panel stands firmly and securely thanks to its three kickstands, which only take a few seconds to set up.
The solar panel is the ideal travel companion for outdoor activities because the suggested angle provides the best absorption of the sunshine. It can be folded up snugly and transported on your preferred off-grid excursions, thanks to magnetic pads on the solar panel.
The solar panel's ETFE-laminated casing ensures it is strong enough for a lengthy lifespan. It can survive severe weather thanks to the IP67 waterproof rating.
|
Bundles |
Recharging Time |
|
Explorer 2000 Plus + 6*SolarSaga 200W |
2Hrs |
|
Explorer 1000 Plus + 6*SolarSaga 200W |
1.8Hrs |
|
Explorer 600 Plus + 2*SolarSaga 200W |
3.5Hrs |
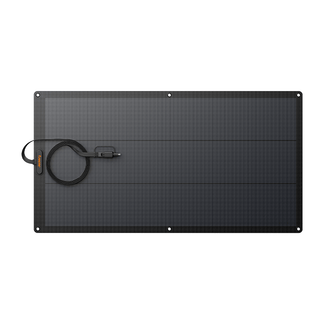
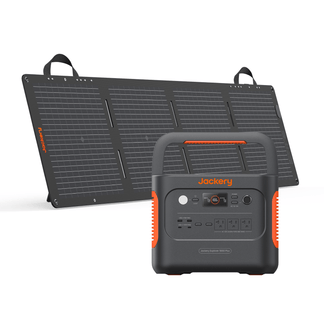
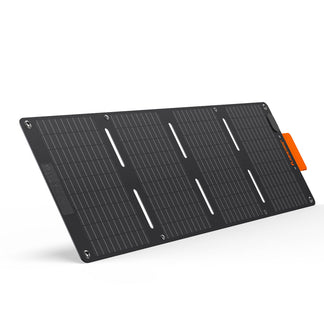
Jackery SolarSaga 100W Solar Panel
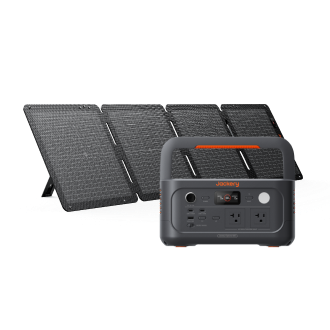
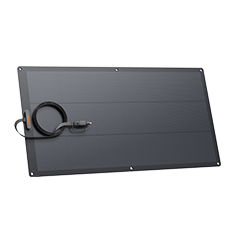
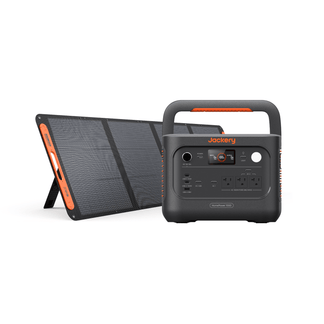
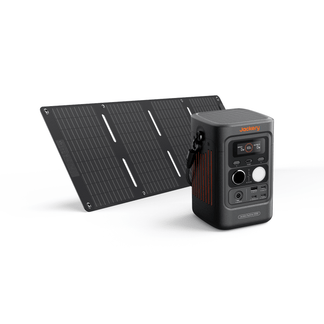
Jackery SolarSaga 100W stays energized with the sun's power with a monocrystalline solar panel! It is ideally suited for outdoor living and unforeseen power interruptions because of its excellent conversion efficiency of up to 23%. The solar panel is more portable due to its folding design and easy-carry handle. Two kickstands are included and may be firmly set down on any flat surface. The solar panel can charge two small devices, such as a phone, camera, or drone.
|
Bundles |
Recharging Time |
|
Explorer 2000 Plus + 6*SolarSaga 100W |
5.5Hrs |
|
Explorer 1000 Plus + 6*SolarSaga 100W |
3Hrs |
|
Explorer 600 Plus + 2*SolarSaga 100W |
4.3Hrs |
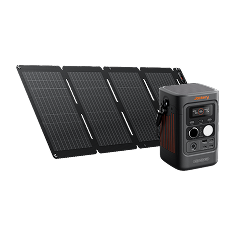
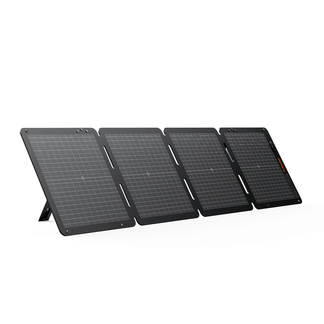
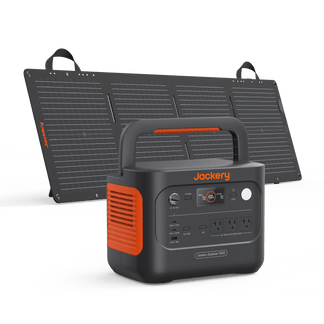
Jackery SolarSaga 100 Prime Solar Panels
The Jackery SolarSaga 100 Prime Solar Panels are specifically designed for those planning long RV trips. You can install the solar panel on the RV or camper rooftop to ensure maximum sunlight is converted into electricity and stored in the portable power station. You can also easily set up solar panels on your balconies or backyard space.
|
Bundles |
Recharging Time |
|
Explorer 2000 Plus + 6*SolarSaga 100 Prime |
5.5Hrs |
|
Explorer 1000 Plus + 6*SolarSaga 100 Prime |
3Hrs |
|
Explorer 600 Plus + 2*SolarSaga 100 Prime |
4.3Hrs |
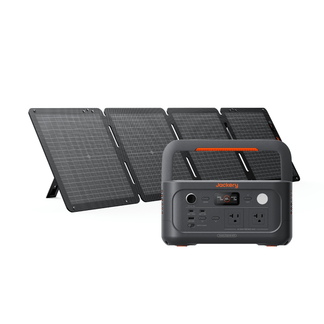
Jackery SolarSaga 40W Mini Solar Panels
If you want to plan a camping or hiking trip to remote locations, consider choosing the ultra-lightweight Jackery SolarSaga 40W Mini Solar Panels. The solar panels have direct charging abilities, so you can charge small devices like phones and cameras. They can even be paired with the Jackery Explorer 300 Plus Portable Power Station to charge other appliances such as lights, TVs, projectors, and lights.
|
Bundles |
Recharging Time |
|
Explorer 600 Plus + 2*SolarSaga 40W |
11Hrs |
|
Explorer 300 Plus + SolarSaga 40W |
9.5Hrs |
|
Explorer 240 v2 + SolarSaga 40W |
11Hrs |
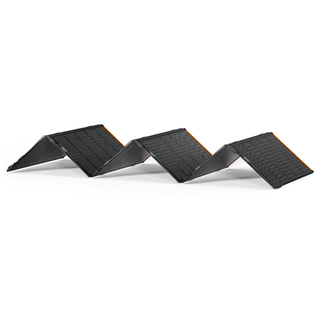
Jackery SolarSaga 500X Solar Panels
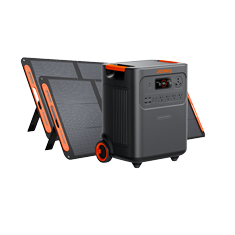
The Jackery SolarSaga 500X Solar Panels have a high power output and can charge the power station faster. They are highly efficient and are built by combining six Jackery SolarSaga 85 Solar Panels. If you are looking for a high-efficiency home battery backup, you can consider pairing the Jackery SolarSaga 500X Solar Panels with the Jackery Explorer 5000 Plus Portable Power Station.
|
Bundles |
Recharging Time |
|
Explorer 5000 Plus + 2*SolarSaga 500X |
6.5Hrs |
|
Explorer 3000 Pro + 2*SolarSaga 500X |
5.5Hrs |
|
Explorer 1000 Plus + 2*SolarSaga 500X |
3Hrs |
Final Thoughts
If you wonder about getting off the grid and becoming green or moving towards a more sustainable way of life, using solar panels to charge a battery is a terrific option. Whether it's your mobile phone, a stand-alone battery for when you go camping, or small electronics powered during a van journey, solar energy is clean and practical. This article describes the charge controller, solar battery, and solar panel and how to charge a battery from the solar panel.
Additionally, when selecting portable solar panels to connect with the Jackery Explorer power station, Jackery is your best option as the top solar panel brand. Solar batteries are cheaper and more environmentally friendly than conventional batteries. It is crucial to employ the cleaner energy generated by the sun to address climate change and lessen the harm to our environment. Additionally, it enables us to make significant strides toward attaining our universal goals of cleaner and more affordable energy.