


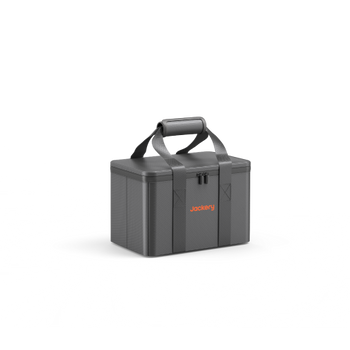


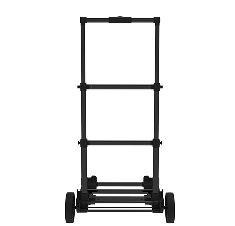


![[Add - on] Jackery Manual Transfer Switch for Explorer 5000 Plus - Jackery](http://www.jackery.com/cdn/shop/files/add-on-jackery-manual-transfer-switch-for-explorer-5000-plus-9017324.png?v=1754016782&width=350)


![[Add - on] Jackery Manual Transfer Switch for Explorer 5000 Plus - Jackery](http://www.jackery.com/cdn/shop/files/add-on-jackery-manual-transfer-switch-for-explorer-5000-plus-9017324.png?v=1754016782&width=324)


Power outages spoil food, disable heating systems, and create safety hazards for those relying on medical devices. While portable generators offer a lifeline, running extension cords through open windows is dangerous and impractical during severe weather.
A transfer switch solves this problem by providing a code-compliant, safe method to bridge portable power directly to your home's circuit breaker panel. This guide explains the connection methods, necessary hardware, and safety protocols required to wiring systems effectively.
Understanding Transfer Switches: How to Connect Generator to House Safely
A transfer switch is a dedicated electrical device that shifts a circuit’s power source from the utility grid to a local generator. This device is the only safe way to power hardwired appliances like furnaces, well pumps, and ceiling lights during a blackout.
Critical Safety Functions
A transfer switch prevents backfeeding immediately upon activation. Backfeeding occurs when generator power flows backward through your home's wiring and into the utility grid, which can electrocute utility workers attempting to repair downed lines.
Equipment Protection and Compliance
Isolating your generator from the grid protects your equipment from voltage surges. When utility power returns, the grid's voltage can surge and destroy a connected generator if isolation isn't present. Most electrical codes mandate a transfer switch or interlock device for any hardwired connection, and you typically need a permit to satisfy local regulations and insurance requirements.
Neutral Switching
Generators utilize either a bonded neutral or a floating neutral configuration. You must verify which type your specific unit uses to ensure the transfer switch handles the neutral wire correctly. Mismatched bonding can create ground-fault hazards or cause nuisance tripping on GFCI breakers.
Choosing the Right Connection Method
Homeowners have three primary options for connecting backup power. The right choice depends on budget, specific power needs, and the required level of automation.
Manual Transfer Switch (MTS)
A Manual Transfer Switch allows you to physically select specific circuits to power during an outage.
- Best for: Homeowners wanting granular control over essential loads like fridges, lights, and furnaces.
- Pros: Safest method for specific circuits; widely accepted by electrical inspectors.
- Cons: Higher installation costs than interlocks; requires manual intervention in the dark.
Interlock Kit
An interlock is a mechanical slide plate installed on the main breaker panel that physically prevents the main utility breaker and the generator breaker from being ON simultaneously.
- Best for: Cost-conscious homeowners needing a flexible, whole-panel connection solution.
- Pros: Cheaper than a full transfer switch sub-panel; compact design.
- Cons: Relies on the user to manage loads manually to avoid tripping the generator breaker.
Automatic Transfer Switch (ATS) / Smart Home Panel
These devices detect grid loss and automatically switch to backup power without human intervention.
- Best for: Medical needs, frequent outages, or ensuring power while away from home.
- Pros: Hands-off convenience; instant switchover ideal for battery backup systems.
- Cons: Highest equipment and installation cost; requires a compatible generator or battery system.
Inlet Box
Every hardwired connection method requires a power inlet box. This weatherproof exterior plug connects the generator cord to your indoor wiring, keeping gas generators safely outside or battery units easily accessible.
Sizing Your System: Amperage, Wattage, and Load Management
Correctly sizing your system ensures you don't overload your generator or transfer switch.
Calculate Running and Surge Watts
Total system sizing requires summing the running wattage of essentials (refrigerator, lights, router) and accounting for surge watts. Inductive loads, such as well pumps and HVAC compressors, require 2–3 times their running wattage to start. If the generator cannot handle this initial spike, the appliances will not run.
Match Amperage
The transfer switch must match the generator’s output outlet amperage.
- 30-Amp: Standard for portable generators up to 7,500 watts.
- 50-Amp: Required for larger generators (above 7,500 watts) or whole-home backup.
Load Balancing
For 240V generators, you must distribute 120V loads evenly across both phases (the two hot legs) of the panel. Unbalanced loads reduce generator efficiency and can damage equipment.
High-Demand vs. Essential Load Examples
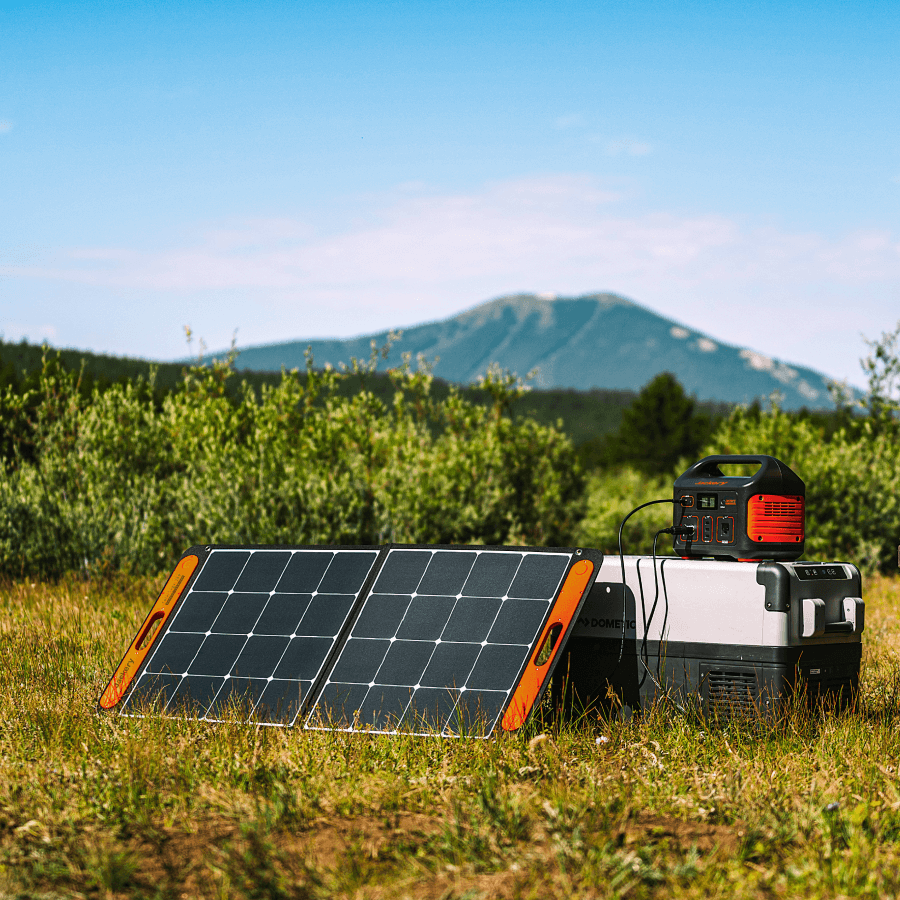
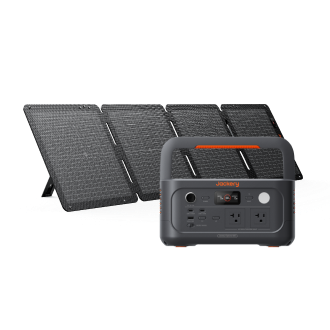
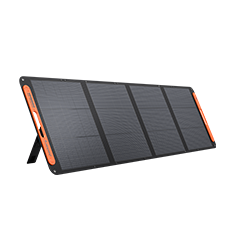
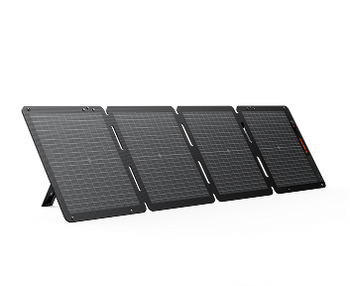
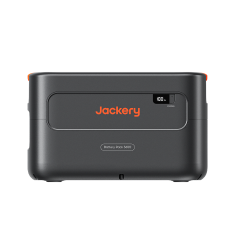
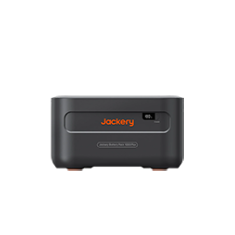
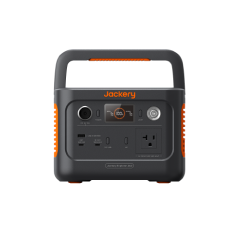
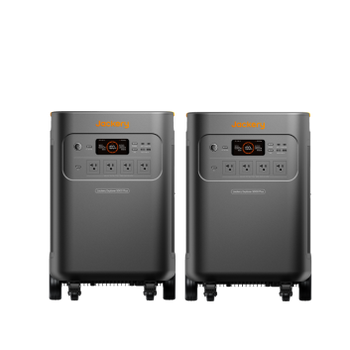
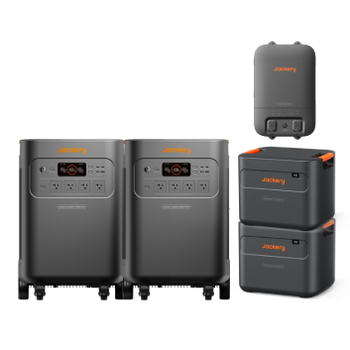
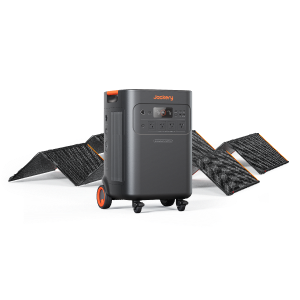
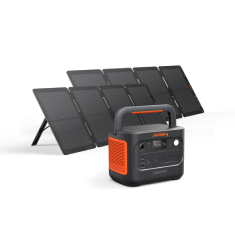
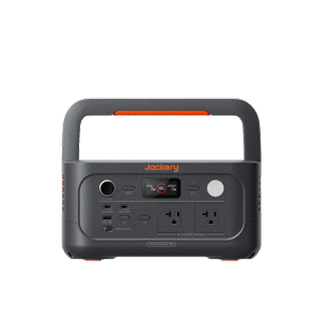
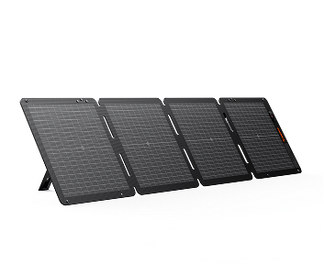
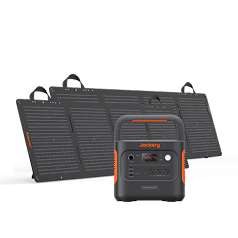
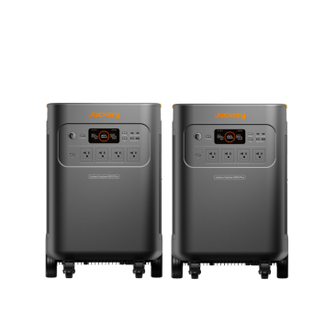
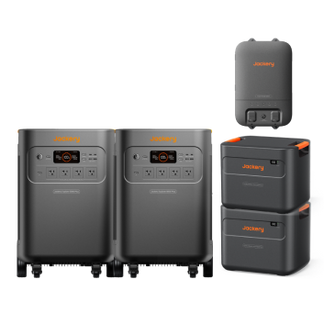
- Essential Home Backup: High-demand scenarios often require 240V capability and high output. The Jackery Solar Generator 5000 Plus delivers a substantial 7200W output, making the unit capable of handling heavy-duty appliances via a transfer switch.
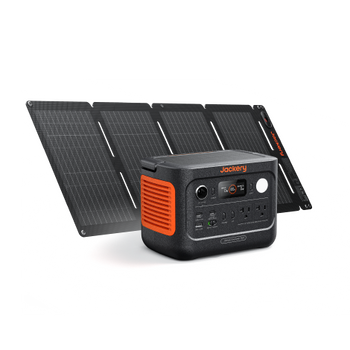
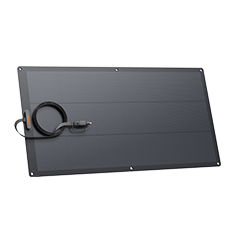
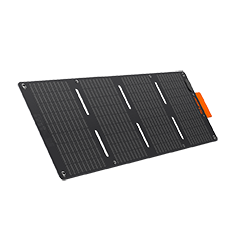
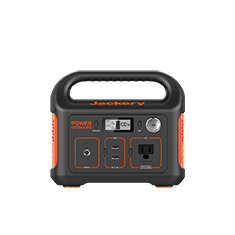
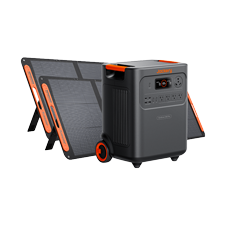
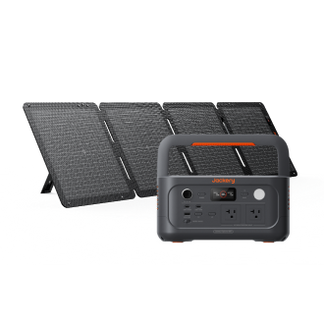
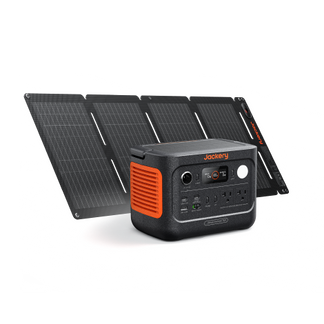
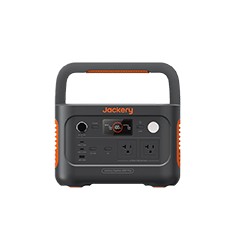
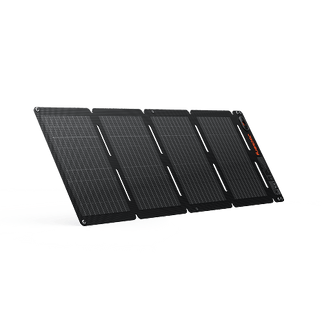
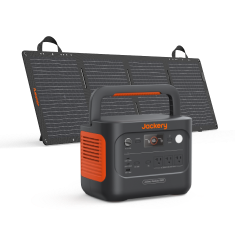
- Essential Circuits: For backing up critical circuits like lights and refrigeration, the Jackery Solar Generator HomePower 3600 Plus provides a robust 3600W output, sufficient for keeping key systems running during extended blackouts.
Essential Hardware Checklist
Before scheduling an installation, ensure you have the correct components.
- Transfer Device: A manual switch, interlock kit, or smart panel sized for your specific load requirements.
- Power Inlet Box: An exterior NEMA L14-30 (30A) or NEMA 14-50 (50A) box that matches your generator cord.
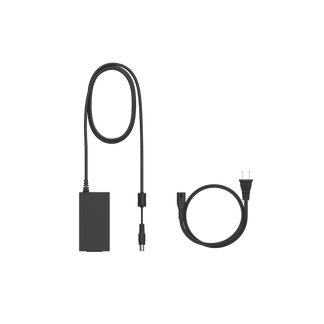
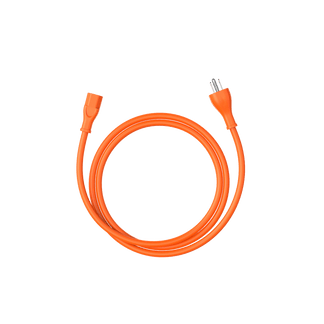
- Generator Cord: Use a heavy-duty, outdoor-rated locking cord. Never use improvised male-to-male suicide cords, which are illegal and deadly.
-
Power Source:
- Jackery Solar Generator 5000 Plus: Ideal for high-demand, 240V appliances and extended house backup (7200W output).
- Jackery Solar Generator HomePower 3600 Plus: Excellent for powering essential circuits via a transfer switch (3600W output).
- Labeling Kit: Clearly mark which breakers on your panel are connected to the backup system to avoid confusion during an emergency.

Step-by-Step Installation Overview
Note: Always hire a licensed electrician. This is a high-level overview of the professional process, not a DIY manual.
- Planning: Calculate loads and obtain necessary electrical permits from your local municipality.
- Mounting: The electrician mounts the transfer switch near the main panel and the inlet box on the exterior of the house.
- Wiring: Selected circuits are moved from the main panel to the transfer switch, or an interlock kit is installed on the main panel cover. You can read more about which Jackery works with a transfer switch and how to install it for specific unit details.
- Grounding: The electrician ensures proper grounding and bonding based on whether the generator has a floating or bonded neutral.
- Inspection: A local building inspector verifies code compliance before the system is energized.
- Initial Test: The electrician simulates an outage to verify voltage, frequency, and proper circuit operation.
Operating the System During an Outage
Once installed, knowing how to connect generator to house systems during a blackout is vital. Follow this sequence to prevent damage.
- Preparation: Turn off large loads (AC, ovens) before switching power sources. This prevents stalling the generator with a massive immediate load.
- Connection: Plug the generator into the exterior inlet box using your heavy-duty locking cord.
- Start-up: Turn on the generator. (Note: Gas units MUST be outdoors to prevent carbon monoxide poisoning; Jackery units can be safely operated indoors).
- Transfer: Flip the transfer switch or interlock to Generator mode.
- Load Application: Turn on circuit breakers one by one, starting with the largest load (e.g., the refrigerator or well pump). For a broader guide on outage management, see how to use a generator during a power outage safely.
- Monitoring: Watch the generator's display for overload warnings. Adjust loads if necessary.
- Restoration: When grid power returns, switch back to Line/Utility mode before shutting down the generator.
Maintenance and Reliability
A backup system is only useful if it works when you need it.
- Regular Testing: Perform a dry run every 3–6 months to ensure the switch and generator function correctly.
- Cord Inspection: Check cables for cracks, wear, or corrosion on the prongs before every use.
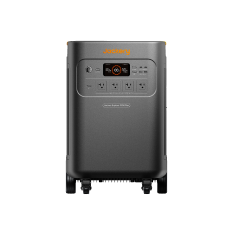
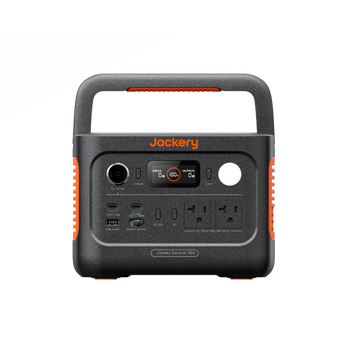
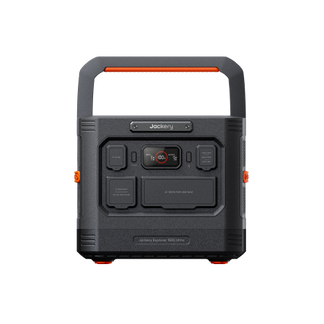
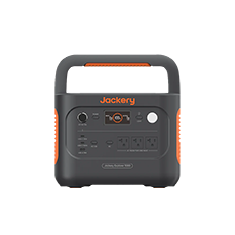
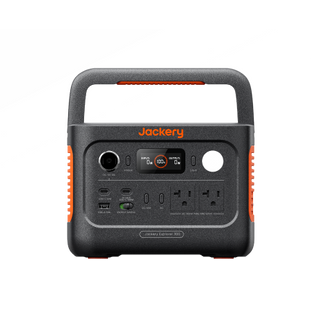
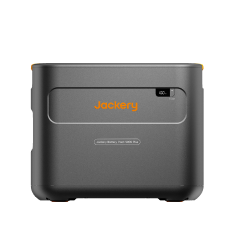
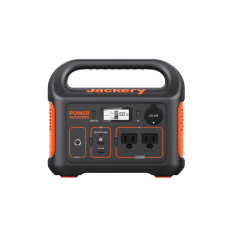
- Battery Care: For solar generators like the Jackery Explorer 5000 Plus, keep firmware updated and charge the unit periodically to ensure readiness.
- Fuel Management: If using gas, rotate stored fuel and use stabilizers. Battery systems avoid this maintenance entirely.
- Exercise: Run the system under load briefly to ensure connections remain tight and functional.
Costs and Professional Help
Budgeting for a transfer switch involves more than just the hardware.
- Installation Fees: Professional electrician labor and permits often cost more than the transfer switch hardware itself.
- Quote Comparison: Get written estimates from three licensed electricians. Ensure quotes include parts, labor, and permit fees.
- Insurance Documentation: Keep permits and inspection reports. These prove code compliance for home insurance should you ever need to file a claim.
Alternatives and Upgrades
While manual switches are standard, modern technology offers upgrades.
- Battery Backup: Systems like the Jackery Solar Generator HomePower 3600 Plus offer silent, fume-free indoor operation, eliminating the need to run outside in a storm.
- Smart Panels: These integrate with battery systems to manage energy usage and time-of-use rates automatically. Learn more about how to install and uninstall a smart transfer switch for automated home backup.
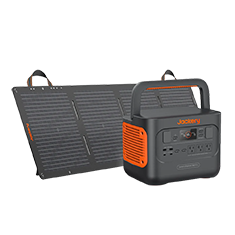
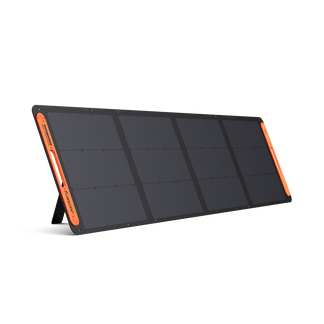
- Solar Integration: Pairing a transfer switch with a solar generator allows for recharging during prolonged grid failures.
- Soft Starters: Installing soft starters on AC units can reduce startup amperage, allowing smaller generators to run central air conditioning.
Practical Checklist Before You Need It
Don't wait for the storm warning to prepare.
- Map Circuits: Identify exactly which lights and outlets are on which breaker. Label them clearly.
- Purchase Hardware: Buy the correct inlet box and cord before the storm season begins.
- Schedule Electrician: Book installation early. Professionals are booked solid immediately after severe weather events.
- Test Run: Physically practice connecting the cord and flipping the switch so the process becomes muscle memory.
Frequently Asked Questions
Does a transfer switch affect my home insurance coverage?
Yes, professional installation and permits are often required to maintain policy validity. Unpermitted electrical work can lead to claim denials if an electrical fire or damage occurs.
Can I use a transfer switch with a GFCI-protected generator?
Yes, but you may need a specific transfer switch that switches the neutral wire (3-pole switch). Standard 2-pole switches can cause nuisance tripping on GFCI-equipped generators due to ground loops.
How far can my generator be from the inlet box?
Keep the cord under 60-100 feet to prevent significant voltage drop, which can damage appliances. However, gas generators must be at least 20 feet away from windows and doors to prevent carbon monoxide poisoning.
Will my internet and Wi-Fi work through a transfer switch?
Yes, provided your modem, router, and any external signal boosters are plugged into the specific circuits wired to the transfer switch.
Can I install a transfer switch on a detached garage?
Yes, but this requires a sub-panel and specific grounding requirements. You must treat the detached building as a separate structure according to the National Electrical Code (NEC).