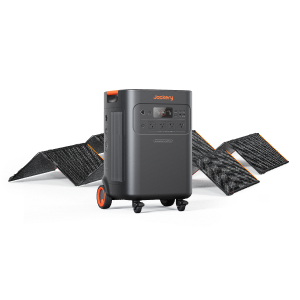
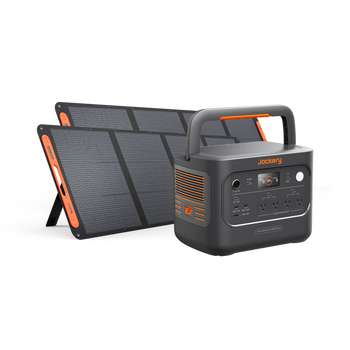
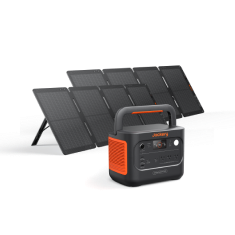


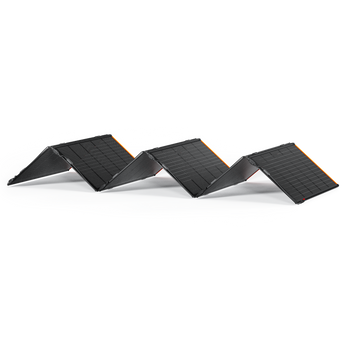


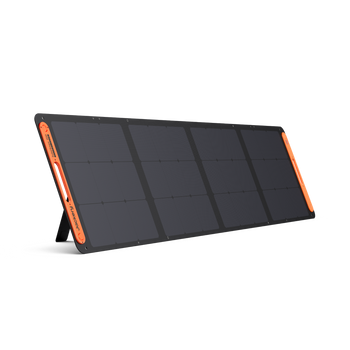


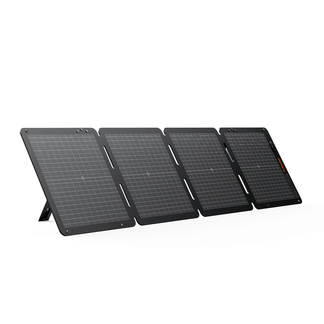


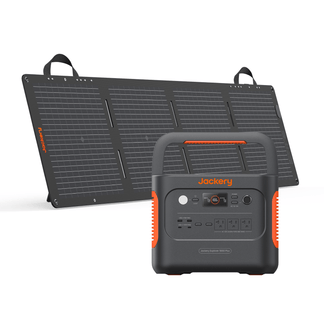

![[Add - on] SolarSaga 200W - Jackery](http://www.jackery.com/cdn/shop/files/add-on-solarsaga-200w-4834329.png?v=1754016915&width=324)


With gas prices surging every spring and RV hookups growing increasingly crowded and expensive, true travel freedom requires a reliable off-grid power strategy. Designing your DIY Camper Van Solar Kit before the travel season begins saves you from the stress of rushed, last-minute electrical builds.
A well-planned system eliminates weather anxiety, guaranteeing steady power from freezing 14°F mountain mornings to sweltering 88°F (31.1°C) desert afternoons—all without ever pulling the cord on a noisy gas generator. By investing in a dedicated solar setup today, you secure silent, renewable energy and achieve ultimate off-grid independence on your own terms.
Why Upgrading to a Camper Van Solar Kit is Essential
Upgrading to a dedicated solar setup transforms your travel experience by providing reliable, independent power. Here is why making the switch is the ultimate boondocking upgrade:
- Enjoy silent operation: Experience nature without the disruptive, 70-decibel hum of a traditional gas generator. Silent power generation is the baseline standard for modern boondocking.
- Accumulate rapid financial savings: Quickly recoup your initial investment by eliminating daily fuel costs and bypassing crowded RV park hookup fees that routinely exceed $65 per night.
- Maximize your off-grid time: With precise electrical engineering, a properly sized system allows you to comfortably spend half the year (182+ days) completely off-grid without ever plugging into shore power.
- Protect your batteries year-round: When your van sits idle in the driveway between trips, your solar panels provide a steady trickle charge. This constant energy flow prevents damaging deep discharges and significantly extends your battery bank's lifespan.
Calculating Your Power Needs and Daily Consumption
Before buying any equipment, you must understand exactly how much energy you use. Follow these steps to size your system correctly:
- Perform an energy audit: List every electronic device in your rig and calculate its daily Watt-hour (Wh) consumption (Watts × Hours used).
- Track actual usage: Install a shunt-based battery monitor to track real-time power draws and verify your estimates. For context, a baseline consumption of 560 Wh/day sustains basic long-term travel, easily covering LED puck lights, a water pump, device chargers, and a roof vent fan.
- Apply the 20% rule: Always size your solar array to produce at least 20% more energy than your calculated daily usage. This essential buffer accounts for natural system inefficiencies, temperature fluctuations, and wiring losses.
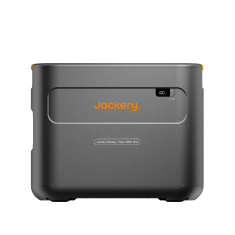
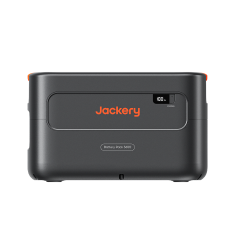
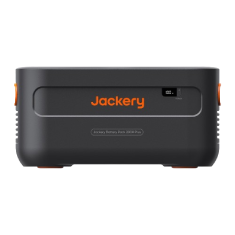
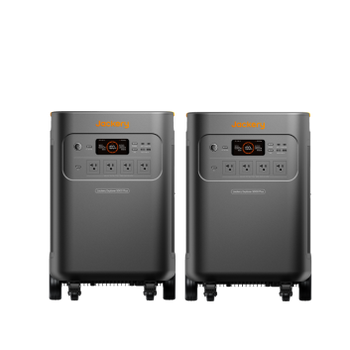
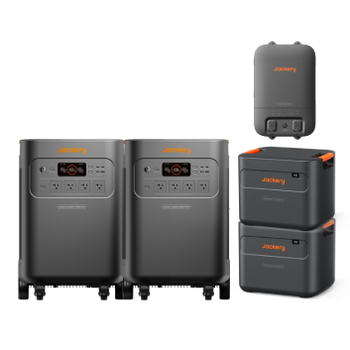
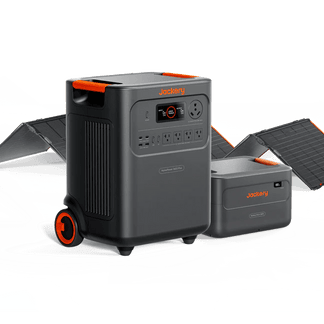
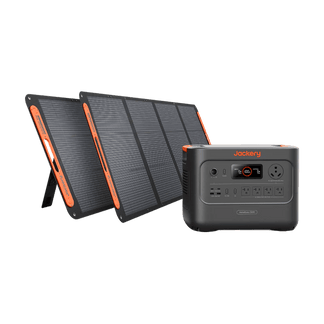
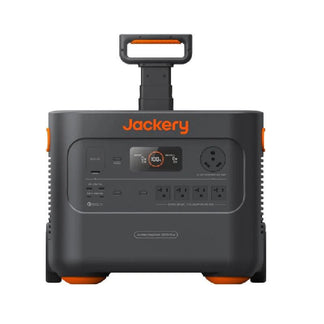
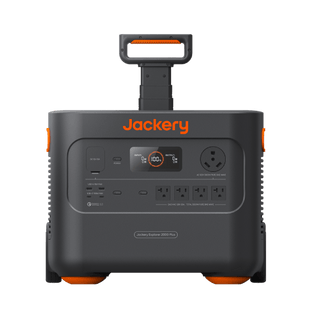
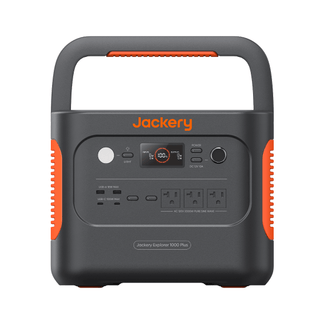
- Plan for heavy continuous loads: If you work remotely or run high-draw devices—like a satellite internet dish for 12 hours a day—you require significantly more infrastructure. You will need to upgrade to a 600W+ solar array and expandable power stations, such as the Jackery Explorer 2000 Plus paired with the Jackery Battery Pack 2000 Plus, to handle the heavy demand.

Selecting the Right Equipment for Your Rig
Core Components of a Complete RV solar system with batteries
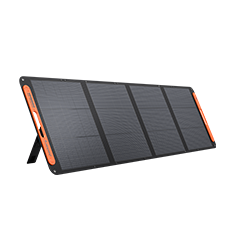
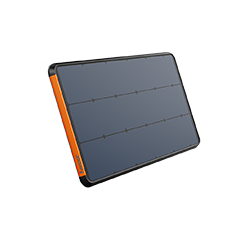
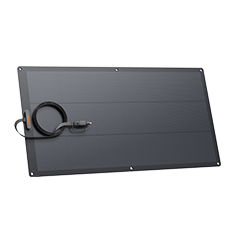
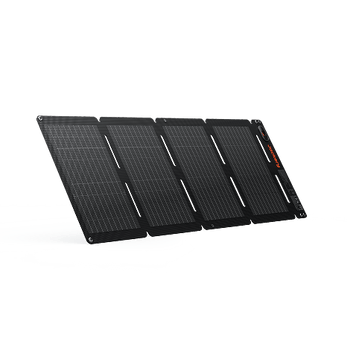
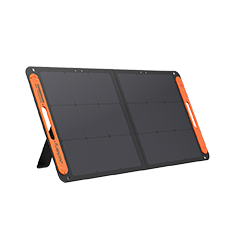
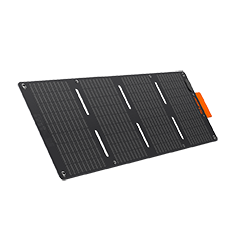
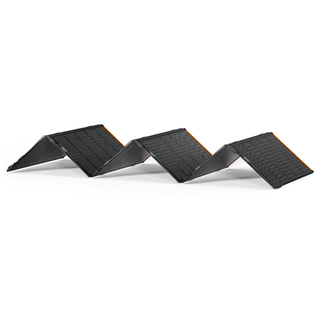
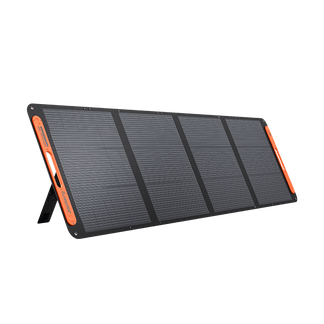
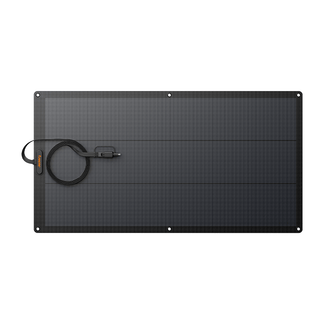
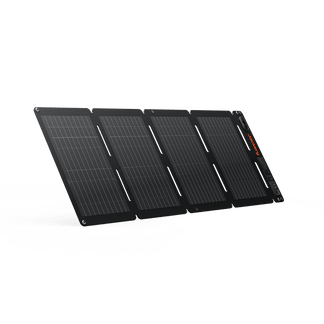
Select rigid bifacial panels for large, flat RV roofs to maximize energy yield from sunlight reflecting off the white roof surface. Conversely, choose flexible 100W to 200W panels for stealthy, curved minivan micro-campers to maintain a low profile for urban boondocking.
- Charge Controller: Install an MPPT (Maximum Power Point Tracking) charge controller to maximize efficiency. This device intelligently converts high solar panel voltage down to the exact battery voltage required, minimizing power loss by up to 30% compared to older PWM technology.
- Battery Chemistry: Invest exclusively in Lithium (LiFePO4) batteries. They allow for deeper, safer discharges down to 0% and offer thousands of charge cycles, resulting in a significantly longer lifespan compared to heavy, outdated lead-acid batteries that die if discharged below 50%.
- AC Power: Choose a pure sine wave inverter to safely power sensitive electronics. This component converts 12V DC battery power into clean 120V AC household electricity, ensuring laptops, routers, and flat-screen TVs run without interference or damage.
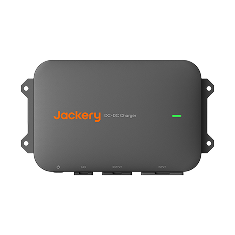
- Alternator Charging: Add a DC-DC charger to your van build. This essential component safely charges your house battery via the vehicle's alternator while driving, guaranteeing you arrive at your next campsite fully charged even on cloudy travel days.
Sizing Your Setup: Choosing an RV solar panel Kit to run AC
Target a 400W solar array as the sweet spot for standard off-grid living. This capacity easily manages the daily demands of running a 12V compressor fridge, interior LED lights, roof ventilation fans, and charging multiple laptops.
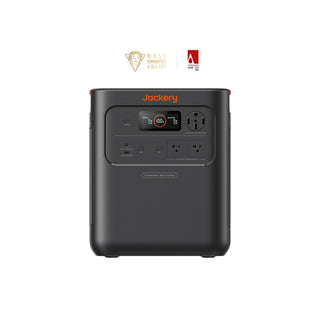
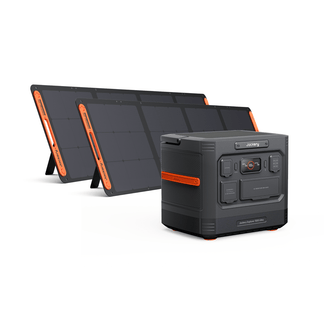
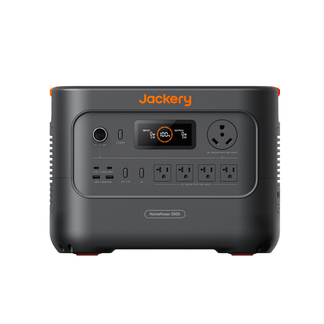
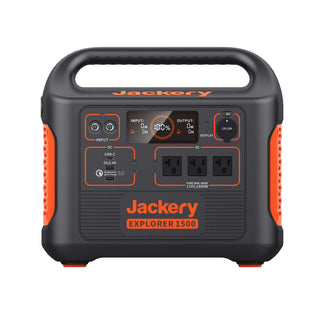
Climate control requires entirely different math. Invest in a 1000W+ solar setup and a massive battery bank if you plan to run an air conditioner, as these units pull 100 amps or more continuously. Pair your roof panels with adequate storage to capture peak daytime sun. Roughly 100Ah to 200Ah (1,200Wh - 2,400Wh) of lithium storage perfectly complements a 400W solar array. This exact capacity range matches premium portable units like the Jackery Explorer 1500 v2 or the Jackery Explorer 2000 Plus, creating a balanced system that will not leave you stranded after sunset.
Wiring, Safety, and Installation Best Practices
Step-by-Step: Installing Your RV solar panel kit with battery and inverter
Proper installation is critical for both the efficiency of your system and the safety of your vehicle. Follow these strict guidelines when mounting and wiring your equipment:
- Adhere to the 33% rule: Always leave at least a third of your roof bare. This ensures safe panel ventilation to prevent overheating and provides the necessary walking space for future maintenance access.
- Secure and seal your hardware: Mechanically mount your panels using heavy-duty aluminum Z-brackets. Thoroughly seal every roof penetration with industrial-grade sealant to prevent catastrophic water leaks.
- Follow the strict connection order: Always connect the charge controller to the battery first, before attaching the solar panels. This sequence gives the controller the 12V reference voltage it needs to operate. Never wire panels directly to batteries—doing so bypasses voltage regulation, causing rapid overcharging and severe fire risks.
- Size your wires correctly: Select the proper wire gauges to prevent dangerous voltage drops and melted insulation. Use 10 AWG wire for standard solar panel runs, and heavy-duty 4/0 AWG cable for large inverters pulling massive current.
- Install in-line fuses: Place fuses between your panels, controllers, and batteries. Fuses act as a deliberate safety checkpoint, breaking the circuit instantly to prevent electrical fires in the event of a short.
Series vs. Parallel Wiring Explained
How you wire your panels dictates how your system performs and interacts with your charge controller.
- Series wiring increases total voltage for better low-light charging during early mornings and late afternoons, but you must ensure you stay strictly under your MPPT controller's maximum voltage limit.
- Parallel wiring increases total amperage instead. Choose this method if series wiring pushes your Voltage Open Circuit (VOC) too high for your specific controller.
Wiring Configuration Guide:
|
Wiring Method |
Primary Benefit |
Best Application |
Voltage / Amperage Effect |
|
Series |
Better low-light charging |
Early morning or late afternoon |
Increases Voltage, Amperage stays the same |
|
Parallel |
Keeps VOC safely low |
Systems nearing MPPT limits |
Increases Amperage, Voltage stays the same |
Utilizing Portable Alternatives for Hassle-Free Power
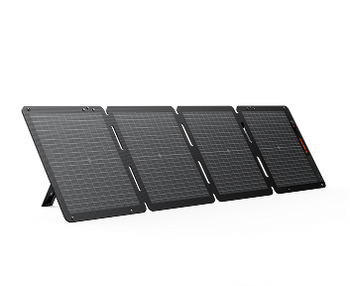
Permanent roof wiring causes installation anxiety for many DIY builders. Choose portable solar generators as a plug-and-play alternative to skip the drilling, crimping, and complex electrical schematics entirely.
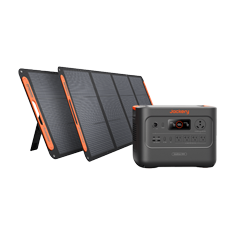
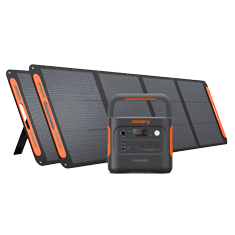
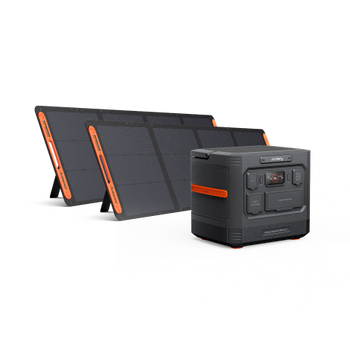
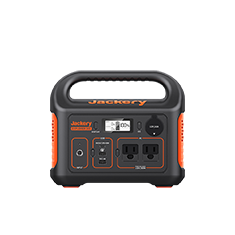
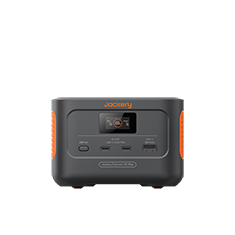
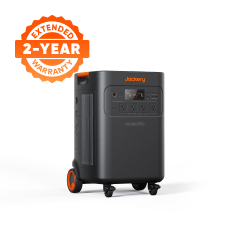
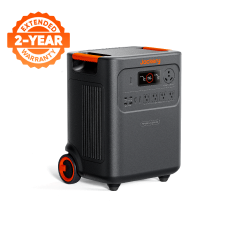
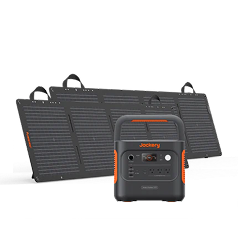
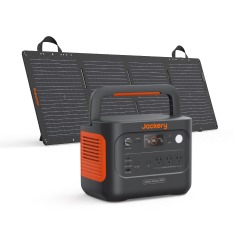
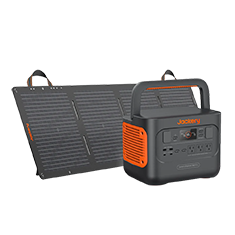
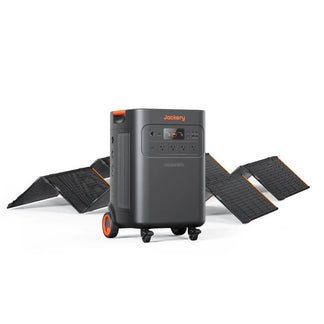
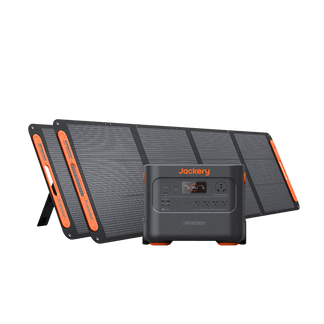
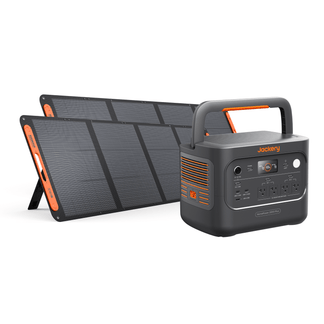
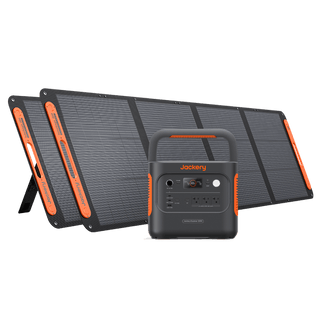
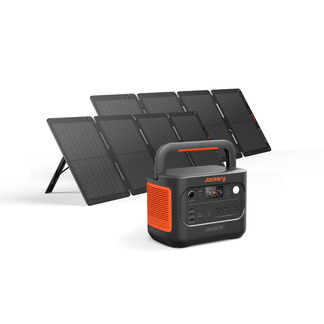
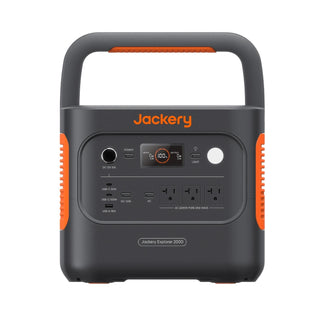
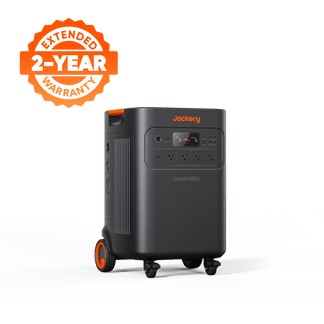
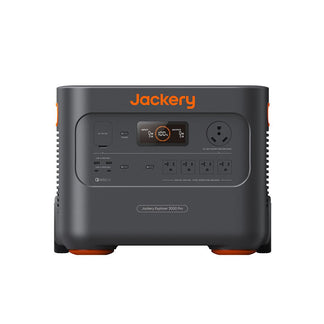
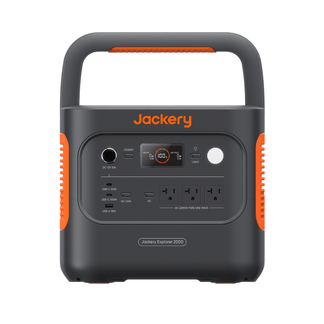
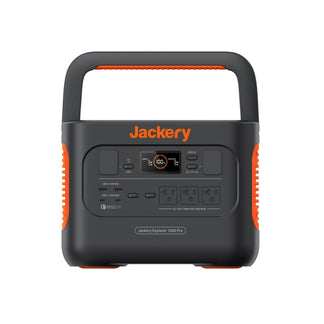
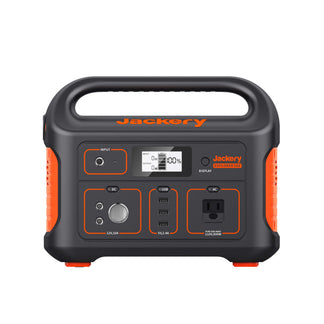
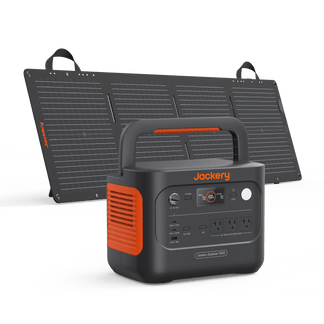
Utilize the Jackery Solar Generator 2000 Plus for extended boondocking and running high-draw appliances. With a massive 2042.8Wh capacity and 3000W output, this unit easily powers microwaves, induction cooktops, and blenders. Opt for the lightweight Jackery Solar Generator 1500 v2 for moderate spring weekend getaways. It packs 1536Wh of usable energy into a highly manageable 31.97 lbs frame.
Bypass complex wiring, fusing confusion, and strict roof coverage limits entirely with these modular, all-in-one systems. Simply deploy the portable panels in direct sunlight while keeping your van parked comfortably in the shade.
Conclusion: Hit the Road with Confidence
Transform your RV experience by eliminating gas pump reliance and embracing silent, renewable solar energy. According to data from Environment America, shifting away from fossil fuels in recreational areas drastically reduces localized air and noise pollution. Ensure reliable off-grid power for years by prioritizing proper planning, accurate sizing, and strict safe installation protocols. Embrace the freedom of the open road this spring with a sustainable energy solution that powers your journey effortlessly.
Frequently Asked Questions
Will a 400W solar panel actually produce 400 watts?
No. Real-world output is typically 70% to 80% of the rated wattage due to imperfect sun angles, high panel temperatures, and atmospheric conditions.
Are camper van solar kits eligible for tax credits?
If the camper van qualifies as a second home containing sleeping, cooking, and toilet facilities, a permanently installed solar system may be eligible for the 30% federal residential clean energy credit. Portable or unmounted generators usually do not qualify for this specific incentive.
How do camper solar panels perform on cloudy days?
Panels still generate power under cloud cover, though at a significantly reduced rate. Expect output to drop to about 10% to 25% of their maximum rated capacity during heavy overcast conditions.
How often should I clean my van's solar panels?
Wipe down the panels with water and a soft cloth every few weeks. This prevents dust, dirt, and spring pollen buildup from reducing your overall charging efficiency.
Does installing solar increase my camper van's resale value?
Yes. A professionally installed, well-documented off-grid solar system generally increases the market value and broadens the buyer appeal of a used camper van.


