


![[Add - on] Jackery Manual Transfer Switch for Explorer 5000 Plus - Jackery](http://www.jackery.com/cdn/shop/files/add-on-jackery-manual-transfer-switch-for-explorer-5000-plus-9017324.png?v=1754016782&width=350)


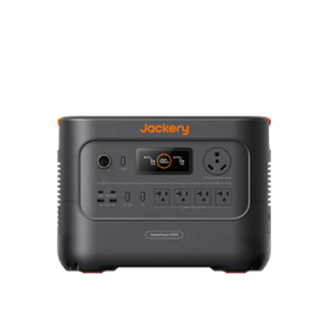


![[Add - on] Jackery Manual Transfer Switch for Explorer 5000 Plus - Jackery](http://www.jackery.com/cdn/shop/files/add-on-jackery-manual-transfer-switch-for-explorer-5000-plus-9017324.png?v=1754016782&width=324)


Yes, a solar generator can power an Arduino. Arduino boards consume very little electricity, typically just a few watts, making them compatible with portable solar generators and even small backup power stations without any risk of overload. In practice, a “solar-powered Arduino” can mean two very different things. One approach uses a small solar panel, a charge controller, and a battery wired directly to the Arduino.
The other way to build a solar-powered Arduino is to use a portable solar generator, such as those from Jackery, to supply stable power to the appliances. Jackery Solar Generators are reliable battery backup solutions that can run indoor or outdoor appliances anywhere you go. This article breaks down both options, explains how much power an Arduino actually uses, and helps you decide when a solar generator is the more practical, scalable, and reliable choice.
Takeaways
- An Arduino consumes very little power, making it easy to run on both small solar setups and full solar generators.
- Solar-powered Arduino usually means a DIY setup with solar panels and batteries.
- Solar generators offer cleaner voltage regulation, longer runtimes, and fewer points of failure.
- Jackery Solar Generators can run an Arduino for days on a single charge while also supporting other devices.
What Is A Solar Powered Arduino?
A solar-powered Arduino is a self-sufficient system using a solar panel to generate power, an Arduino board to control tasks, and a rechargeable battery to store energy. It enables projects in remote locations without grid power for applications like weather stations, data loggers, or smart irrigation.
An Arduino consists of a physical programmable circuit board and a piece of software. The electrical device is used by designers, artists, newbies, and others interested in creating interactive objects or environments.

The solar-powered Arduino is used in data monitoring, remote sensing, and data logging projects. The solar panels absorb the sunlight, and the charge controller in the power station converts the solar to a stable regulated voltage to power the Arduino battery.
What are the Types Of Solar-Powered Arduino?
There are four main types of solar-powered Arduino. Let us discuss them briefly.

Arduino Nano
It is a small and compact board with approximately 22 digital input/output pins, out of which there are 14 digital pins and 8 analog pins. Therefore, Arduino Nano is suitable for projects where space is limited.
Arduino Pro Mini
The Pro Mini version is the stripped-down version of the Uno board with a reset button, 14 digital input or output pins (of which 6 are used as PWM outputs), an onboard resonator, 6 analog inputs, and holes for mounting pin headers. Projects that require a small form factor can use Arduino Pro Mini.
Arduino Uno
The Uno is one of the best choices for starters. It features 14 digital input or output pins (of which 6 are used as PWM outputs), an ICSP header, 6 analog inputs, a USB connection, a power jack, a 16 MHz ceramic resonator, and a reset button. In addition, it contains components to support microcontrollers. You can power it with an AC-to-DC adapter or connect it to a computer with a USB cable to get started.
Arduino Mega
Unlike Arduino Uno, it has around 54 digital input/output pins, a USB connection, analog inputs, a reset button, and a power jack. This type of Arduino is suitable for projects that require a bunch of digital inputs and outputs.
Solar Powered Arduino Vs. Solar Generator For Arduino
Solar-powered Arduino and solar generators for Arduino are the two popular charging options for Arduino. While solar-powered Arduino is compact and helpful for small projects, solar generators are known to power multiple other devices and Arduino.
A solar generator is a powerful power solution suitable for outdoor events, camping trips, or anytime you need power on the go. Let us briefly compare the solar power Arduino with the solar generator for Arduino.
|
Types |
Parts & Tools |
Steps |
Pros |
Cons |
|
DFRobot Solar Power Manager 5V |
- DFRobot Solar Power Manager 5V - 3.7V Lithium Battery with a battery holder - 5V Solar Panel - Arduino with USB cable - Precision Flathead Screwdriver is the required tool |
1. Connect the Arduino battery to the solar power manager via battery terminals. 2. Connect the solar panels to the solar power manager via solar terminals. 3. Plug the device into the USB port located on Solar Power Manager.
|
Highly efficient power module Double charging mode with a USB charger and solar Features a constant MPPT algorithm |
Limited power output Weather conditions can affect the charging capability |
|
Solar Charge Controller with USB Port |
- Small 12V solar panel - Small 12V battery - Arduino with USB cable - 12V PWM charge controller with USB port - Battery with fuse to charge controller adapter cables - Screwdriver is the required tool |
1 Connect the charge controller and the battery via battery terminals. 2. Connect the solar panels to the charge controller using solar terminals. 3. Plug the Arduino into the charge controller’s USB port. |
Efficient charging and solar system protection USB ports for charging devices |
Limited features compared to the high-end charge controller Less efficient |
|
Solar Charge Controller with 12V to 5V Converter |
- Small 12V solar panel - Small 12V battery - Arduino with USB cable - 12V PWM charge controller with load terminals - Battery with fuse to charge controller adapter cables - 12V to 5V converter with USB port - Screwdriver is the required tool |
1 Connect the charge controller and the battery via battery terminals. 2. Connect the solar panels to the charge controller using solar terminals. 3. Connect the 12V to 5V converter to the charge controller using load terminals. |
Built-in voltage converter available Can efficiently charge low-power-consuming Arduino
|
May not be suitable for large systems Limited compatibility |
|
Solar Generator for Arduino |
- Solar panels - Portable power station (solar charge controller + rechargeable battery + solar inverter) |
1 Connect the solar panels with the portable power station. 2. Plug your electrical device into the power station. |
Portable and highly efficient Can power multiple devices with the help of ports available Suitable for outdoor adventures and camping trips |
High upfront cost |
Solar Powered Arduino
There are three methods to power a solar Arduino.
DFRobot Solar Power Manager 5V
Those looking to choose an affordable method to power their Arduino can opt for DFRobot solar power manager 5V. It works with a 3.7V lithium-ion battery and does not require any components. You can connect the solar panels with the Arduino to transfer solar energy and power the device.
Solar Charge Controller With USB Port
The solar charge controller connects the solar panels and the Arduino battery. The best part about the method is that it regulates the voltage of the solar panel and current to prevent overcharging and safely charge the battery. The downside of the technique is that it's costlier than other solutions.
Solar Charge Controller With 12V to 5V Converter
The third method allows you to power the Arduino without a USB port. It is a simple solution to charge an Arduino compared to other methods. You only need a screwdriver to connect the solar charge controller to the electrical device.
Solar Generator For Arduino
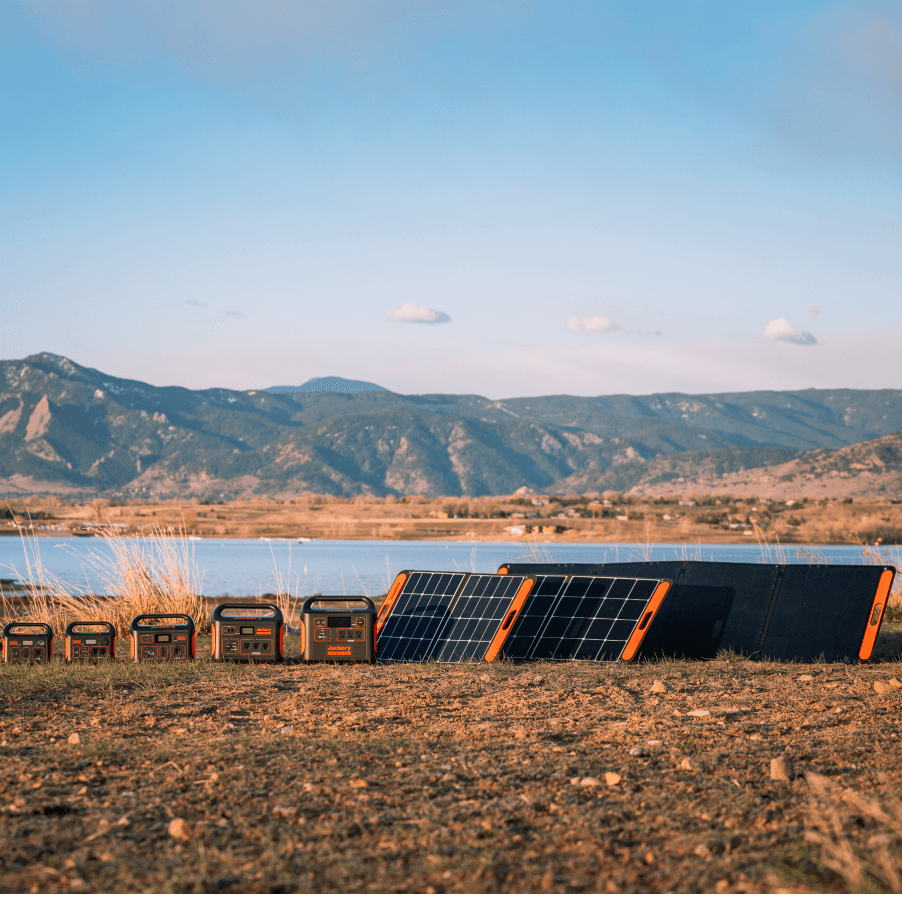
Unlike solar-powered Arduino, a solar generator can help you power an Arduino (and other devices) for long hours. It combines solar panels and an electric battery storage system to provide stable power to all electrical appliances.
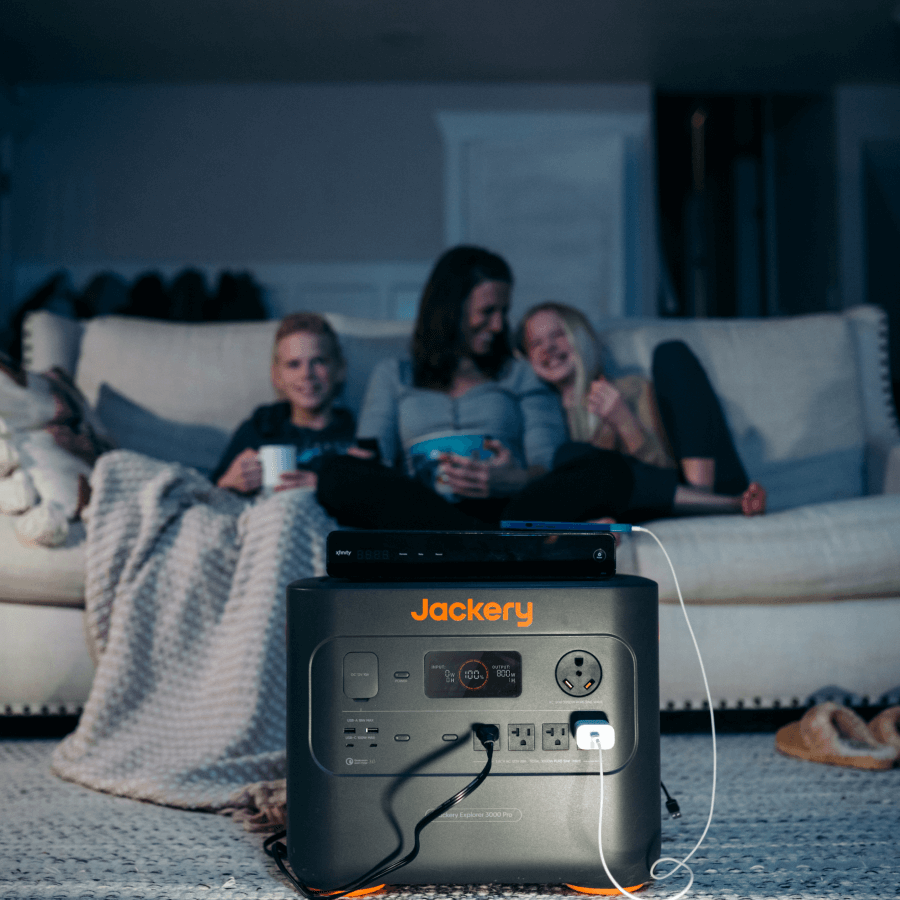
Jackery Solar Generators are a reliable green energy solution for powering Arduino or home/outdoor appliances during off-the-grid living, RVing, and home backup. Plug and play button of the solar generator makes it easy to use.
The powerful generator collects, converts, stores, and powers appliances without any installation. All the Jackery Solar Generators come with a pass-through charging feature, meaning you can power the device while keeping it plugged into the solar panels.
How Many Watts Does An Arduino Use?
An Arduino's power consumption varies greatly but typically ranges from under 1 watt (e.g., 0.3-0.7W for an Uno at idle/low load) up to several watts when running complex sketches or powering many peripherals.
Once you understand how many watts a solar power Arduino uses, it is important to learn what is watt-hour (Wh), milliwatt (mW), and voltage. A watt-hour is the unit of energy represented when an appliance consumes one watt of power in one hour. It is used to measure the energy consumption of larger devices like refrigerators, coolers, AC, etc.
For smaller batteries, a milliwatt-hour is used. One milliwatt-hour is equal to 0.001 watts. As a solar power Arduino consumes less energy, it is generally measured in milliwatt hours. The voltage consumed by Arduino is around 5V, depending on its size, capacity, and type.
An Arduino typically consumes around 286mW and 1282mW of power. When Arduino powers display and uses wireless communication like Bluetooth or WiFi, it draws higher power. In sleep mode, the Arduino consumes as low as 230mW.

How Much Solar Power Does An Arduino Need?
The power consumption of an Arduino depends on the type and the purpose for which you are using it. Below we have curated a list of power consumed by Arduino based on different parameters.
|
Test |
Reading (C Tester) |
Reading (M Tester) |
Reading (Watt Meter) |
Length of Time |
Daily Energy Consumption |
|
Baseline (Blink) |
389 mW |
280 mW |
0.4 W |
2-3 Hours |
0.8-1.2 Wh |
|
Low Normal |
398 mW |
286 mW |
0.4 W |
2-3 Hours |
0.8-1.2 Wh |
|
Low Low (Sleep) |
347 mW |
230 mW |
0.3 W |
2-3 Hours |
0.6-0.9 Wh |
|
Medium (LED Display) |
1251 mW |
1135 mW |
1.6 W |
2-3 Hours |
3.2-4.8 Wh |
|
Medium Plus (WiFi and LED Display) |
1380 mW |
1270 mW |
1.9 W |
2-3 Hours |
3.8-5.7 Wh |
|
High (WiFi, LED Display, Floating points maths) |
1407 mW |
1282 mW |
1.9 W |
2-3 Hours |
3.8-5.7 Wh |
|
WiFi Only |
586 mW |
474 mW |
0.7 W |
2-3 Hours |
1.4-2.1 Wh |
|
Bluetooth Only |
556 mW |
459 mW |
0.7 W |
2-3 Hours |
1.4-2.1 Wh |
Jackery Solar Generator For Arduino
Arduino needs a constant and steady power supply to function appropriately. A solar generator combines highly-efficient solar panels and a large-capacity battery to power devices like Arduino.

Jackery Solar Generators are a reliable power source for home or outdoor devices. The solar generators are portable, noise-free, and efficient to meet the power needs of Arduino. The best part about Jackery Solar Generators for Arduino is that you don't have to install or maintain them.
Instead, you can plug the electrical device into the portable power station to run your device for long hours. Below we have listed different sizes of solar generators that you can choose for Arduino.
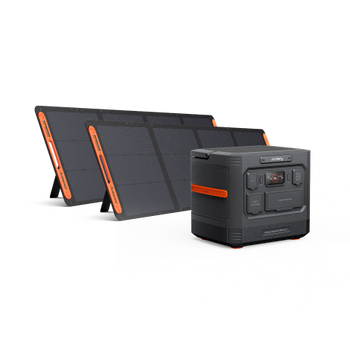
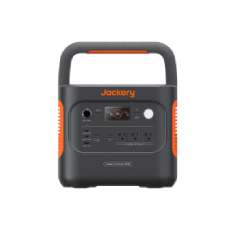
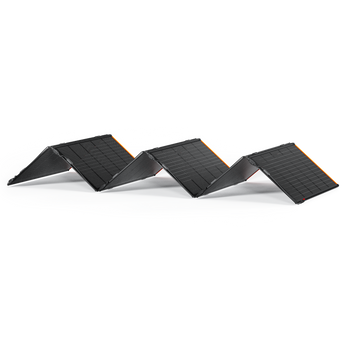
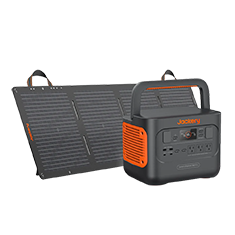
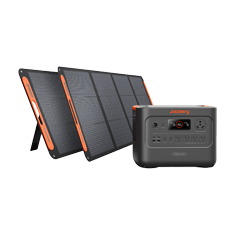
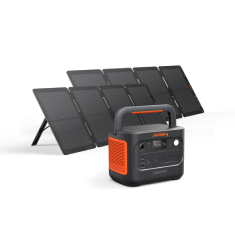
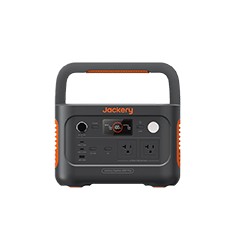
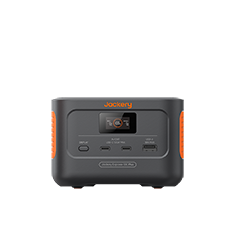
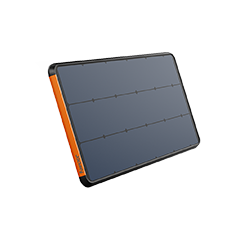
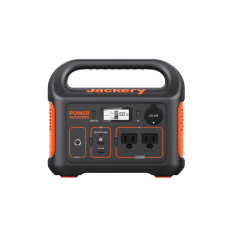
Jackery Solar Generator 240 v2
The Jackery Solar Generator 240 v2 is more than capable of powering an Arduino project. An Arduino typically draws only a few watts, and this solar generator can run it for multiple days on a single charge. You can power the board directly using the USB output, which keeps the setup simple and avoids unnecessary voltage conversion. It has a foldable handle and compact design, so you can easily move the solar generator anywhere you go.
Appliances Running Time
- Laptop (90W) = 2.1H
- External Monitor (100W) = 1.9H
- USB Oscilloscope / Logic Analyzer (15W) = 8.4H
- WiFi Router (15W) = 8.4H
- Low-Wattage Soldering Iron (100W) = 1.9H
Who Should Buy This
If you are looking for a small solar generator that can run an Arduino and other small devices, the Jackery Solar Generator 240 v2 is an ideal solution.

Customer Review
Looks incredible and holds power a lot longer than I anticipated. I started with a 240, and after using it several times, I knew that I needed a bigger one, so I went with the 1000 size. These guys are great!!
— William
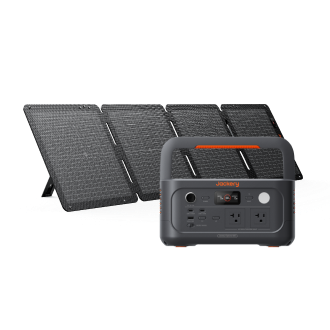
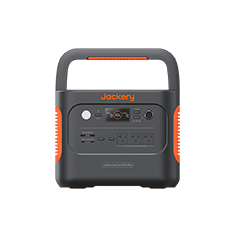
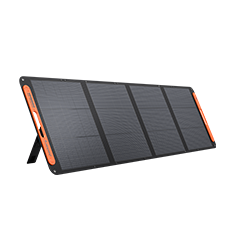
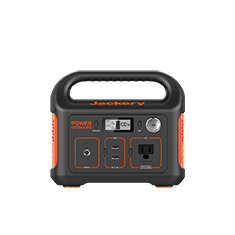
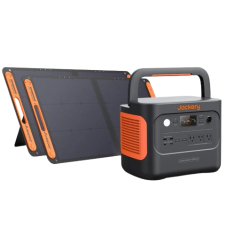
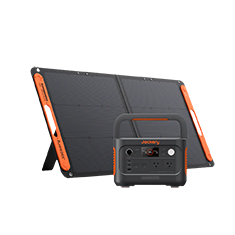
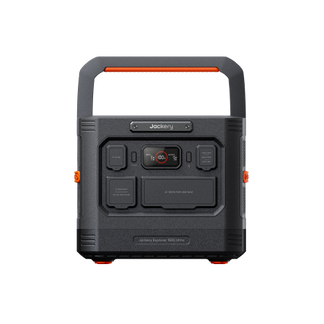
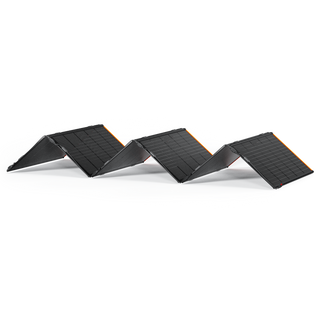
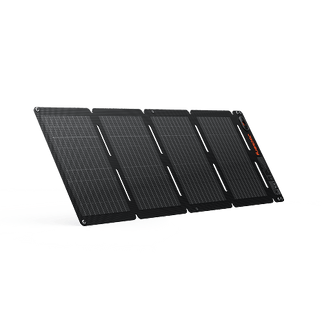
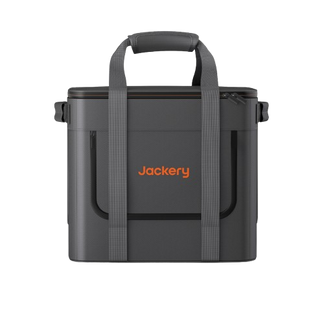
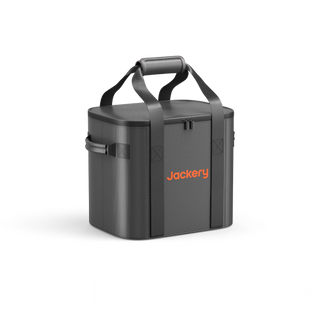
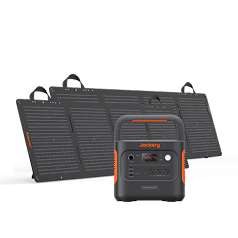
Jackery Solar Generator 300 Plus
The Jackery Solar Generator 300 Plus is another compact solar generator that can power an Arduino continuously while also handling peripherals, such as displays, relays, WiFi modules, or small IoT gateways. It is useful when your Arduino project isn’t isolated. For example, when the Arduino is part of a small monitoring system, data logger, or outdoor experiment that needs stable power day and night. You still get clean, regulated output without building a custom solar circuit.
Appliances Running Time
- Laptop (90W) = 2.4H
- External Monitor (100W) = 2.1H
- USB Oscilloscope / Logic Analyzer (15W) = 9.4H
- WiFi Router (15W) = 9.4H
- Low-Wattage Soldering Iron (100W) = 2.1H
Who Should Buy This
If you want to power Arduino alongside small electronics like routers or cameras, you can consider going ahead with the Jackery Solar Generator 300 Plus.

Customer Review
My goal is to use this little solar generator not only for emergencies but to keep my phone, iPad, and rechargeable table lights charged daily as well. So far, so good.
— Linda E.
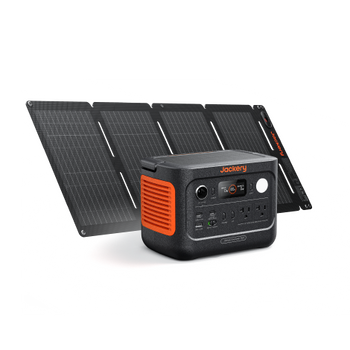
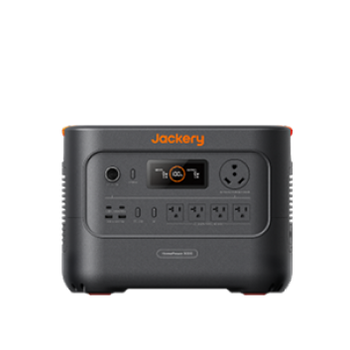
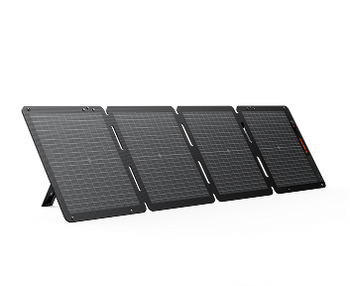
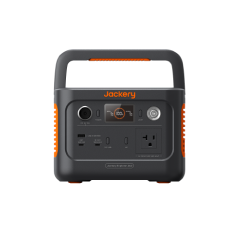
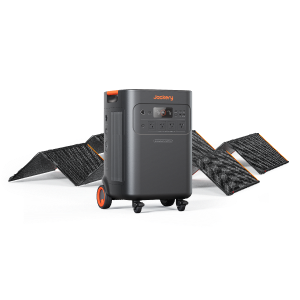
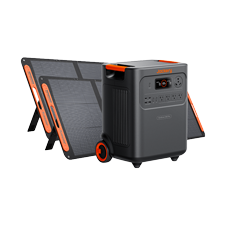
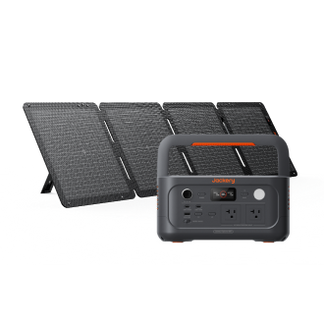
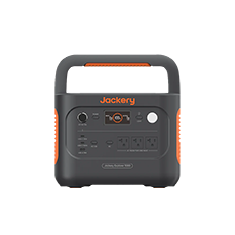
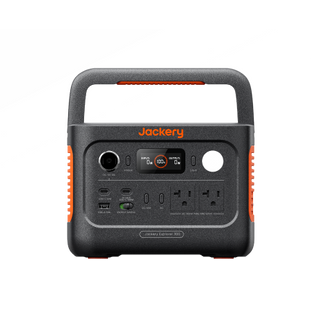
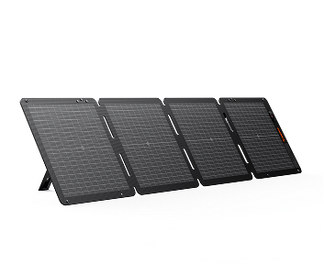
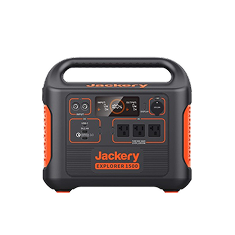
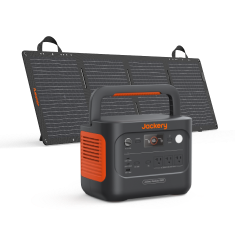
Jackery Solar Generator 600 v2
The Jackery Solar Generator 600 v2 can power an Arduino indefinitely while simultaneously running laptops, test equipment, soldering stations, or other electronics used in development and testing. If your Arduino is part of a larger setup, such as a prototype lab, mobile workstation, or field-testing environment, this solar generator eliminates power constraints entirely. The Arduino becomes a negligible load compared to what this solar generator can handle. You can also use it to run appliances during outdoor trips, such as camping, short RV trips, etc.
Appliances Running Time
- Laptop (90W) = 5.2H
- External Monitor (100W) = 4.8H
- USB Oscilloscope / Logic Analyzer (15W) = 21.0H
- WiFi Router (15W) = 21.0H
- Low-Wattage Soldering Iron (100W) = 4.8H
Who Should Buy This
If you are working outdoors, on-site, or off-grid for long periods and want to run essential appliances for hours, the Jackery Solar Generator 600 v2 is an ideal solution.

Customer Review
We have the 3000, 2000 plus, and the extra battery for the 2000, and now the 600 v2. We got this to power our lights, a radio, and charge our phones in our cabin. I would suggest the jackery solar generators, big or small. They arrive fast and work without fail.
— Karon O.
Solar Powered Arduino FAQs
What size of solar generator do I need to power an Arduino?
The right size of solar generator for Arduino will depend on various factors, like the size, style, type, and power needs. Here is how to calculate the size of the solar generator required for an Arduino. Suppose you want to power an Arduino that consumes 1 watt using Jackery Solar Generator 600 v2. In order to calculate how long this solar generator can run an Arduino, you can use the Running Time Calculator available on the Jackery Buying Guide page.
Visit the product page and scroll down to find the calculator. Choose the Jackery model from the dropdown, such as Explorer 600 v2 and enter the Arduino's wattage consumption. Click Enter to get an estimated runtime. In this case, the Jackery Explorer 600 v2 will run an Arduino for 48 hours on a single charge.
Can I connect the solar cells directly to the Arduino?
No. Connecting the solar cells directly to Arduino is not a great idea for several reasons. Solar cells depend on sunlight to produce power, so they may not provide a steady power stream. That's why the electrical device might not be able to work efficiently. The best way to power an Arduino or any other appliance is by using a solar generator.
How to reduce Arduino power consumption?
Some of the best ways to reduce power consumption are using a small microcontroller, reducing clock speed, using the Arduino low power mode, and reducing the operation voltage.
Final Thoughts
If you want to harness solar energy to power home or outdoor devices during camping trips, consider investing in solar generators. Besides powering your Arduino, it can help you power other appliances like refrigerators, coolers, electrical grills, electric blankets, or anything you name it.
Solar generators are more powerful and feature multiple output ports; hence, they are preferred more than solar-powered Arduino. Jackery Solar Generator 240 v2, Jackery Solar Generator 300 Plus, and Jackery Solar Generator 600 v2 are the most efficient power solutions for low-power-consuming devices like Arduino.
Subscribe to the Jackery newsletter to get all the exciting news about products, promotional offers, or deals.