
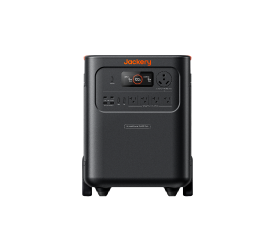


![[Add - on] Jackery Manual Transfer Switch for Explorer 5000 Plus - Jackery](http://www.jackery.com/cdn/shop/files/add-on-jackery-manual-transfer-switch-for-explorer-5000-plus-9017324.png?v=1754016782&width=350)


![[Add - on] Jackery Battery Pack 5000 Plus - Jackery](http://www.jackery.com/cdn/shop/files/add-on-jackery-battery-pack-5000-plus-6078351.png?v=1754016791&width=324)
![[Add - on] Jackery Car Charging Cable - Jackery](http://www.jackery.com/cdn/shop/files/add-on-jackery-car-charging-cable-3882421.png?v=1754016863&width=324)


![[Add - on] Jackery Smart Transfer Switch - Jackery](http://www.jackery.com/cdn/shop/files/add-on-jackery-smart-transfer-switch-5842915.png?v=1754016784&width=324)
![[Add - on]Jackery 102W GaN 3 - Port Fast Charger - Jackery](http://www.jackery.com/cdn/shop/files/add-onjackery-102w-gan-3-port-fast-charger-6377742.png?v=1754016790&width=324)


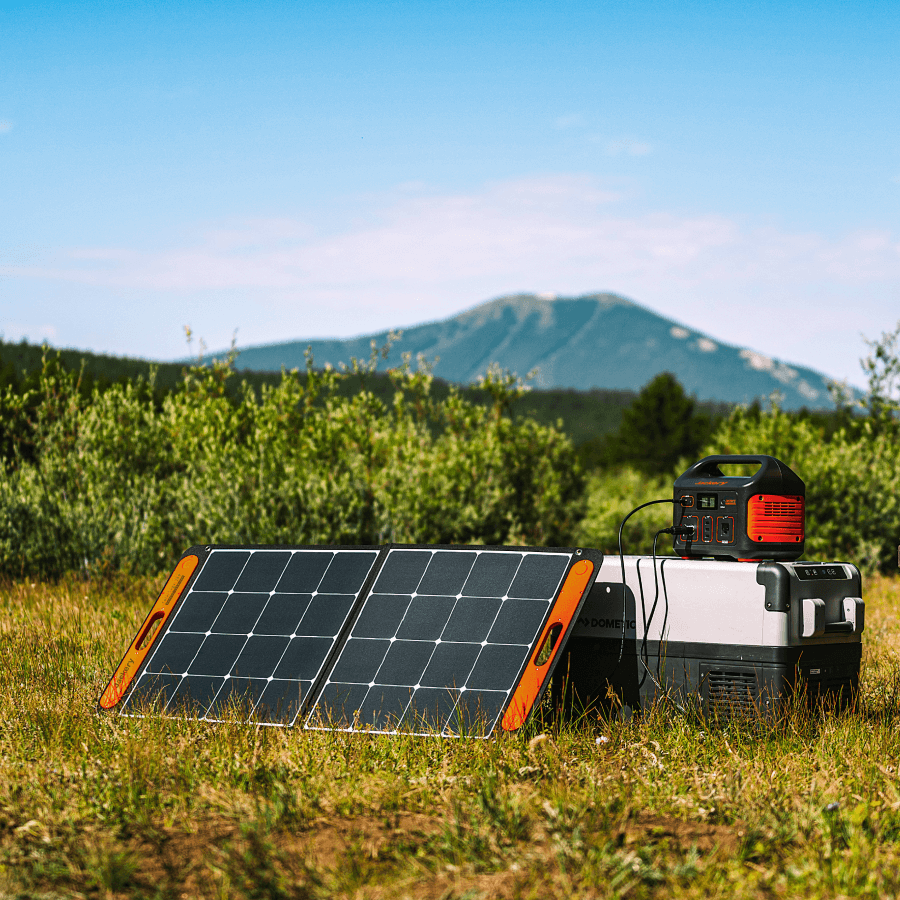
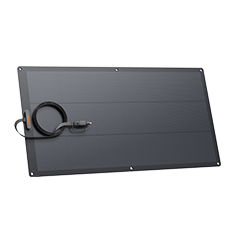
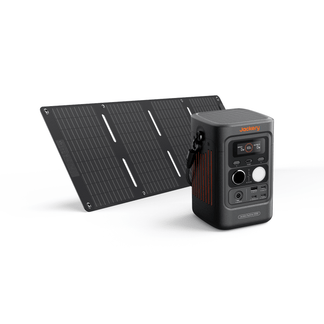
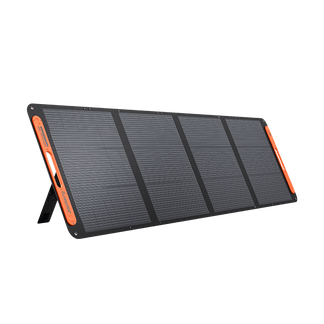
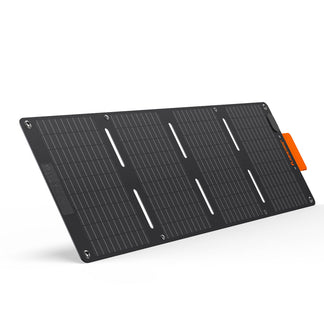
![[Add - on] SolarSaga 200W - Jackery](http://www.jackery.com/cdn/shop/files/add-on-solarsaga-200w-4834329.png?v=1754016915&width=324)

![[Add - on] Jackery Manual Transfer Switch for Explorer 5000 Plus - Jackery](http://www.jackery.com/cdn/shop/files/add-on-jackery-manual-transfer-switch-for-explorer-5000-plus-9017324.png?v=1754016782&width=324)


Setting up a backyard solar charging station is an exceptional way to build a reliable, off-grid pocket microgrid. Instead of attempting to power your entire house, a backyard station focuses specifically on charging essential devices—including laptops, smartphones, cordless tool batteries, and compact outdoor appliances.
However, the single most common mistake beginners make is mismatching their system components: pairing a high-voltage solar panel with an inverter that cannot handle its output, or selecting a battery bank too small to make it through a single cloudy afternoon.
To guarantee long-term performance, every component must be sized to work in perfect harmony with the rest. This guide walks you through the step-by-step component selection, electrical wiring, safety codes, and portable equipment required to build your station.
Planning Your Backyard Solar Charging Station
Planning a successful backyard solar station comes down to three main pillars: budgeting your power, positioning your panels, and understanding your local electrical boundaries.
1. Establish Your Daily Energy Budget
The foundation of planning your solar station is establishing a precise daily energy budget. Start by adding up the total Watt-hours (Wh) of every device you plan to power simultaneously.
Here is a look at what typical backyard devices consume:
- Standard Smartphone: ~15 Wh per charge
- Laptop: ~60 Wh per charge
- Compact Outdoor Mini-Fridge: ~480 Wh (running for 8 hours)
- Outdoor Movie Night (150W Projector + 50W Soundbar): ~600 Wh (running for 3 hours)
The Sweet Spot: For most backyard workshops, garden offices, or patios, aiming for a daily capacity target of 1,500 Wh to 2,000 Wh provides a safe, highly resilient operating margin.
2. Siting and Shading: Finding the Sweet Spot
To get the most out of your system, your solar panels must be positioned in a location that maximizes solar harvesting and minimizes obstructions.
Keep these critical siting rules in mind:
- Sunlight Exposure: Aim for 5 to 6 hours of direct, unobstructed sunlight daily.
- Direction: South-facing placement is the standard in the Northern Hemisphere.
- Peak Hours: Ensure there are zero tree or building shadows blocking your panels between 10:00 AM and 4:00 PM.
- The Shading Penalty: Be extremely cautious. Even partial shading on a single solar cell can drop your entire panel’s output by 50% due to internal electrical resistance.
Pro Tip: Walk your yard at different times of day before mounting any brackets. The sun's low winter path can throw unexpected shadows from fences or roof gables that aren't there in the summer.
3. Grid-Tied vs. Off-Grid: Permitting and Safety
Before buying equipment, you need to decide how your system will interact with your home’s existing electrical grid.
- Off-Grid Setups (DIY-Friendly): Most backyard setups are entirely off-grid and never connect to your home’s main electrical wiring. Because they are self-contained, they typically do not require formal local building permits.
- Grid-Tied/Hybrid Setups (Professional Required): If you plan to tie any part of your system into your home's breaker panel—even to back up a single electrical circuit—you must hire a licensed electrician to ensure compliance with the National Electrical Code (NEC).
Safety Warning: Connecting a custom charging station directly to a main household breaker panel is highly dangerous and is not a DIY task.

Choosing the Right Setup: DIY vs. Portable Power Station
A DIY component build involves purchasing and wiring separate solar panels, an MPPT charge controller, a battery bank, and a power inverter. While this offers excellent long-term modularity, it requires high electrical fluency. In contrast, portable power stations combine all of these components into a single, pre-tested, plug-and-play enclosure, reducing your setup time to under 15 minutes.
|
System Feature |
DIY Component Builds |
Portable Power Stations |
|
System Components |
Separate panels, controller, batteries, inverter, and custom enclosure. |
Integrated MPPT controller, battery cells, and pure sine inverter. |
|
Setup Complexity |
High—requires manual cable cutting, fusing, and wiring. |
Zero installation—unfold panels and plug in. |
|
System Safety |
Requires manual inline fusing; high wiring-fault fire risks. |
Protected by built-in BMS and automatic overload fuses. |
DIY setups require physical weatherproofing. Homeowners often use cedar chests or military ammo boxes to build custom enclosures. If you choose this path, you must drill ventilation holes and mount a small 12V cooling fan, as battery enclosures sitting under the summer sun can easily exceed 140°F, severely degrading cell life.
Portable power stations, conversely, house built-in active cooling fans managed by an internal Battery Management System (BMS), maintaining an optimal operational climate automatically.
Sizing Your System: Sizing and Headroom Math
To prevent undercharging or wasting peak solar output, your panel's continuous generation must match your system’s maximum charging input limit. Your battery storage must also be large enough to cover your overnight electrical draw and at least one overcast day.
Selecting durable Lithium Iron Phosphate (LiFePO4) chemistry is highly recommended, as it delivers over 4,000 cycles before displaying a minor drop to 80% capacity. This chemistry also supports deep depth of discharge (90% to 100% usable capacity), giving you far superior energy yields compared to traditional lead-acid batteries.
The Voltage Headroom Rule
Your solar panel's Open-Circuit Voltage (Voc) must remain comfortably below your charge controller's maximum input voltage limit, leaving a 10% to 15% safety margin. If your panel array outputs 45V Voc on a freezing winter morning, and your controller's limit is 50V, your system is safe. However, wiring two of these panels in series will push the total Voc to 90V, instantly destroying your charge controller.
Always verify this voltage limit before connecting your panels. Note that freezing winter temperatures cause silicon cell voltages to spike; a panel rated for 40V at standard laboratory temperatures can easily produce 46V Voc on a frosty January morning, blowing out unprotected charge controllers.
Calculating Required Wire Gauges (AWG)
To select the correct wire gauge, you must calculate your total round-trip conductor length (double the physical distance between your panels and your battery). If your ground-mounted panel sits 30 feet away from your battery enclosure, your total round-trip electrical run is 60 feet.
At a standard 12V and 20A current draw, you must use at least 8 AWG wire to keep your voltage drop under a safe 2%. Using thin, undersized wires is an extreme fire hazard; the excess line resistance will convert your harvested electricity into heat, melting the insulation and starving your battery bank of charging current. For longer runs (exceeding 50 feet), always size up your conductor thickness to prevent line losses from eroding your daily energy harvest.
Step-by-Step Safety and Wiring Sequence
If you are building a custom DIY solar charging station, you must follow this non-negotiable wiring sequence to protect your equipment:
Crucial Wiring Step: Always connect the battery terminals to your charge controller BEFORE connecting the solar panels. Never reverse this step. Connecting active solar panels to a controller with no battery load connected can send an instant high-voltage spike through the controller, destroying its sensitive internal electronics.
Additionally, never wire a solar panel directly to a battery without a dedicated charge controller. A typical "12V" panel can actually output an open-circuit voltage of up to 22V, which can overcharge and cook your battery in a few hours. To comply with NEC Section 690 guidelines, always bond your panel frames and any metal component enclosures to a dedicated grounding rod, place inline fuses rated for 125% of your expected load within 6 inches of your positive battery terminal, and keep combustible materials clear.
Always utilize outdoor-rated photovoltaic wire (PV Wire or USE-2) for any runs exposed to the elements. Standard household Romex or automotive primary wire is not UV-resistant and will degrade rapidly under solar radiation, cracking and short-circuiting after a single season of exposure.
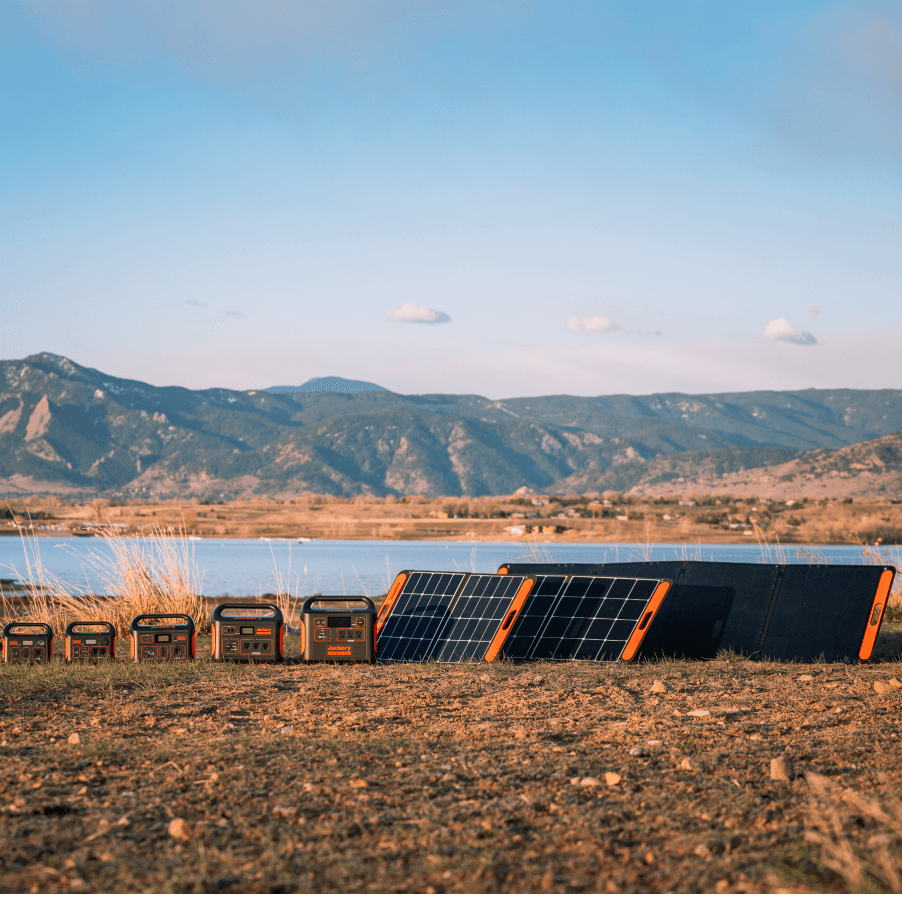
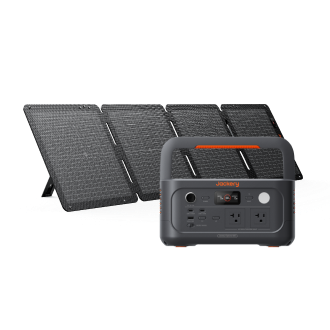
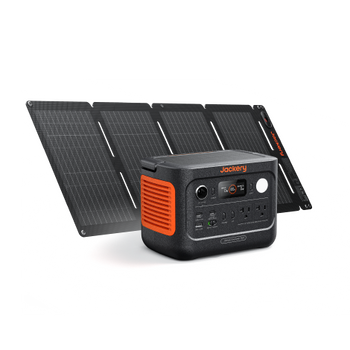
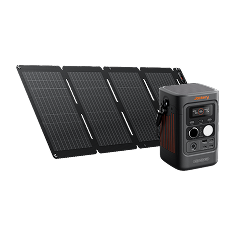
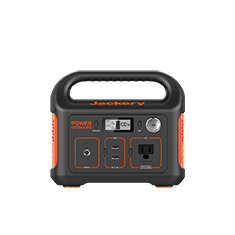
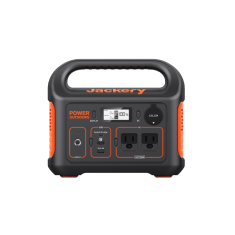
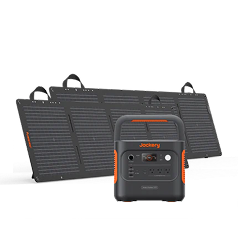
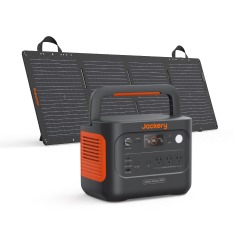
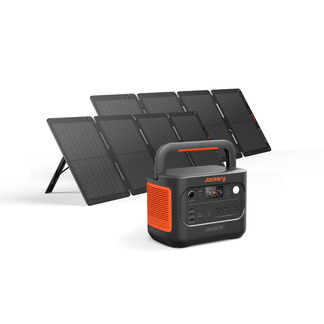
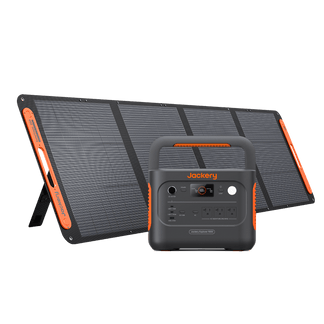
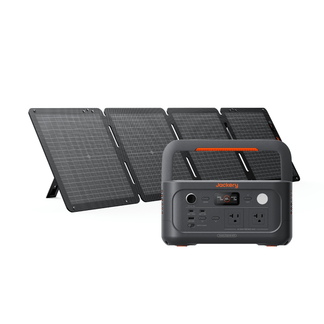
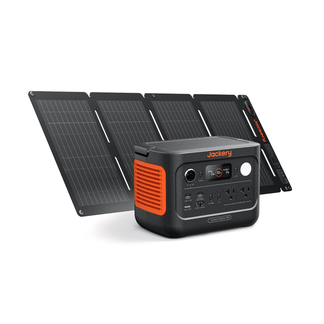
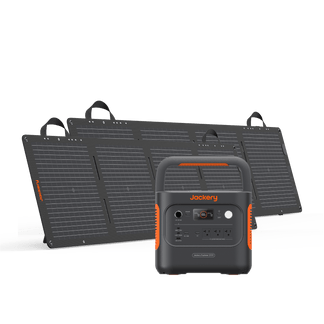
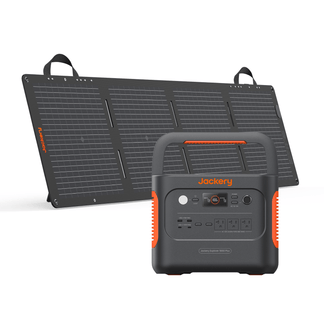
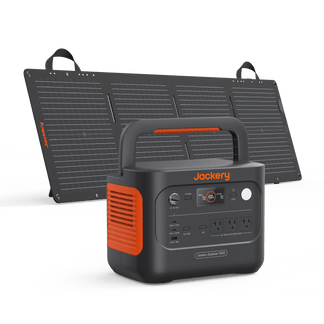
Jackery Solutions for Backyard Sizing
Jackery’s portable power stations and solar generators integrate an advanced MPPT charge controller, a durable LiFePO4 battery bank, and a pure sine wave inverter in a single, weatherproof enclosure, completely eliminating system sizing and wiring guesswork:
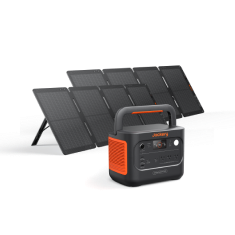
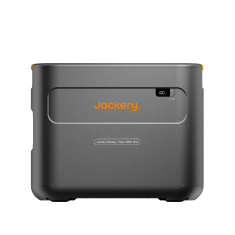
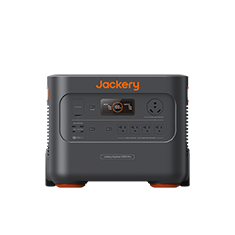
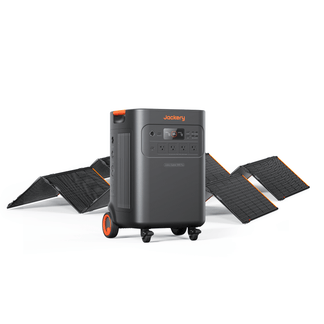
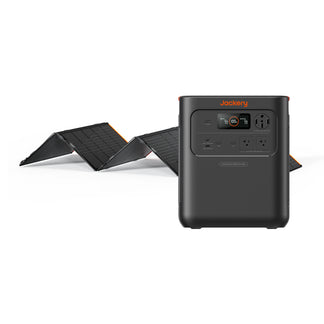
Jackery Solar Generator HomePower 3600 Plus: Houses a 3,584 Wh capacity, capable of running a 60W portable outdoor refrigerator for up to 50 hours or charging a standard laptop 38 times. It is fully expandable up to 21.48 kWh to run essential household appliances during power outages.
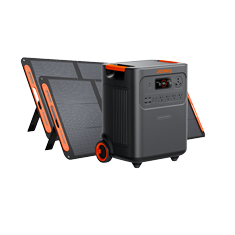
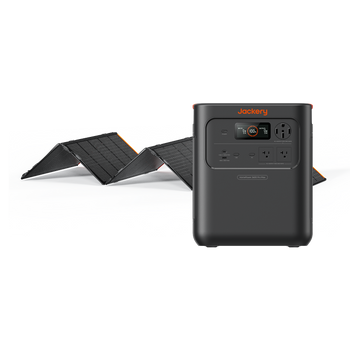
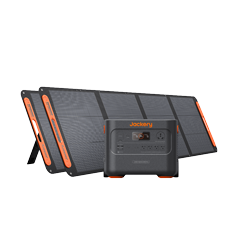
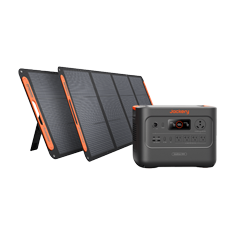
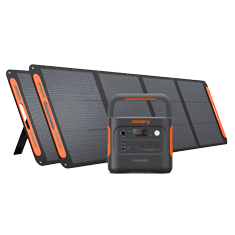
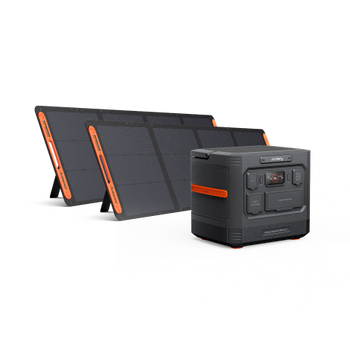
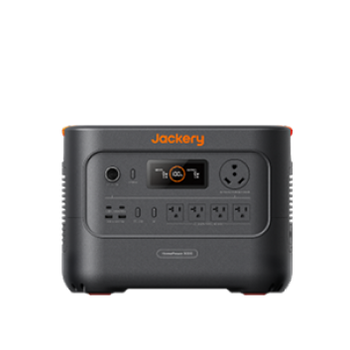
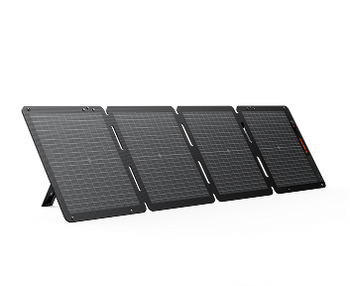
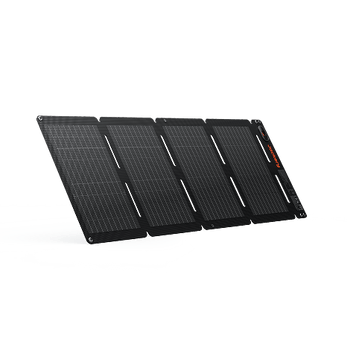
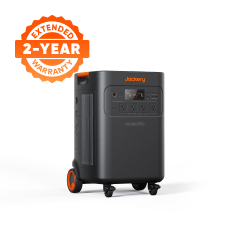
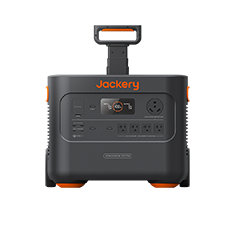
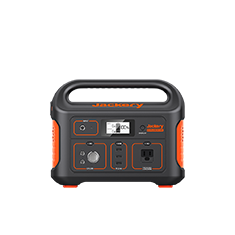
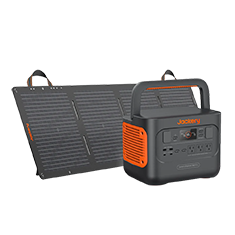
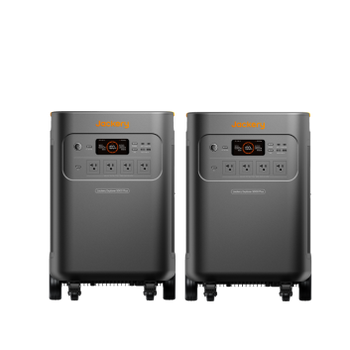
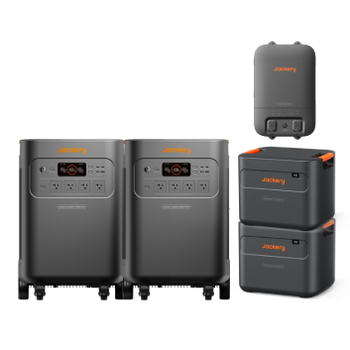
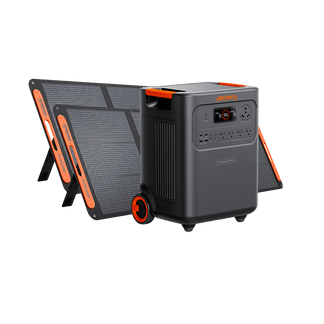
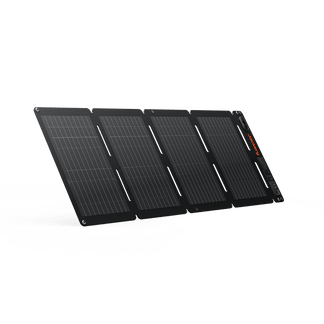
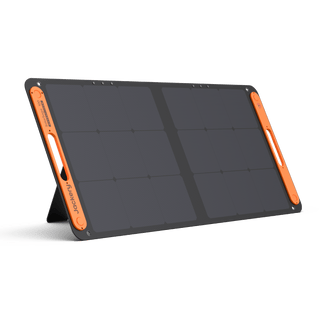
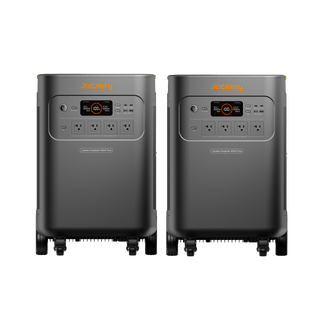
Jackery Solar Generator 5000 Plus: Sized for heavier outdoor loads, delivering a 7,200W continuous output (14,400W surge) to easily run portable air conditioners or outdoor theater projectors. When paired with two high-efficiency Jackery SolarSaga 500X Solar Panels, the system can fully recharge in just 6.5 hours of sunlight.
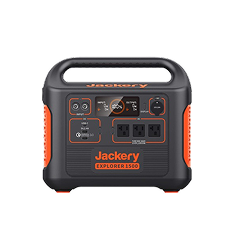
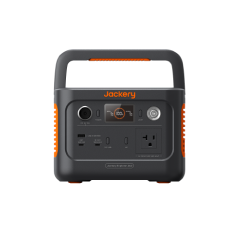
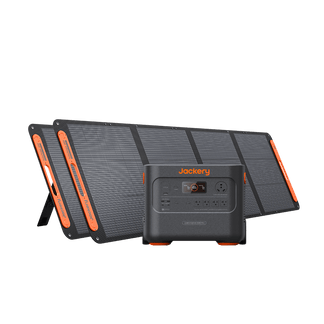
Jackery Explorer 2000 v2: The compact, whisper-quiet option, delivering a 2,042 Wh capacity while operating under 30 dB. It can accept up to 400W of solar input, refilling completely in 7.5 hours under direct sunlight.
Frequently Asked Questions
How big should my backyard solar battery be?
Calculate the total daily Watt-hour consumption of the appliances you plan to run, and multiply that total by 2 to 3 days of autonomy to cover cloudy days. For standard LiFePO4 chemistry, a 100Ah 12V battery provides roughly 1,200 Wh of usable capacity. This sizing ensures you can safely operate your backyard workshop without suffering sudden low-battery blackouts.
What solar panel voltage is safe for my system?
Your solar panel's Open-Circuit Voltage (Voc) must remain below your controller's maximum input voltage limit, leaving at least a 10% safety margin. For example, if your controller's limit is 50V, your array's combined Voc should never exceed 45V. Exceeding this input limit even momentarily will burn out your charge controller's internal transistors.
Can I run my charging station on a single solar panel?
Yes, provided the panel's wattage can cover your daily energy needs. A single 200W solar panel operating under 5 peak sun hours per day will generate roughly 700 Wh to 800 Wh of usable energy after standard system conversion losses. This is ample power for basic electronics and small lighting loops.
Do I need to build a full DIY system for my backyard?
No. A portable power station is far simpler and safer for charging phones, laptops, and outdoor appliances, as all safety circuits, BMS protections, and controllers are pre-built and pre-tested. A DIY system only makes sense if you want custom modularity, have complex structural constraints, or already own separate electrical components.
What cable length and wire gauge do I need?
Measure the total round-trip electrical distance (the positive run plus the negative return line). To keep your voltage drop under a safe 2% over a 30-foot physical distance at 12V and 20A, you must use at least an 8 AWG solar cable. If your wire runs must wrap around decks or fences, account for the extra cable length to select the correct gauge.
Do I need a power inverter for my charging station?
Only if you plan to power standard 120V AC household appliances. For charging smartphones, laptops, and tablets directly, you can bypass the inverter's conversion losses by plugging into standard USB-C PD or 12V DC ports directly, saving up to 15% of your stored battery capacity.