


![[Add - on] Jackery Manual Transfer Switch for Explorer 5000 Plus - Jackery](http://www.jackery.com/cdn/shop/files/add-on-jackery-manual-transfer-switch-for-explorer-5000-plus-9017324.png?v=1754016782&width=350)


![[Add - on] Jackery Manual Transfer Switch for Explorer 5000 Plus - Jackery](http://www.jackery.com/cdn/shop/files/add-on-jackery-manual-transfer-switch-for-explorer-5000-plus-9017324.png?v=1754016782&width=324)


Mismatched connectors stop your solar build dead in its tracks. DIYers frequently struggle to link solar panels, charge controllers, and power stations because the industry uses different standards for different applications. A single reversed connection can damage your equipment or prevent charging entirely.
You must identify your connector types, verify polarity with a multimeter, and select safe adapters to ensure a reliable system. This guide covers the practical realities of solar connectivity for US residential, RV, and portable off-grid setups.
The Industry Standard: The MC4 Connector
The MC4 connector is the universal benchmark for residential and commercial photovoltaic systems. If you buy a standard rigid solar panel, the unit will almost certainly come with these leads pre-installed. These connectors provide a secure, weather-tight connection designed to last for decades on a roof.
Technical Specifications
MC4 technical specifications feature a contact diameter of approximately 4mm. Most MC4 connectors are rated for 20–30A continuous current, though you must verify the specific rating from the manufacturer. The units are engineered for harsh outdoor environments, carrying an IP67 rating that protects against dust ingress and water immersion.
However, these connectors have cycle limits. The locking mechanism is not designed for infinite plugging and unplugging. Frequent cycling degrades the plastic clips and the water seal. If you need a connection, you can unplug daily and you need an adapter cable that converts this standard to a more mobile-friendly format.
Identification and Polarity
MC4 connector gender is defined by the metal contact, not the plastic housing. Confusion regarding this definition is the most common cause of installation errors.
- Gender Definition: The gender applies to the metal contact inside the housing.
- The Trap: The plug with the plastic cylinder (which looks male) actually houses the female metal contact. The plug that looks like a receptacle (female plastic) houses the male metal contact.
- Crucial Rule: The female metal contact usually carries the positive charge.
- Never assume this. Always verify polarity with a multimeter before connecting to a battery or charge controller.
Safety and Best Practices
The National Electrical Code (NEC) requires a tool to unlock these connectors to prevent accidental disconnection. This locking mechanism is vital for safety but can be frustrating during installation if you lack the proper disconnect tool.
Watch for warning signs. Discoloration or softening of the plastic housing indicates high resistance, usually caused by a loose crimp or undersized wiring. Stop use immediately if you see these signs. For a deeper understanding of how these components interact, reviewing solar panel connectors helps clarify the differences between proprietary and standard types.
Expert Recommendations
- Testing: Cable color means nothing. Manufacturers sometimes reverse colors. Test every connection.
- Quality Control: Use genuine MC4 connector components. Cheap knock-offs often fail under load, leading to arcing.
- Compatibility: Do not mix proprietary connectors (like Sunclix) with standard MC4s unless cross-compatibility is certified by the manufacturer. Microscopic differences in tolerance can cause resistance and heat buildup.
Modular Power: The Anderson Connector
Anderson connectors, specifically the Powerpole and SB series, serve as the standard for mobile, high-power battery and solar applications. Unlike the semi-permanent nature of rooftop connectors, Anderson plugs are designed for frequent connection and disconnection.
Design Advantages
Anderson plugs utilize a genderless housing. You do not need a male and female plug. You simply rotate one plug 180 degrees to mate it with an identical plug. This eliminates confusion in the field and simplifies inventory.
The system is highly scalable. Sizes range from the small Powerpole (15-45A) to the massive SB series (SB50, SB120, SB175) capable of handling hundreds of amps.
Common Applications
- Mobile Power: The standard for RV battery banks, portable solar carts, and 4x4 overland setups.
- Low Resistance: The silver-plated copper contacts provide a robust, low-resistance path essential for efficient high-speed charging.
- Hot-Swapping: Ideal for equipment that needs to be moved or batteries that are swapped out regularly.
Safety Coding
Anderson connector safety relies on color-keyed housings to prevent voltage mismatches. A grey housing will only mate with another grey housing; it will not fit a red or blue one. This prevents you from accidentally plugging a 12V source into a 24V or 48V system.
Strain relief is essential. Never pull the connector apart by the wire. Always grasp the plastic housing. Because these connectors lack a locking latch (unless added externally), cable fatigue can lead to loosen connections over time if not properly supported.
Portable Power and DC Adapters
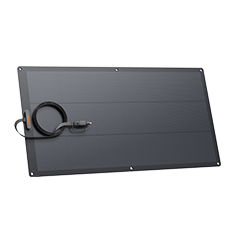
Portable power stations typically utilize barrel plugs (8mm, 5521) or XT60/90 inputs rather than industrial solar plugs. These inputs save space and allow for easy consumer use, but they require careful attention to compatibility.
Critical Verification
Connector size specifications are critical. Visually similar plugs often have different internal dimensions. For example, a DC7909 plug looks nearly identical to a DC8020 plug, but they are not interchangeable. Forcing the wrong plug can damage the port or result in a loose connection that arcs and melts.
Polarity is equally critical. You must confirm whether your device requires a center-positive or center-negative pin. Plugging a center-positive adapter into a center-negative input can instantly destroy the charging circuit of a device lacking reverse polarity protection.
Adapter Safety
- Avoid Stacking: Daisy-chaining multiple adapters (e.g., MC4 to SAE to 8mm) increases resistance and heat points. Use a single, direct adapter whenever possible.
- Wire Gauge: Ensure adapter wires match the current. Thin wires on high-amp inputs will melt. A 20A solar array requires at least 12AWG or 10AWG wire, yet many cheap adapters use thin 16AWG or 18AWG wire.
Practical Application
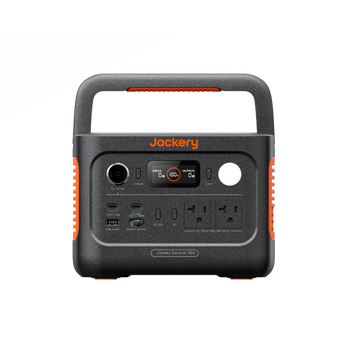
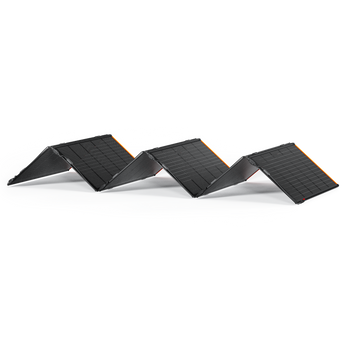
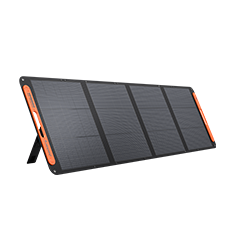
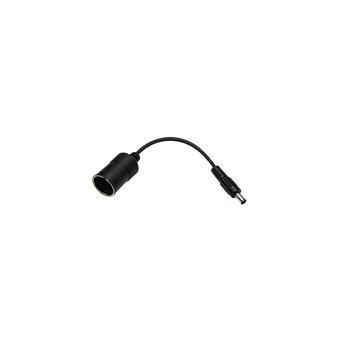
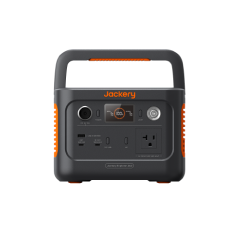
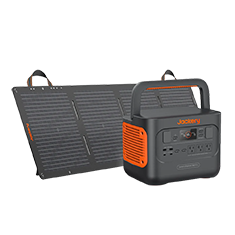
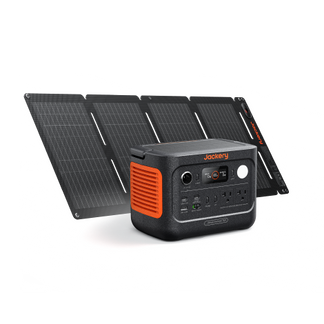
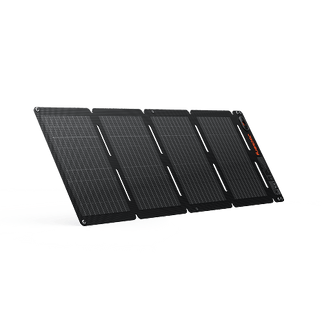
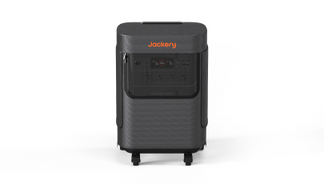
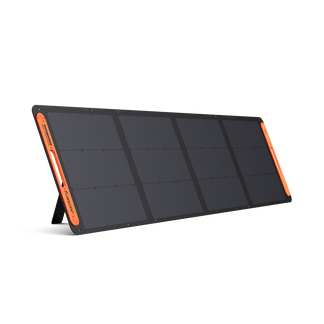
Modern solar generators include specific adapters to bridge these standards. The Jackery Solar Generator 2000 v2 utilizes 2x DC7909 to DC8020 adapters to bridge standards. These adapters allow you to safely bridge older panel standards or third-party arrays to the modern, high-efficiency inputs of the power station.

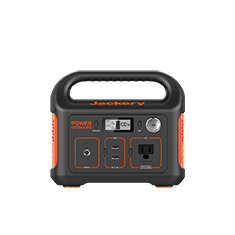
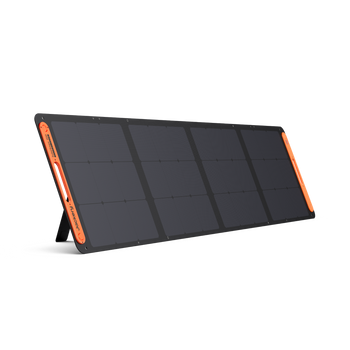
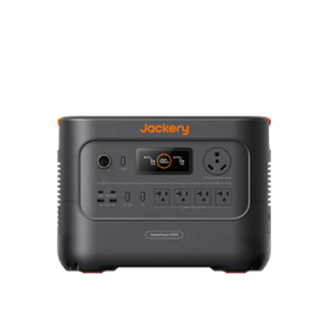
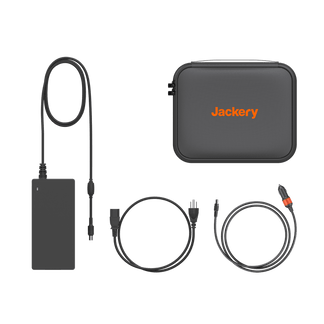
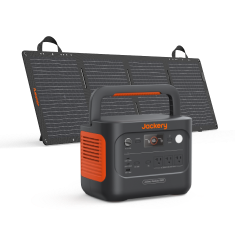
For lighter, more mobile setups, the Jackery Solar Generator 600 v2 features compact, integrated inputs. This design streamlines charging by removing the need for bulky dongles, making it ideal for hikers and campers who need to set up quickly. Ensuring compatibility requires consulting a complete guide to Jackery cables and connectors to match your specific generator model.

Bridging the Gap: Solar Connectors and System Integration
Linking standard PV panels to portable units requires specific solar connectors and adapters. You cannot simply twist wires together and tape them.
Adapter Selection Criteria
- Polarity: The adapter must match the device input. Reverse polarity can destroy non-protected units.
- Current Rating: The adapter must handle the maximum current (Imp) of your solar array, not just the operating current.
- Wiring Preservation: Ensure the adapter maintains your intended series or parallel configuration. Some Y branch connectors are wired differently than expected.
Wiring Configurations
- Series: Series wiring connects positive to negative to increase voltage while keeping amperage the same. This is essential for meeting the minimum input voltage thresholds of larger MPPT controllers.
- Parallel: Parallel wiring connects positive to positive to increase current while keeping voltage low. This requires branch connectors rated for the total amperage of the combined panels.
Deciding between solar panel series vs. parallel wiring depends on whether you need to boost voltage or amperage for your specific controller.
Mismatch Warning
Mixing different panel types causes efficiency losses and unpredictable voltage behavior. Always use identical panels when building an array. If you mix a 100W panel with a 200W panel, the system will often be dragged down to the performance of the weaker unit.
Safety Components
- Fusing: Install inline fuses on positive lines to protect wiring from overcurrent events. This is mandatory if you have three or more strings of panels in parallel.
- Controllers: Always use MPPT controllers between raw panels and batteries. Connecting a solar panel directly to a battery without a controller will overcharge and destroy the battery.
Real-World Scenarios
Connecting a high-capacity array to a Jackery Solar Generator 2000 v2 requires verifying the total Open-Circuit Voltage (Voc). You must check the Voc of your panels against the input limits of the generator. Exceeding the voltage limit will damage the internal inverter.
Conversely, a mobile setup with a Jackery Solar Generator 600 v2 benefits from parallel wiring. This maximizes charging amps even in partial shade, ensuring you capture every watt possible during limited daylight hours.
Installation, Troubleshooting, and Maintenance
Proper tooling prevents system failure. Solar installation requires ratcheting crimpers, not pliers.
Tooling Standards
- Crimping: Use ratcheting crimpers designed for solar terminals. These ensure a consistent, gas-tight connection that won't pull out or corrode.
- Assembly: Use proper wrenches to tighten cable glands. Hand-tightening is rarely enough to compress the rubber seal and ensure IP67 water resistance.
Pre-Connection Checklist
- Voltage Check: Measure Open-Circuit Voltage (Voc) with a multimeter to ensure it stays within device limits.
- Physical Test: Perform a pull test on crimps and locking tabs. If the wire moves, the crimp is bad.
- Labeling: Clearly mark positive and negative leads and adapter functions immediately after verification.
Troubleshooting Common Failures
- Overheating: Overheating is usually caused by loose crimps or undersized wire.
- Solution: Cut the connector off and re-crimp with a new terminal or upgrade the wire gauge.
- Zero Power: Power loss is often due to reverse polarity or blown fuses.
- Solution: Check polarity with a multimeter; inspect inline fuses for continuity.
- Corrosion: Moisture ingress results from poor seals.
- Solution: Clean contacts with contact cleaner, apply dielectric grease, and tighten seals properly.
Maintenance Schedule
Inspect outdoor connectors annually. UV rays degrade plastic over time, leading to cracking and water intrusion. Keep a field kit with spare fuses, a multimeter, and backup adapters. If your system voltage exceeds 50V DC or you are unsure about wire sizing, consult a licensed electrician. Understanding how to charge a battery from solar panels effectively requires regular maintenance of these contact points.
Frequently Asked Questions
Can I mix MC4 connectors from different manufacturers safely?
No. While they may physically fit, microscopic differences in tolerances can lead to moisture ingress, increased resistance, and arcing. Always use connectors from the same manufacturer or replace the mismatched ends.
How do I convert MC4 leads to Anderson Powerpole plugs?
You can buy a pre-made adapter cable or crimp new terminals. If crimping, cut off the solar connector, strip the wire, and crimp the Anderson contacts, ensuring you verify polarity so the red housing matches the positive wire.
What is the maximum cable length before voltage drop occurs?
Voltage drop depends on voltage, current, and wire gauge. Generally, keep 12V runs under 10 feet with standard 10AWG cable; for longer runs, increase the system voltage (series wiring) or use thicker wire to maintain efficiency.
Are these solar connectors safe to use in extreme freezing temperatures?
Yes, but only if rated for it. Standard connectors can become brittle and crack if manipulated in sub-zero temperatures; check the manufacturer's datasheet for the operating temperature range (usually -40°F to 194°F).
Can I clean corroded solar connectors with WD-40 or contact cleaner?
Avoid standard WD-40 as it can degrade rubber seals and plastic housings. Use a specialized electrical contact cleaner safe for plastics and apply dielectric grease to protect against future moisture.