


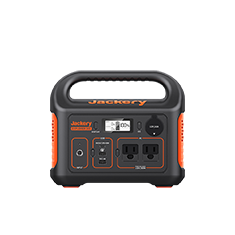


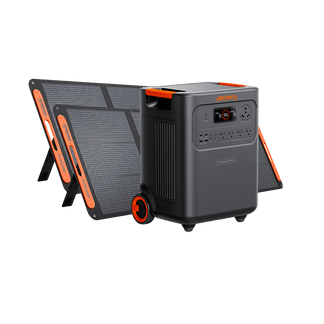
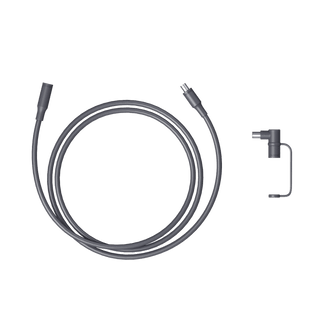
![[Add - on] Jackery Manual Transfer Switch for Explorer 5000 Plus - Jackery](http://www.jackery.com/cdn/shop/files/add-on-jackery-manual-transfer-switch-for-explorer-5000-plus-9017324.png?v=1754016782&width=350)


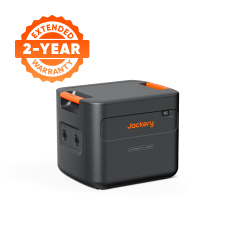
![[Add - on] Jackery Battery Pack 5000 Plus - Jackery](http://www.jackery.com/cdn/shop/files/add-on-jackery-battery-pack-5000-plus-6078351.png?v=1754016791&width=324)

![[Add - on] Jackery Car Charging Cable - Jackery](http://www.jackery.com/cdn/shop/files/add-on-jackery-car-charging-cable-3882421.png?v=1754016863&width=324)

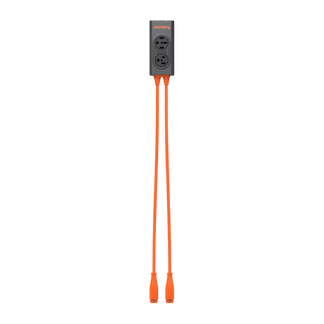


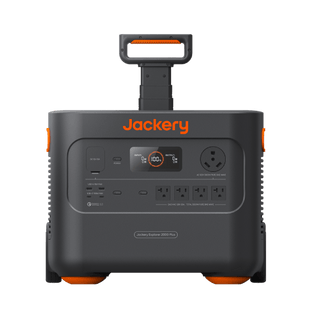
![[Add - on] Jackery Smart Transfer Switch - Jackery](http://www.jackery.com/cdn/shop/files/add-on-jackery-smart-transfer-switch-5842915.png?v=1754016784&width=324)
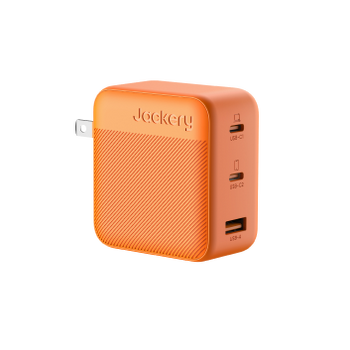
![[Add - on]Jackery 102W GaN 3 - Port Fast Charger - Jackery](http://www.jackery.com/cdn/shop/files/add-onjackery-102w-gan-3-port-fast-charger-6377742.png?v=1754016790&width=324)


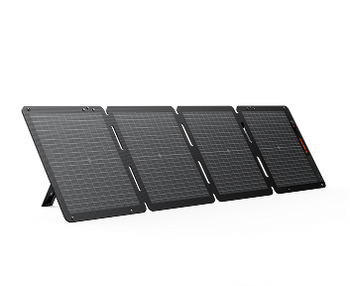
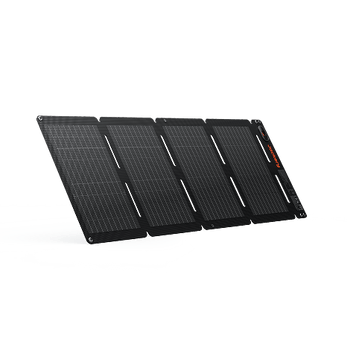
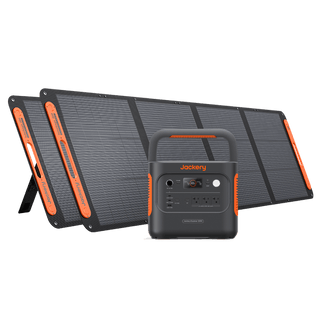
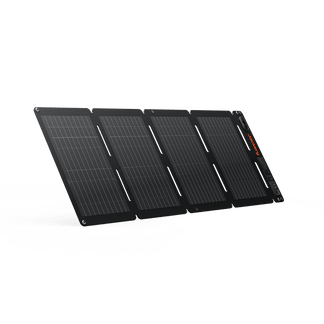
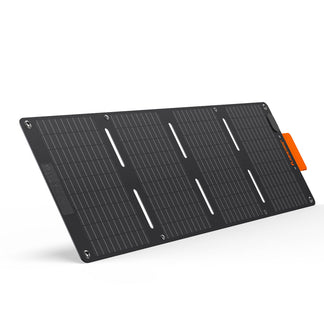
![[Add - on] SolarSaga 200W - Jackery](http://www.jackery.com/cdn/shop/files/add-on-solarsaga-200w-4834329.png?v=1754016915&width=324)

![[Add - on] Jackery Manual Transfer Switch for Explorer 5000 Plus - Jackery](http://www.jackery.com/cdn/shop/files/add-on-jackery-manual-transfer-switch-for-explorer-5000-plus-9017324.png?v=1754016782&width=324)


Yes, you can connect your rooftop solar panels to the Jackery Explorer 5000 Plus to create an essential home backup solution, but the method depends entirely on whether you already have a solar roof setup, your inverter type, and whether grid power is available.
Most homeowners assume connecting rooftop solar to a portable power station is plug-and-play, but it isn't that simple. Solar panels on your roof don't send power directly, the way portable solar panels do. The energy first passes through your home's inverter system, and the inverter determines what the Jackery Explorer 5000 Plus can safely accept.
That's why Jackery Explorer 5000 Plus supports multiple connection pathways, depending on your solar setup. In this guide, you will find every method clearly broken down, with wiring explanations, safety notes, and guidance on when each option is preferred. If you are planning for a new rooftop solar installation, you will also learn how to do that with the Jackery Explorer 5000 Plus in mind.
Key Takeaways
- You can connect rooftop solar panels to the Jackery Explorer 5000 Plus for essential home backup, as long as you follow the supported methods and voltage limits.
- You can integrate the Jackery Explorer 5000 Plus with an existing rooftop solar system using AC charging, smart transfer switches, hybrid inverter DC/AC outputs, or the new-generation solar charging combination.
- When installing a new rooftop solar system, choose a modern hybrid or high-voltage inverter and plan the wiring so the Jackery Explorer 5000 Plus can charge safely and efficiently.
- If your old string inverter no longer works, you can connect your rooftop solar panels directly to the Jackery Explorer 5000 Plus through its high-voltage PV input (60–450V, ≤15A).
Can You Connect Rooftop Solar Panels to Jackery 5000 Plus for Home Backup Power?
Yes, you can connect rooftop solar to the Jackery Explorer 5000 Plus for home battery backup power, but the connection must follow one of the supported methods. Rooftop solar panels work differently from portable panels. The rooftop solar panels send high-voltage DC power into your home's inverter, and only then does it become usable AC or regulated DC. You can upgrade the home power system with the Jackery Explorer 5000 Plus by connecting it to the rooftop solar panels.
How to Connect Jackery 5000 Plus to an Existing Rooftop Solar System?
You can connect your existing rooftop solar system to the Jackery Explorer 5000 Plus by using one of three methods, and the right method depends on your inverter type and whether grid power is available at that moment.
Method 1: When Grid Power is Available
When the grid is working normally, your rooftop panels operate as usual. The panels send DC power to your home inverter, which converts it to AC, and that AC powers your home appliances. In this situation, the Jackery Explorer 5000 Plus can only receive AC charging, because your inverter is already controlling the solar flow.
Solution 1: Jackery 5000 Plus Connects to Wall Outlet
The Jackery Explorer 5000 Plus is connected to the wall outlet for charging. Your rooftop solar indirectly supports this because it reduces how much grid power your home draws, but the Jackery Explorer 5000 Plus still sees it as normal AC charging. This is the simplest, plug-and-play option with no changes to your home battery backup setup.
If you are wondering how to use the essential home backup solution, check out this detailed guide: How Can I Use Jackery 5000 Plus for Home Power, Outdoor, and Work.

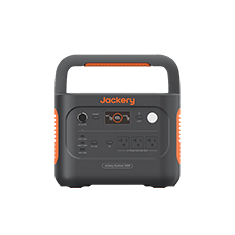
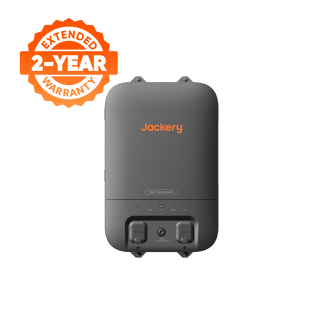
Solution 2: Jackery 5000 Plus Connects to Smart Transfer Switch
The Jackery Explorer 5000 Plus is connected through a smart transfer switch. Charging still happens via AC, but instead of just charging the Jackery Explorer 5000 Plus, the transfer switch automatically powers your essential home circuits when the grid goes down. On normal days, the Jackery Explorer 5000 Plus charges via AC from the grid (including solar contribution). When the grid fails, the switch flips, and your essential circuits run on the Jackery Explorer 5000 Plus instantly.

Method 2: When Grid Power is Not Available
When the grid is down, a regular grid-tied inverter shuts off completely, so rooftop solar cannot send power anywhere. Therefore, it is necessary to use a hybrid inverter that supports both grid-tied and off-grid modes. So, if your original rooftop system uses a pure grid-tied inverter, you will need to replace it with a hybrid inverter to enable this connection method.
Solution 1: Using a Hybrid Inverter's DC Port
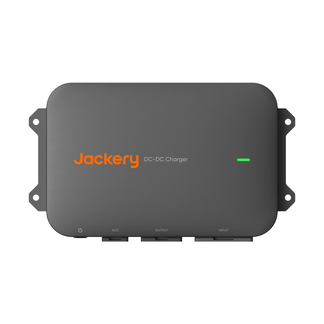
In the connection method, the hybrid inverter's DC output is routed to Jackery's high-voltage PV input. This is a direct DC-to-DC connection, which is more efficient, but it requires custom cables and installer support because hybrid inverter DC ports aren't standardized. This method works only if the inverter's DC output stays within the supported voltage range.

Solution 2: Using a Hybrid Inverter in Off-Grid Mode
When the hybrid inverter works in off-grid mode, it can output AC power directly through the off-grid circuit. That AC output can be fed into the AC input of the Jackery Explorer 5000 Plus, allowing the power station to charge from rooftop solar even when the grid is down. This is simpler than the DC method and doesn't require custom DC cabling, but it still depends on the inverter's ability to run in stable off-grid mode.

Method 3: New Generation Solar Charging Combination
The new-generation solar charging combination setup lets the Jackery Explorer 5000 Plus take power from two different solar sources at the same time: a high-voltage rooftop solar input and a low-voltage portable solar input. The Jackery Explorer 5000 Plus supports dual-voltage charging and a combined solar charging power of up to 4300W.
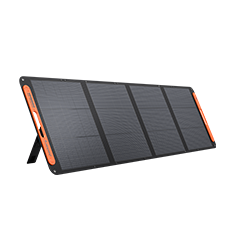
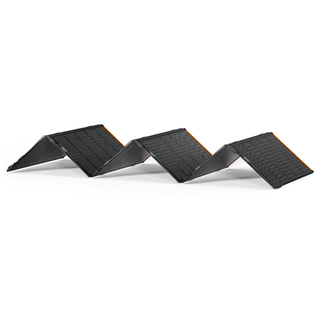
In this setup, your rooftop solar panels feed high-voltage DC (135V–450V) directly into the high-voltage PV port of the Jackery Explorer 5000 Plus, allowing up to 4000W of roof-generated power. At the same time, you can connect low-voltage portable solar panels (either six Jackery SolarSaga 200W Solar Panels or two Jackery SolarSaga 500 X Solar Panels) into the low-voltage PV input for an additional 1200W. The Jackery Explorer 5000 Plus automatically manages both inputs, combining them into a single, higher-speed solar charging stream.
How Should You Plan a New Rooftop Solar Installation with Jackery 5000 Plus?
If you are installing a new rooftop solar system, you need to pick components that work smoothly with the Jackery Explorer 5000 Plus. You can design the home battery backup system so your home enjoys daily solar savings. The Jackery Explorer 5000 Plus supports different inputs, including a high-voltage DC input of 60–450V and up to 15A, AC input via wall outlets or transfer switches, and DC/AC connections from hybrid or next-gen inverters. Here are the steps to follow:
Step 1: Choose a Modern Hybrid or High-Voltage Inverter
Many newer inverters can offer a stable DC output that fits within Jackery's PV input range, off-grid mode for blackout charging, and higher compatibility with next-generation solar-charging combinations.
Step 2: Size Your Solar Array With Backup in Mind
You need a system that consistently produces enough solar power during daylight hours so your Jackery Explorer 5000 Plus can store the surplus for nighttime or outages.
Step 3: Keep the Wiring Clean and Installer-Friendly
Since the Jackery Explorer 5000 Plus offers multiple input pathways, you will get a clear AC route, a clean DC route if using next-gen charging or hybrid inverter DC output, and properly labeled breakers and switches for safety.
Step 4: Plan for Essential Circuits
If you want the Jackery Explorer 5000 Plus to automatically run your fridge, lights, WiFi, or other essentials, you can include a smart transfer switch. This ensures your essential home backup solution can automatically power chosen circuits when the grid is down. You can also build a whole-home system with the Jackery Explorer 5000 Plus by adding battery packs.
What If Your Old Solar Grid-Tied Inverter is Outdated or No Longer Works?
If your existing solar panels are fine but your string solar grid-tied inverter has failed or become incompatible, you can connect the solar panels directly to the Jackery Explorer 5000 Plus through its high-voltage PV input, as long as the panel voltage stays within the supported range. The Jackery Solar Generator 5000 Plus will help you keep essential appliances powered even when the grid fails to supply electricity.
Conclusion
You can integrate the Jackery Explorer 5000 Plus with almost any rooftop solar setup, as long as you follow the supported connection methods mentioned in the article. However, your inverter type, wiring, and the status of your grid determine how the Jackery Explorer 5000 Plus fits into the picture:
If the grid is ON, you can charge the Jackery Explorer 5000 Plus through a wall outlet or a smart transfer switch.- If the grid is OFF, hybrid inverters offer two stable ways to feed the Jackery Explorer 5000 Plus.
- If you have a newer system, the next-generation solar charging combination offers the most efficient, modern setup.
- If your old inverter is dead, the Jackery Explorer 5000 Plus can take direct DC input from your solar panels within the supported voltage range.
No matter which method applies to your home, follow the voltage limits and let a qualified technician handle anything involving custom cables or inverter connections. When used correctly, the Jackery Explorer 5000 Plus becomes a powerful home battery backup for your rooftop solar system. It keeps your home prepared, your essentials powered, and your solar investment working even during long outages.