


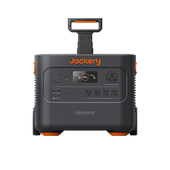

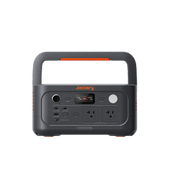


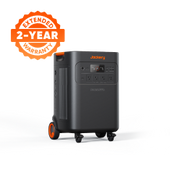
![[Add - on] Jackery Manual Transfer Switch for Explorer 5000 Plus - Jackery](http://www.jackery.com/cdn/shop/files/add-on-jackery-manual-transfer-switch-for-explorer-5000-plus-9017324.png?v=1754016782&width=170)


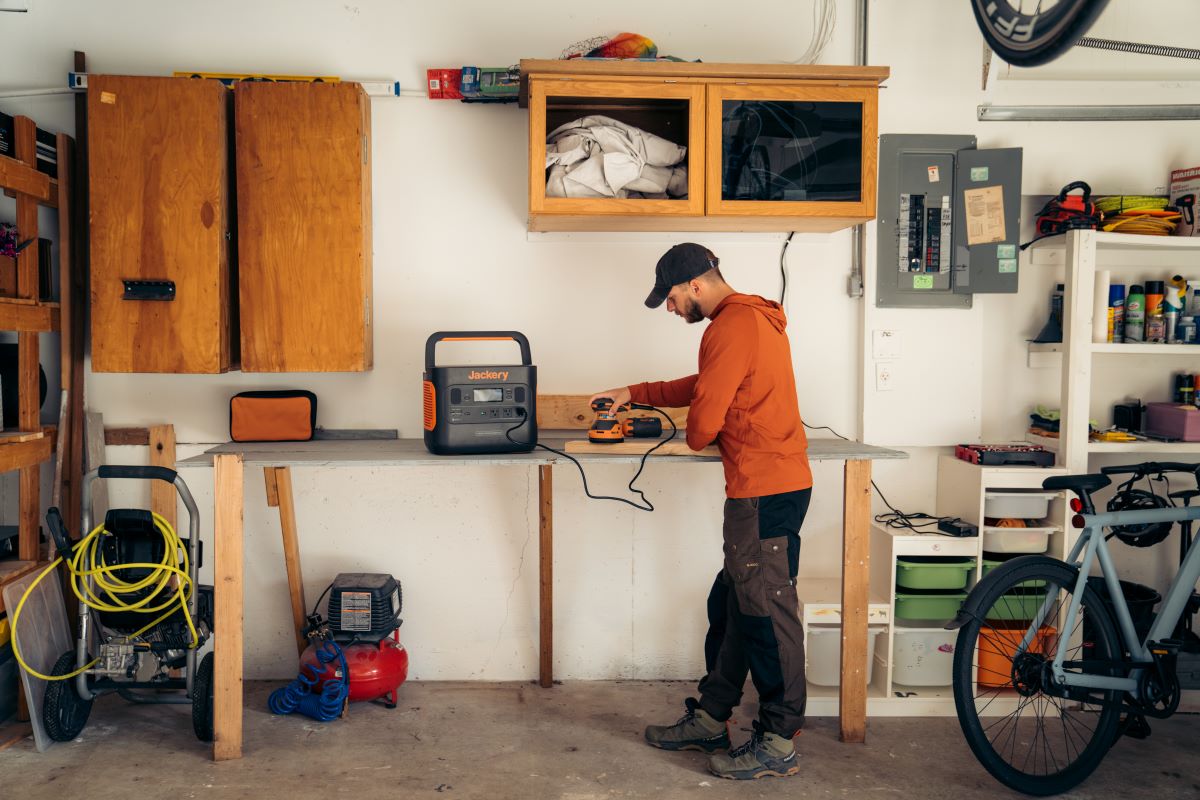
If the books in your room are still displayed on boards held by a pile of bricks, consider building a bookshelf. It's like building your own cabinets—and it's easier than you might think! Building a DIY bookshelf does not require a workshop full of tools, a master carpenter, and thousands of dollars. Instead, all it takes is a sturdy veneer polywood, outdoor tools like a circular saw, and a portable power source.
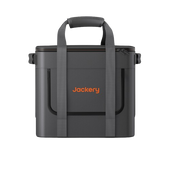
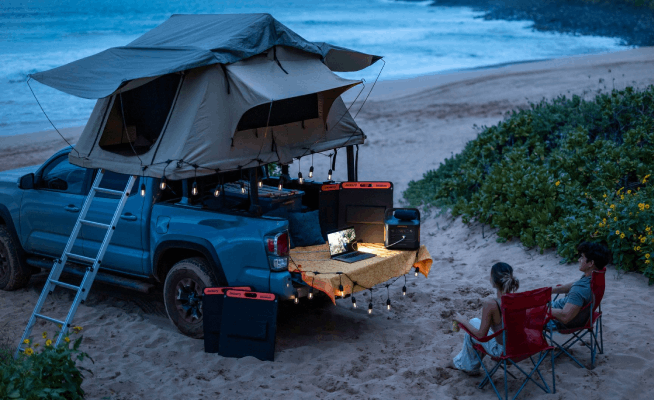
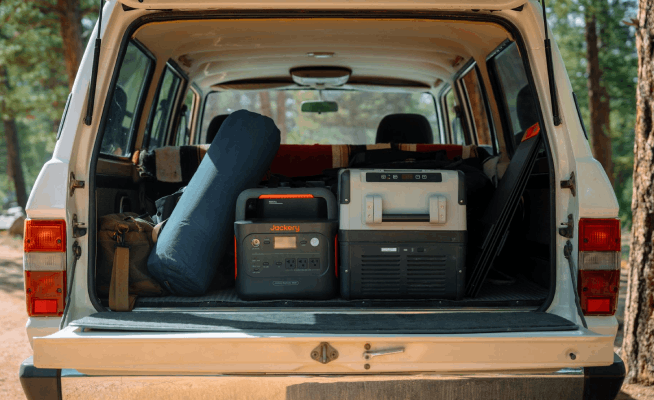
Jackery Solar Generators are designed to supply continuous electricity to appliances like circular saws, electric chainsaws, drills, etc. For example, the large and powerful Jackery Solar Generator 1000 Plus and the Jackery Solar Generator 2000 Pro are ideal for powering electrical tools and building a DIY bookshelf. Here's a table revealing the technical specifications of the popular Jackery Solar Generators.
|
Products |
Capacity |
Rated / Peak Power |
Battery |
Size |
|
2160Wh |
2,200W (4,400W Peak) |
NMC |
Length: 15.1in (38.4cm) Width: 10.5in (26.9cm) Height: 12.1in (30.75cm) |
|
|
1.2-5kWh |
2000W (4000W Peak) |
LiFePO4 |
Length: 14in (35.6cm) Width: 10.24in (26cm) Height: 11.14in (28.3cm) |
What Kind of Wood Should You Use to DIY a Bookshelf?
There are many reasons to build your own bookshelves. For example, constructing cabinets with high-quality plywood ensures they last a long time and helps you save a lot of money in the long run. Additionally, you can customize the bookshelves to ensure they fit your home perfectly and store what you want.
But before you start building a bookshelf, the first step is to understand the different types of wood and choose the one that fits your needs.
- Pine Plywood:It's lightweight and inexpensive softwood prone to splitting and knots.
- Birch Plywood:It's sturdy hardwood and a popular choice for woodworking projects. It's the middle choice in terms of cost and resists splitting from screws. This type of plywood is best if you want to paint your bookcase.
- Oak Plywood: Oak is a heavy hardwood with a rustic and sturdy charm. Both red and white oak plywood work well for bookshelves. However, you'll have to pay a little more for oak plywood.
If you want to build a strong bookshelf frame, try oak plywood and double the thickness for the sides or legs. When you glue and nail a plywood shelf together, it supports longer boards and keeps them sturdy.
What Materials Do You Need for a DIY Bookshelf?
If you want more storage space for your books, a bookshelf is the perfect solution. Here's a table with the essential tools and materials:
|
DIY Bookshelf Materials |
||
|
Wood |
Drill Bits |
Earmuffs |
|
Cordless Drill |
Countersink Drill Bits |
Eye Protection |
|
Cross Head Screwdriver Bit |
Dust Musk |
Gloves |
|
Hammer |
Orbital Sander |
Paint Roller |
|
Measuring Tape |
Paint Brush |
Pencil |
Jackery Solar Generators are powerful charging solutions for outdoor tools. They are built with LiFePO4 or NMC batteries to supply continuous power to electric outdoor tools like drills, nail guns, circular saws, table saws, etc. These portable battery backups have double wheels and can be carried anywhere for quick charging.
How to DIY a Bookshelf?
Now that we have covered all the basic requirements, here are the steps to DIY a bookshelf.
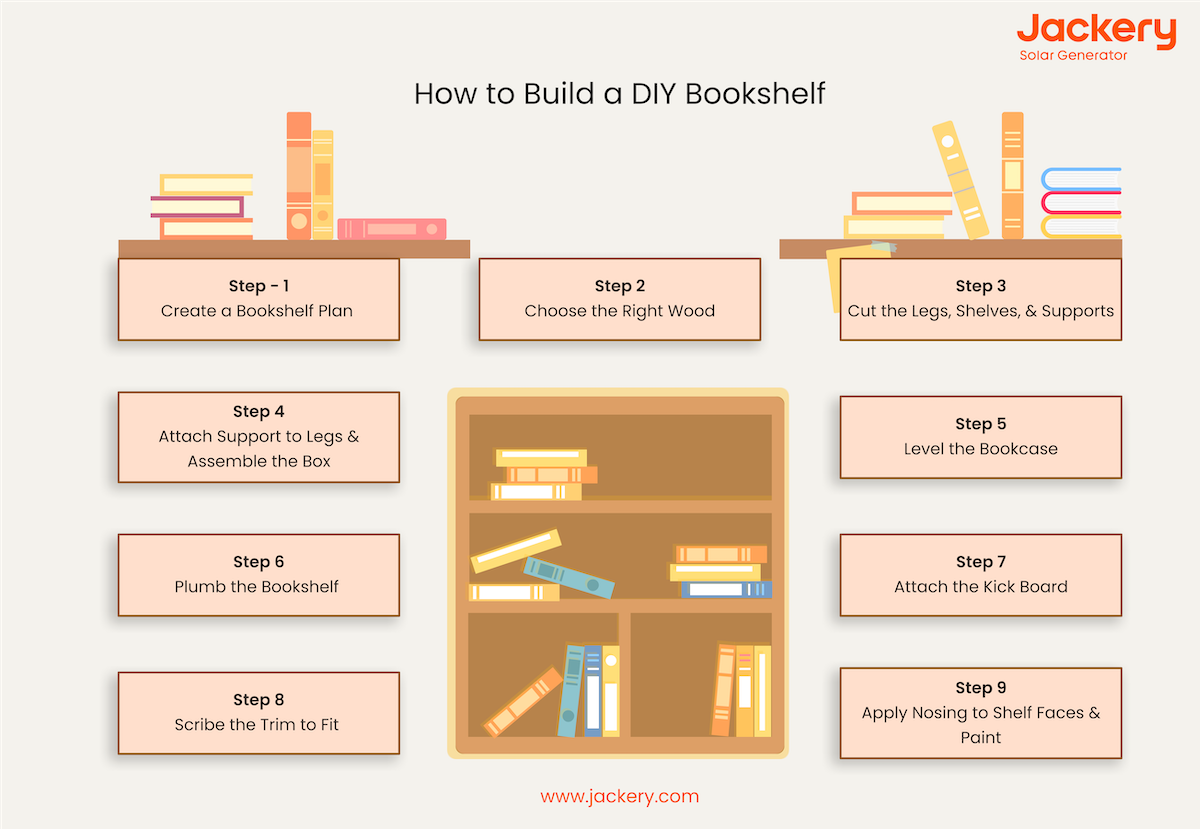
Step 1: Create a Bookshelf Plan
The first step is to create a bookshelf plan before you start building. Each bookshelf should have shelves, side pieces, 2 top/bottom pieces, 1 back piece, a kickboard, a toe kick, and legs.
Step 2: Choose the Right Wood
The type of plywood you choose will directly affect the durability, weight, and cost of the finished product. The three common woods for building a DIY bookshelf include cabinet-grade pine, birch, and oak.
Step 3: Cut the Frames
Once you've got a bookshelf plan and wood ready, measure and cut the frames. You can then use a tape measure and pencil to mark the lumber and cut it with a circular or table saw. Start by measuring the height of the space where you want the bookcase to go. Cut two bookcase legs to this measurement from the ripped-down plywood. Then, measure the width in three places and subtract 1 ½ inches from the smallest one. Use this as a measurement to cut the shelves.
Step 4: Attach Support to Legs
There's a kick plate that covers the space under the bottom shelf — and that's why the lowest supports need to be recessed. You can use a circular saw to rip down by ¾ inch. Now, glue and nail the shelf support to the legs. Lay both the legs on the back edges to support facing each other. Glue everything in place to assemble the box.
Step 5: Level the Bookcase
The next step is to slide all the shelves into the frame. If you need coaxing, consider using a rubber mallet to gently tap them into place. Place a level on each shelf. Tap some thin wood shims under the foot if you want to raise one side of the shelf.
Step 6: Plumb the Bookshelf
Hold the case vertically and add shims if you want to check the bookcase for plumb. Once you've plumbed and leveled the whole piece, tap shims in gaps that are formed against the wall and ensure the frame is tight. Use a combination bit to drill a counterbore and precise holes in the hanging strip. Once done, fasten the bookshelf to the wall via pilot holes.
Step 7: Attach the Kick Board
Cut the plywood the same as the lowest support on the frame to act as a nailer for the kick plate. Next, slide the wood under the center of the bottom shelf and nail it into the nailer's top edge. You also need to measure the opening under the bottom shelf and cut a plywood piece to fit it tightly into the space. Finally, the kick plate is put into the opening against the support edges and nailer.
Step 8: Scribe the Trim to Fit
With the help of ½ trim, finish the top and sides of the bookcase. Hold the trim over a bookcase leg and tight against the wall. Adjust the trim to plumb using a level and tack it with 6D nails. Open the scribe to span the widest gap between the trim and the wall.
Step 9: Apply Nosing to Shelf Faces & Paint
Use 1x trim to create a finished edge on the front shelf. Nail the nosing into place with 6D finish nails. You can start nailing at one end and then adjust the noise as you move down in length. Finally, use wax, paint, or polyurethane on the entire bookshelf.
Remember, building a DIY bookshelf requires using outdoor tools like electric drills, trimmers, and table saws. A portable charging solution like Jackery Solar Generators has large LiFePO4 or NMC battery backups to charge multiple outdoor appliances for long hours.
Jackery Solar Generators for DIY Bookshelf
Electrical tools or power tools require a lot of wattage. If you are using these tools outdoors, it's essential to look for a reliable power supply. But before you choose the right battery backup for your needs, look for the running and starting wattage of the appliances you're planning to use at the same time.
|
Appliances |
Starting Wattage |
Running Wattage |
|
Circular Saw |
2400W |
1000W |
|
Electric Drill |
1800W |
720W |
|
Chain Saw |
1200W |
1000W |
|
Miter Saw |
2100W |
840W |
|
Winch |
5400W |
1800W |
|
Edger |
2400W |
960W |
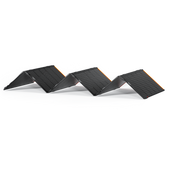
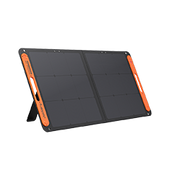
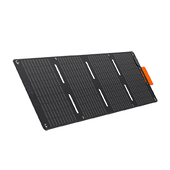
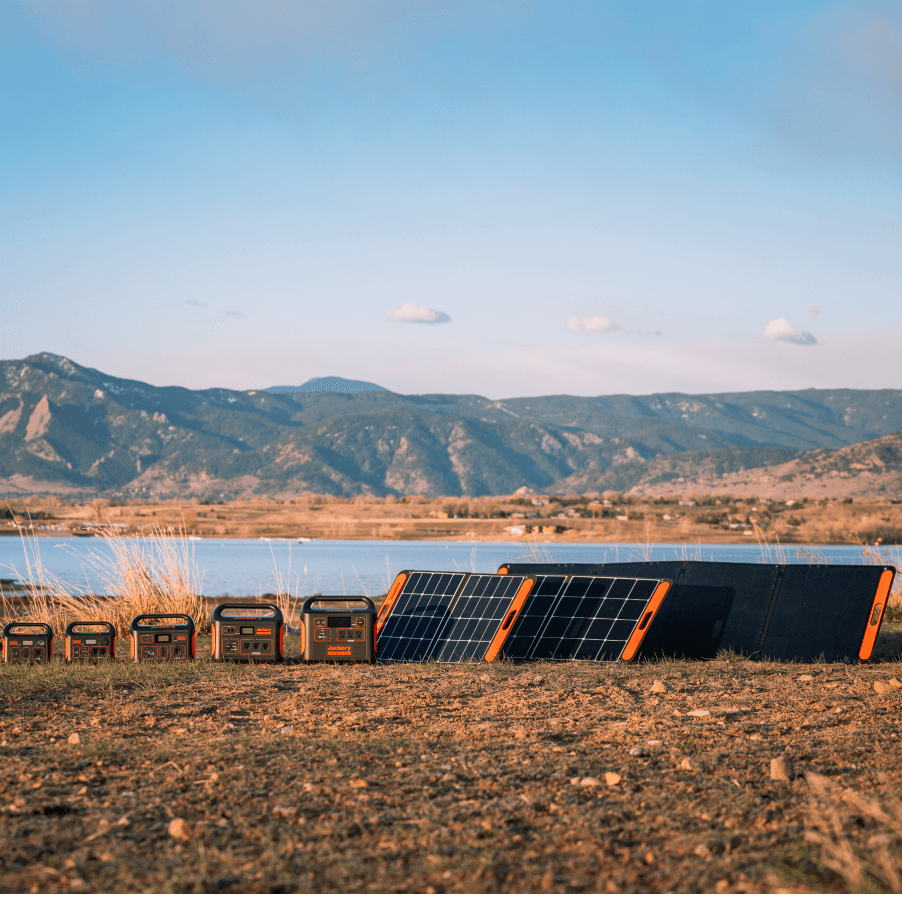
Solar generators are generally powered by portable and foldable solar panels to charge appliances when there's no nearby power outlet available. Jackery is a reputable solar brand that manufactures highly efficient solar generators, solar panels, and power stations.
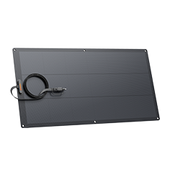
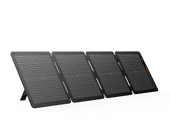
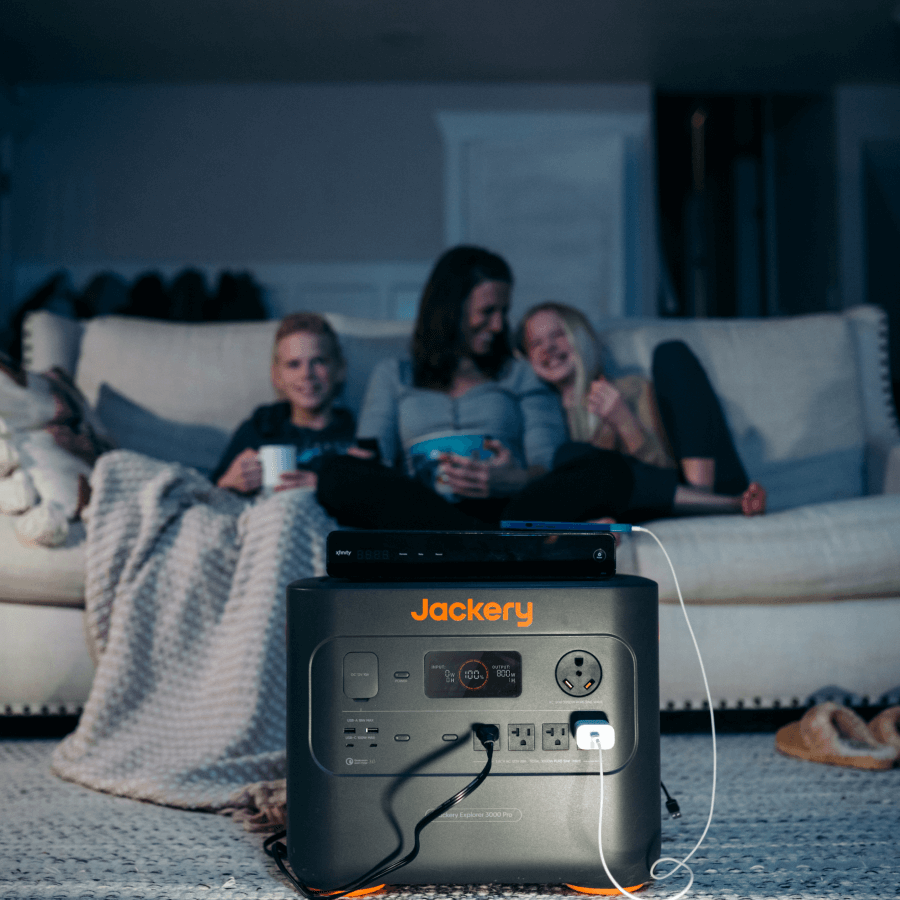
When the sunlight falls on the Jackery SolarSaga Solar Panels, the solar cells convert the free sun's rays into DC electricity. The Jackery Explorer Portable Power Stations converts DC electricity into AC electricity to power various electrical appliances needed for DIY bookshelves.
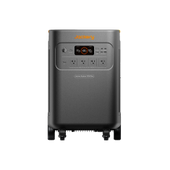
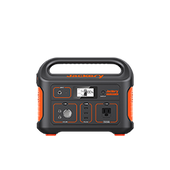
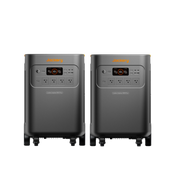
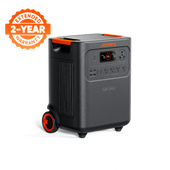
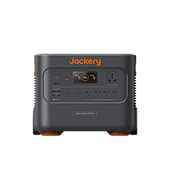
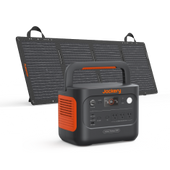
Jackery Solar Generator 2000 Pro
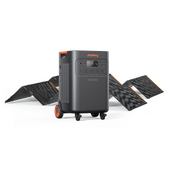
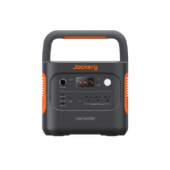
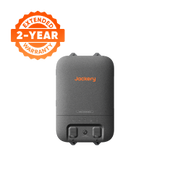
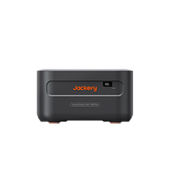
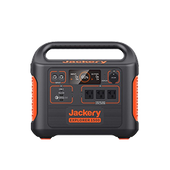
The large Jackery Solar Generator 2000 Pro has an NMC battery of 2160Wh capacity and can charge 96% of household or outdoor appliances, like electric drills, chainsaws, miter saws, and circular saws. The battery backup also features high-temperature protection and heat dissipation to improve the overall durability of outdoor life. It has a foldable handle design for a comfortable on-the-go charging experience.
Customer Review
"Well-made unit, easy to set up and use, very efficient. The Jackery Solar Generator 2000 Pro can handle all my off-grid power needs. The quality is outstanding." — Mark Stewart.
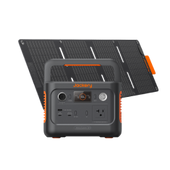
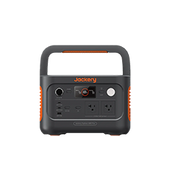
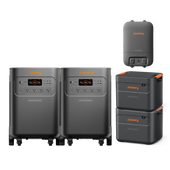
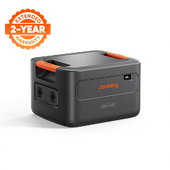
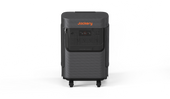
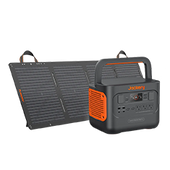
Jackery Solar Generator 1000 Plus
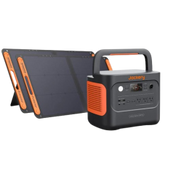
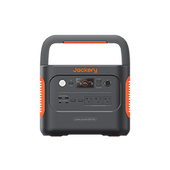
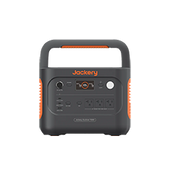
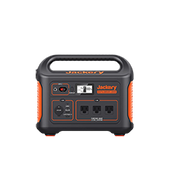
The Jackery Solar Generator 1000 Plus has a LiFePO4 battery of 1264Wh and a 2000W output. It supports 99% of outdoor tools, including the drills and table saws you'll need while building a DIY corner bookshelf. You can set up your workstation anywhere and start powering the appliances you need. It also supports the additional Jackery Battery Pack 1000 Plus, which expands the battery capacity from 1.2kWh to 5kWh.
Customer Review
"Power packs are easy to set up, charge, and move around. Weight and size make it easy for the units to move when and where needed. Easy to read display. Good for charging multiple devices." — Gary Way.

|
|
Jackery Solar Generator 2000 Pro |
Jackery Solar Generator 1000 Plus |
|
Capacity |
2160Wh |
1.2-5kWh |
|
Battery Cell |
NMC |
LiFePO4 |
|
Cycle Life |
1000 cycles to 80%+ capacity |
4000 cycles to 70%+ capacity |
|
Dimension |
Length: 15.1in (38.4cm) Width: 10.5in (26.9cm) Height: 12.1in (30.75cm) |
Length: 14in (35.6cm) Width: 10.24in (26cm) Height: 11.14in (28.3cm) |
|
Recharging Methods |
AC Adapter: 2 Hours Car Adapter (12V): 24 Hours 6*Jackery SolarSaga 200W Solar Panels: 2.5 Hours |
AC Adapter: 1.7 Hours Car Adapter (12V): 7 Hours 6*Jackery SolarSaga 200W Solar Panels: 2 Hours |
|
Output Ports |
AC Output(x3): 120V, 60Hz, 2,200W (4,400W Surge Peak) USB-A Output(x2): Quick Charge 3.0, 18W Maximum USB-C Output(x2): 100W Maximum, (5V, 9V, 12V, 15V, 20V up to 5A) |
AC Output(x3): 120V~60Hz, 2000W (4000W Surge Peak) USB-A Output(x2): 18W Max, 5-5V⎓3A USB-C Output(x2): 100W Maximum, (5V, 9V, 12V, 15V, 20V up to 5A) |
|
Working Hours |
Circular Saw (1000W): 1.8H Electric Drill (720W): 2.5H Chain Saw (1000W): 1.8H Miter Saw (840W): 2.1H Edger (960W): 1.9H |
Circular Saw (1000W): 1H Electric Drill (720W): 1.4H Chain Saw (1000W): 1H Miter Saw (840W): 1.2H Edger (960W): 1.2H |
DIY Bookshelf Ideas
If you want to start building a DIY bookshelf, here are some ideas. Remember, the cost of the bookshelf can vary depending on the materials used and its size. Here are some popular and easy DIY bookshelf ideas:
Wood Pallet Bookshelves
Wood pallets affixed to the wall make a great DIY bookshelf design. It gives a vintage look and is ideal for creating a reading nook around the window. Despite its beautiful and custom look, it can be built relatively quickly by anyone with some patience and basic carpentry skills.

Floor to Ceiling Built-in Bookshelves
If you are planning to convert a spare bedroom into a cozy space or home library, this impressive floor-to-ceiling unit occupying the entire wall can be a great choice. It can be built with sturdy birch plywood and stock wall cabinets for a beautiful look.

Easy Built-in Bookshelves
It's one of the easiest and least expensive DIY bookshelves on the list. You can build the bookshelf above the study table. If you want to enhance the overall look of the bookshelf, paint the edges in different colors and place some flowers on the shelves.

DIY Bookshelf with TV
Here's another DIY bookshelf idea you can check out. It is ideal for those looking to build a beautiful space around the TV unit. Just make the boxes around the TV to keep all the books organized. This design will help you customize the size and shape of shelves based on the items you would like to display.

Floating Bookshelves
Floating bookshelves are one space-saving design that adds functionality and creates a unique design element in your home's corner. You can mount the bookshelf on the wall or ceiling with special hardware, and it can be used to store books, wall art, photos, or other items.

DIY Bookshelf FAQs
What size of solar generator do I need for a DIY bookshelf?
The size of a solar generator required to execute a DIY bookshelf idea will depend on the number of appliances you want to power simultaneously and the number of hours you want to run it.
Here's an example:
Suppose you are charging an electric drill (720W), lights (50W), and jigsaw (300W) at the same time. The running time of the Jackery Solar Generator 2000 Pro will be:
Working Time = Battery Capacity * 0.85 / Wattage Consumption of Appliances = 2160Wh * 0.85 / 1070W = 1.7 hours.
We have multiplied by 0.85 as there will be some power loss while charging the appliances.
Is it cheaper to buy or build a bookshelf?
DIY bookshelf building and installation are significantly cheaper than buying a new one, especially if you have the necessary skills and some patience. This also ensures you can customize the bookshelf design and size according to your needs.
What is the difference between a bookcase and a bookshelf?
A bookcase is like a large, free-standing piece of furniture with multiple shelves for storing items. It is a closed unit that sits on the floor. On the other hand, a bookshelf does not have eased ends and is often hung on the wall.
What is the best wood to make a bookshelf out of?
The three best woods for building DIY bookshelves are cabinet-grade pine, oak, and birch. Oak is a strong, long-lasting, and durable wood, whereas pine plywood is lightweight.
Final Thoughts
There's no doubt that building a DIY bookshelf can be a rewarding experience, especially if you have some time, outdoor tools, and skills. It's one of the best ways to be creative while ensuring you build something functional for your space. Before you start the process, gather all the essential outdoor tools and a portable power source.
Jackery Solar Generators are designed with portability and durability in mind. For example, the Jackery Solar Generator 1000 Plus has a suitcase design and robust handle to charge 99% of outdoor appliances, such as electric drills. It can even be used during outdoor adventures, such as camping, RVing, etc.


Leave a comment