Photos are a great way to revisit your life events later and live the moments again fully. Gone are the days when boring static photos were taken; now is the time for candid, real, and close photos. DIY photo booths have become a must-have for every event, whether weddings, graduations, parties, get-togethers, etc. You are at the right place if you are up for a unique and budget-friendly DIY photo booth. We will discuss how to DIY a photo booth, make it unique, and power your booth. Let's dive in.
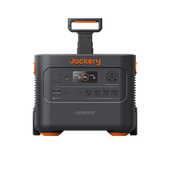
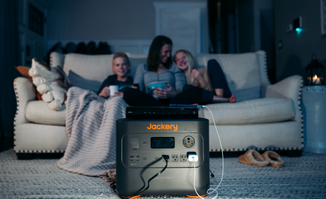
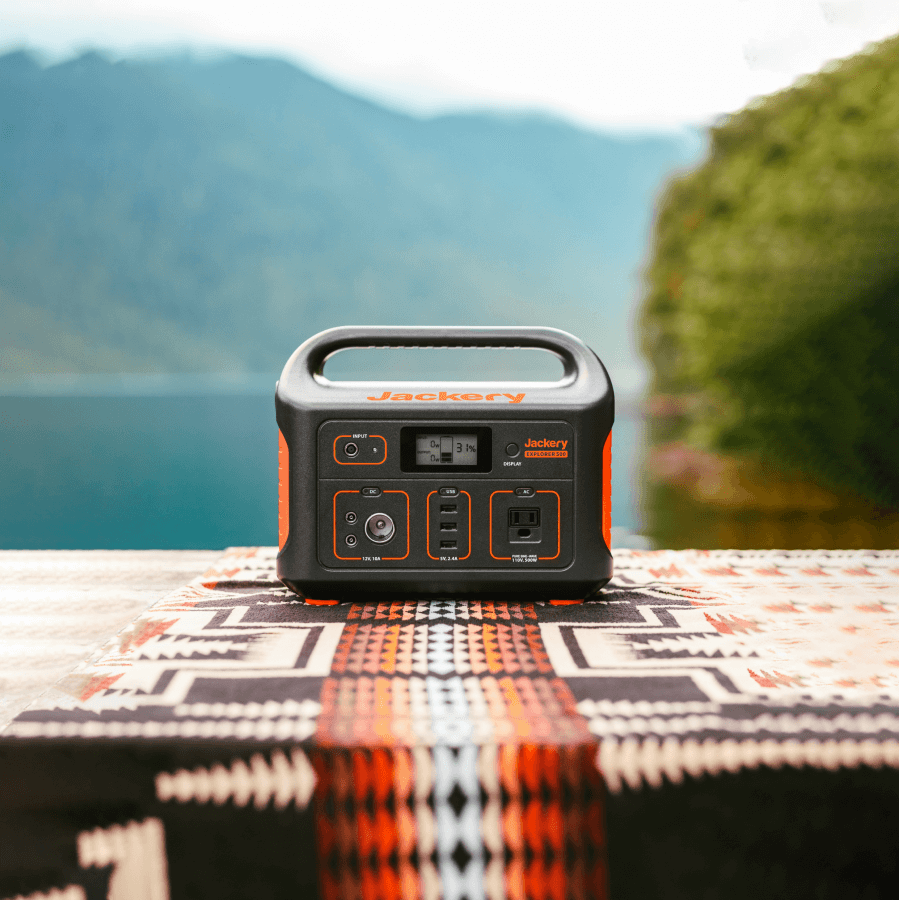
A great DIY photo booth must have a fantastic backdrop, interesting decor, proper lighting, and, last but not least, a continuous and reliable power supply to run all the equipment. We recommend the Jakery solar generator series for these booths because they are compact, have no fuel cost, and can work when the sky is cloudy or when you click in the evening. The best options are the Jackery Solar Generator 2000 Pro and 1000 Plus because of their large capacity and power backup.
Why Is DIY Photo Booth So Popular?
The DIY photo booth lets you play your creative side and click your event's photo in a unique mood. You should have a nostalgic look in your photos or a retro vibe. So you can arrange your photo booth accordingly without spending an arm and a leg. You will love to revisit these keepsakes for the years to come.
Also, DIY photo booths are perfect boredom busters, especially at weddings. Guests not involved in other activities will enjoy these fun little corners.
Since social media presence and event marketing are also a big deal, photo booths help event planners market their events widely and more interestingly. Even the personal accounts share their memories with more fun and interesting props and backdrops.
Guests can take photos using the facility, so you do not always have to play photographer.
What Tools & Materials Do You Need for a DIY Photo Booth?
A DIY photo booth has to be economical but still functional, easy to use, and produce the best photos. Hence, you must arrange the best tools and materials to achieve the goal. For example, a DIY wedding photo booth must look festive, while a book launch photo booth has to have a thematic look, according to the book. Here, we will list the essential supplies required for every DIY photo booth.
|
DIY Photo Booth Tools & Materials |
|
|
Camera |
A basic digital camera with a remote-controlled shutter is the requirement. You may use a DSLR or even manage with a high-quality smartphone camera with a reliable timer function. |
|
Tripod |
A tripod helps keep the camera or smartphone fixed at eye level and ensures equipment security from falls, etc. |
|
Props |
Props are the fun and creative part of making a DIY photo booth. Choose hats, sunglasses, hair pieces, masks, etc. |
|
Backdrop |
Backdrops can be part of branding and theme. So, choose the colours and patterns accordingly. Possibilities are a solid background, flowers, a banner, etc. |
|
Lighting |
Good lighting is critical for the best photos. Ring lights are very popular for smartphone photos. Other options are studio lights or natural lights, as required. |
|
Stable Power Supply |
It would be best to have a stable power supply to keep your DIY photo booth running without any glitches. Since the Jackery solar generator comes with multiple output ports, you can connect various devices to the generator simultaneously. |
How to DIY A Photo Booth?
1. Choose The Spot
Now that you have the required tools and materials, the next step is to start building the photo booth. The first step is choosing a suitable spot to put your photo booth. It should be placed in a prominent place where everyone can spot it. Yet, it should look like something other than a road rock obstructing the way. Once you have spotted the placement point, take measurements for your photo booth.
2. Let Your Creative Juices Flow
The backdrop is the most interesting step in designing a DIY photo booth. This is your opportunity to experiment with hangings, lights, flowers, customized neon signs, or corporate identity material and bring the best of your art.
3. Install Your Hardware
Decide which camera you are going to use. You may choose a Polaroid for instant photos, but it will be an expensive setup. A smartphone camera with a tripod or selfie stick is a more economical option. A DSLR is also another option.
Another important piece of equipment is a stable power supply for charging your camera, laptop, and lighting. A compact solar power generator is your best friend as it is economical with zero fuel cost, is noiseless, and provides no-fail power for hours and hours.
Lighting is a make-or-break thing for your photos. Whatever you select for your DIY photobooth, make sure you arrange the type of lighting and angle of lighting accordingly. A ring light is usually the most popular choice. Some setups might need crisp white light, while others work better with yellow lights; natural light is another possibility for daylight events.
4. Play With Your Props
Invest in some nice-looking props or make them yourselves. They add an oomph factor to your photos, making the whole photo booth experience interesting for the guests. Glasses, hats, masks, hairpieces, and oversized frames are all the obvious choices. You can make your DIY photo booth interesting by using dressing-up options, fun chairs, face painting, or even neon signs.
5. Share Social Media Handles
Let the guests know where they will find their photos online without any hassle. You can share your favourite social media handles where all the images will be uploaded. In the case of Polaroid photos, this is not required anyway.
6. Video Recording
Video recording your DIY photo booth experiences is going to be fun. You can expect bursts of laughter and ultimate bonding when playing this video.
Jackery Solar Generators for DIY Photo Booth
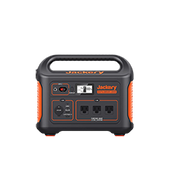
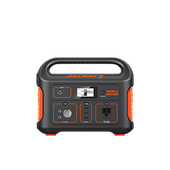
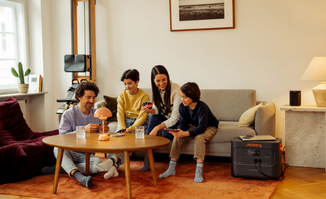
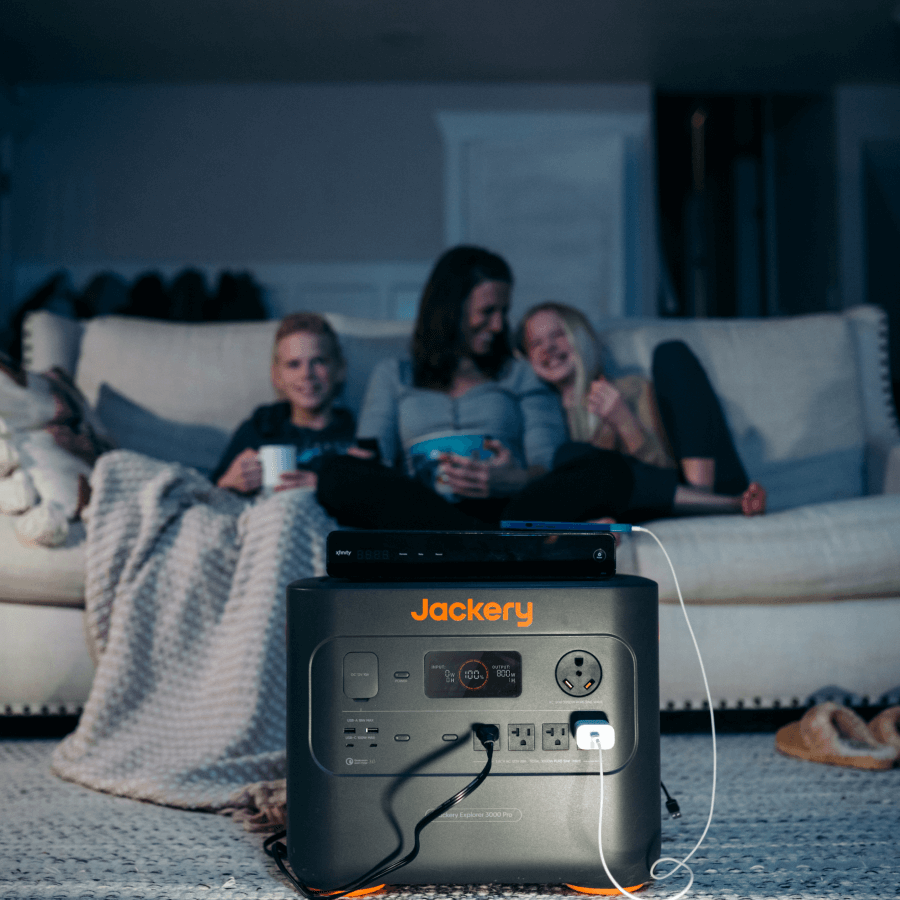
You may often be hosting an event in places where the power supply is not very close for the DIY photo booths. You cannot rely on your camera battery or power bank in such cases. The best solution is to keep a portable power generator in your photo booth. The Jackery solar power generators are recommended even by professional photo booth services because they are;
- Noise-free
- Compact and can even fit under a table.
- They have multiple output ports where you will connect various devices simultaneously.
- They have the best battery management system, ensuring long power support and fluctuation-free power output, which provides the equipment's safety against overcharging and jittering.
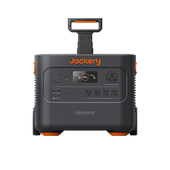
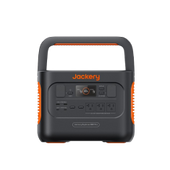
The Jackery Solar Generator 2000 Pro
The Jackery Explorer 2000 Pro is a large-capacity solar generator that can run your lighting, laptop, camera charging, and even larger equipment. It has a capacity of 2160 Wh and an output power of 2200 Watts. It is equipped with BMS battery management that ensures a smooth flow of current that keeps your appliances safe.
|
|
Solar Generator 2000 Pro |
|
|
Capacity |
2,160Wh |
|
|
Battery Cell |
Lithium-ion |
|
|
Cycle Life |
1000 cycles to 80%+ capacity |
|
|
Dimension |
Length: 15.1in (38.4cm) Width: 10.5in (26.9cm) Height: 12.1in (30.75cm) Weight: 43lbs (19.5kg) |
|
|
Recharging Methods |
AC Adapter: 2 Hours Car Adapter: 24 Hours Solar Charging:5.5 Hours |
|
|
Output Ports |
AC Output(x3): 120V, 60Hz, 2,200W (4,400W Peak) USB-A Output(x2): Quick Charge 3.0, 18W Max USB-C Output(x2): 100W Max, (5V, 9V, 12V, 15V, 20V up to 5A) |
|
|
Working Hours |
Camera - 15W |
120 Hours |
|
Tablet - 24W |
76 Hours |
|
|
Lights 55W - 200W |
33 - 9 Hours |
|
|
Customer Review |
We use our Jackery 2000 Pro as a backup when we lose grid power in harsh weather. It has proved to be the best companion, and we love its noise-free nature. I can run my refrigerator, TV, and laptop on without worry. |
|
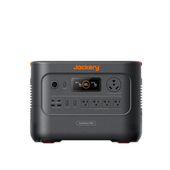
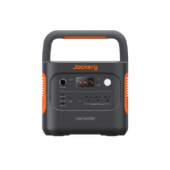
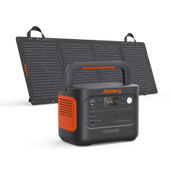
The Jackery Solar Generator 1000 Plus
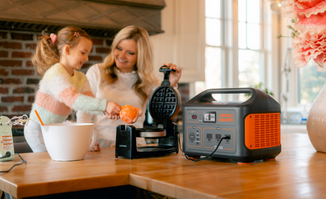
The Jackery solar generator 1000 Pro is a versatile equipment. It has an integrated battery system, so it self-monitors, protects the battery life, and safeguards your equipment from fluctuations. It has multiple ports and an LED display showing battery charging and other details.
|
|
Solar Generator 1000 Plus |
|
|
Capacity |
1264.64Wh |
|
|
Battery Cell |
LiFePO4 |
|
|
Cycle Life |
4000 cycles to 70%+ capacity |
|
|
Dimension |
Length: 14in (35.6cm) Width: 10.24in (26cm) Height: 11.14in (28.3cm) Weight: 32lbs (14.5kg) |
|
|
Recharging Methods |
AC Adapter: 1.7 Hours Car Adapter: 7 Hours Solar Charging(200W*6) 2 H |
|
|
Output Ports |
AC Output(x3): 120V~60Hz, 2000W (4000W Peak) USB-A Output(x2): 18W Max, 5-5V⎓3A USB-C Output(x2): 100W Max, (5V, 9V, 12V, 15V, 20V up to 5A) |
|
|
Working Hours |
Camera - 15W |
71 Hours |
|
Tablet - 24W |
44 Hours |
|
|
Lights 55W - 200W |
19- 5.4 Hours |
|
|
Customer Review |
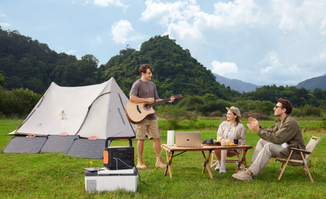
“My Jackery 1000 plus is my permanent and the most productive camping partner. I charge it once through solar panels, and then we are good to go through my two to three camping days away from the city life. ” |
|
DIY Photo Booth Ideas
Photo booth themes depend heavily on the type of event and the guests. The DIY photo booth for the birthday party is funky and interesting. While wedding photo booths are mostly bright and flowery in decent.
Wedding DIY Photo Booth

Wedding DIY photo booths are the most popular photo booths. The theme is mostly festive, fun, and glittery. While some people also like decent flowery and white decor. The backdrop is mostly the most prominent element; however, props and some signature items like chairs or suitcases also add some drama.
Corporate Photo Booth
Corporate photo booths are installed when there is an official event like a product launch, an official party, or any product marketing fair. These DIY photo booths are built according to the product. For example, a baby product launch may have an infant or toddler-themed photo booth with colours, balloons, or toys. At the same time, A book launch is a more decent and crisp look.
Birthday Photo Booth
Birthdays are a special time of the year, so the celebration is in the air. Parents of babies and kids like to have balloons, candies, or character-themed photo booths. At the same time, teenage girls may like makeup and boys like sports-themed photo booths. Props are very important here.

Out Of The Box DIY Photo Booth
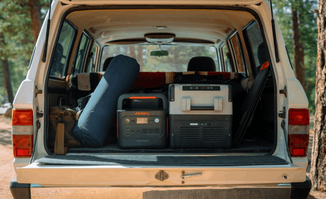
Teenagers and youth always crave something unique and attractive. Hence, we can expect some stunning ideas here. College parties or events are the places for these booths. For example, the photo booth in the picture uses an old van.

DIY Photo Booth FAQs
1. What size of solar generator do I need for a DIY photo booth?
A medium to large solar generator, e.g., the Jackery solar generator 1000 plus, 1500 pro, or the larger 2000 pro, is the best choice for DIY photo booths. Find your exact power requirement and solar generator size by following these steps.
- Add up the maximum power requirement of all your devices. You will find the wattage of each product on its product label or in the user manual.
- Estimate how many hours you want to run your devices.
- Find out the output of your solar generator. Consider that there is always some loss of power in the transmission of energy. Hence, we are calculating the hours on 85% performance of the solar generator and giving a margin of 5 power loss.
How to calculate the hours:
Working time = Capacity Wh * 0.85 / operating wattage of your device. For example, suppose the power consumption of all your photo booths is 200W. A Jackery Solar Power Generator 1000Plus Working time will be
1264.64 Wh * 0.85 / 200w = 5.4 hrs.
2. What size frame for photo booth DIY?
A frame prop for a DIY photo booth depends on how many people you are making it for. So. If you want to photograph one or two people in this frame, 36 x 24 inches is a good size. For 3-4 people, you need at least 48 x 36 inches for size.
3. Are DIY photo booths good for weddings?
DIY photo booths are superb and the most recommended for weddings as you can add your customization touch to them as you know your guests and the couple. So you know what they like. A DIY photo booth is also a great gift idea from the friends where they make memories for themselves with the couple.
4. Is a photo booth worth it?
Totally! People will take photos anyway, so why not make the process more streamlined, organized, and personally customized? The DIY photo booths also keep the guests busy and entertained.
Final Thoughts
Photo booths are very popular, and art has matured over the years. A DIY photo booth is becoming a thorough project with all the customization and equipment. We love how unique and interesting these booths have become and how they contribute to the cherished memories and fun of the events. A thorough plan and equipment make these booths efficient and calm, including a camera, backdrop, lighting, solar generator, and props. We have discussed creating a DIY photo booth and some great ideas for you. Happy Celebrations!










![[Add - on] Jackery Manual Transfer Switch for Explorer 5000 Plus - Jackery](http://www.jackery.com/cdn/shop/files/add-on-jackery-manual-transfer-switch-for-explorer-5000-plus-9017324.png?v=1754016782&width=170)













Leave a comment