An outdoor shed can significantly help your house organization and living experience by adding extra storage for your not-so-pretty stuff. Your DIY shed is the house for your tools and equipment like lawnmowers, cycles, car tools, etc. Additionally, you can use it as an extra living space. In this article, we will discuss how to build a DIY shed, what tools and materials are required, and the cheapest DIY shed plan.
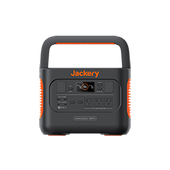
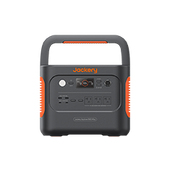
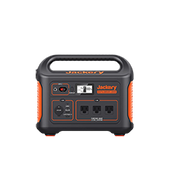
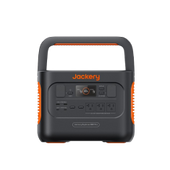
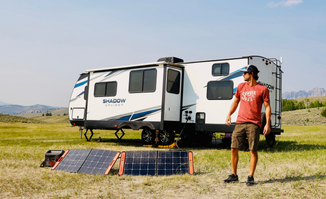
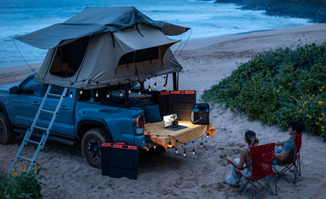
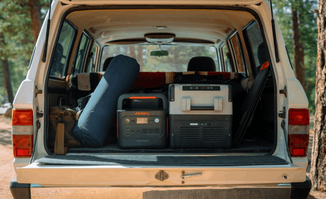
During the process, you will also need power tools, including saws, air compressors, drills, etc. We recommend using a solar generator as they are environmentally friendly, and the cost of operation is meager because of the lack of fuel usage. The Jackery solar generators line has small to large-capacity generators equipped with high-performance charging and fluctuation-free technology.
What Tools & Materials Do You Need for a DIY Shed?
A DIY shed is a large project but simple. With a detailed plan and the right tools, you can manage it easily in four to six days. Following is a list of all tools and materials required for this project.
|
Tools For DIY Shed Project |
|
|
Air compressor |
Clamps |
|
Air hose |
Cordless drill |
|
Brad nail gun |
Drill bit set |
|
Caulk gun |
Hammer |
|
Chalk line |
Hearing and eye protection |
|
Circular saw |
Jigsaw |
|
Level |
Pocket hole jig |
|
Router |
Sawhorses |
|
Speed square |
Stepladder |
|
Tape measure |
Tin snips |
|
List Of Materials For DIY Shed Project |
|||
|
Material |
Unit |
Quantity |
Size |
|
Pressure-Treated Lumber 1″x2″ |
pcs |
3 |
10′ |
|
Pressure-Treated Lumber 1″x2″ |
pcs |
24 |
6′ |
|
Pressure-Treated Lumber 1″x2″ |
pcs |
2 |
8′ |
|
Pressure-Treated Lumber 1″x3″ |
pcs |
5 |
6′ |
|
Pressure-Treated Lumber 1″x3″ |
pcs |
5 |
10′ |
|
Pressure-Treated Lumber 1″x3″ |
pcs |
2 |
8′ |
|
Pressure-Treated Lumber 1″x4″ |
pcs |
4 |
8′ |
|
Pressure-Treated Lumber 1″x4″ |
pcs |
2 |
10′ |
|
Pressure-Treated Lumber 1″x4″ |
pcs |
4 |
6′ |
|
Pressure-Treated Board 1″x6″ |
pcs |
2 |
10′ |
|
Pressure-Treated Board 1″x8″ |
pcs |
1 |
10′ |
|
Pressure-Treated Lumber 2″x2″ |
pcs |
4 |
6′ |
|
Pressure-Treated Lumber 2″x2″ |
pcs |
3 |
8′ |
|
Pressure-Treated Lumber 2″x2″ |
pcs |
2 |
12′ |
|
Pressure-Treated Lumber 2″x3″ |
pcs |
4 |
10′ |
|
Pressure-Treated Lumber 2″x3″ |
pcs |
7 |
8′ |
|
Pressure-Treated Lumber 2″x3″ |
pcs |
5 |
6′ |
|
Pressure-Treated Lumber 2″x4″ |
pcs |
3 |
12′ |
|
Pressure-Treated Lumber 2″x4″ |
pcs |
26 |
6′ |
|
Pressure-Treated Lumber 2″x4″ |
pcs |
22 |
8′ |
|
Pressure-Treated Lumber 2″x4″ |
pcs |
9 |
10′ |
|
Pressure-Treated Lumber 2″x6″ |
pcs |
4 |
6′ |
|
Pressure-Treated Lumber 2″x6″ |
pcs |
18 |
8′ |
|
Pressure-Treated Lumber 2″x8″ |
pcs |
10 |
10′ |
|
Pressure-Treated Lumber 4″x4″ |
pcs |
4 |
8′ |
|
Plywood (9/16″) |
pcs |
28 |
4′x8′ |
|
Poured concrete |
lbs |
4 |
60 |
|
Concrete Brick Pavers |
pcs |
140 |
3 5/8″ x 2 1/4″ x 8″ |
|
Building paper (#15) |
roll |
4 |
|
|
Asphalt shingles (250# per sq. min) |
ft2 |
150 |
|
|
Metal drip edge |
ft |
20 |
|
|
Wood siding boards (1/2″ x 6″) |
ft2 |
85 |
9′-5″ |
|
Wood siding boards (1/2″ x 6″) |
ft2 |
135 |
9′-6 1/2″ |
|
Wood siding boards (1/2″ x 6″) |
ft2 |
13 |
2′-2 3/4″ |
|
Window beading |
ft |
8 |
|
|
Glass (1/8″) |
pcs |
1 |
2′-10 1/4″ x 2′-10 1/4″ |
|
Wall fastener (3″) |
pcs |
4 |
|
|
Door hinge (3″) |
pcs |
18 |
|
|
Door pull (6″) |
pcs |
2 |
|
|
Surface bolt (4″) |
pcs |
4 |
|
|
Window lock |
pcs |
2 |
|
|
Wood square louver gable vent (12″ x 12″) |
pcs |
2 |
|
|
Galvanized nails (1/2″) |
pcs |
100 |
|
|
Galvanized nails (2″) |
pcs |
2000 |
|
|
Wood screws (2″) |
pcs |
1750 |
|
|
Wood screws (3″) |
pcs |
1200 |
|
|
Wood screws (5″) |
pcs |
500 |
|
DIY Shed Plans & Ideas
DIY sheds can be very simple and small, while many examples of very elaborate designs and plans exist. Since we are focusing on a low to medium-level skill set, we are only discussing basic DIY shed plans. These ideas are easy to make and require limited building time and resources.
Garden Closet Storage Shed Plan

This closet-like DIY shed plan is designed as an affordable idea to store lawn equipment and gardening tools. Since it is smaller, it is relatively inexpensive and requires little time to assemble. The detailed plan, pictures, construction steps, and requirements are available on the Family Handyman Shed Plan page.
Gambrel Style Free Storage Shed Plan

This gambrel storage shed is a moveable shed plan in a practical size of 10x12 ft. It has enough space to accommodate your tools and equipment. You can even use it to store your outdoor furniture or not-do-frequently used stuff. The detailed plan is available at Construct101 Gambrel Style Free Storage Shed Plan.
8x10 ft. Free Storage Shed Plan

8x10 ft. Free Storage Shed Plan is a guide to building an 8x10 ft. storage shed built on skids. This means that once it is constructed, you can move it. This is a simple and budget-friendly plan with enough storage. The detailed plan, materials list, and step-by-step instructions are available at BuildEazy.
4x2 ft. Small Outdoor Shed/Smokehouse

This DIY shed plan is multipurpose as it could easily be used as a smokehouse. It is simple to make and very affordable. The detailed plan includes step-by-step construction steps, a materials list, and pictures. Detailed Plan.
How to DIY Shed
So, we are starting the most exciting part, i.e., how to build our DIY shed. We have listed the required tools and materials above, so let us jump straight to the work.
1. The first step for your DIY shedis to make its foundation. A concrete and brick foundation is a stable and more robust option, so let's go with it. The foundation measures 10'-7 ½" on each side.- Dig 1’ wide and 1’ deep footing trenches and fill them with concrete.
- When the concrete hardens, spread mortar and fix the bricks.
- Mark the 9’-10 ½” joists at a distance of 11 inches each to line the plywood sheets in the middle of the joists.
- Use 8×5″ Phillips wood screws to secure the joints.
- All the corners should be 90-degree angles.
- Install the foundation.
- Secure the plywood to the frame using 2-inch Phillips flat-head wood screws.
- Add more rows of plywood to the frame.
- Lay out wall studs similarly to the floor we discussed above.
- Now frame the walls using Phillips flat-head wood screws. The 2 x 4 intersections should be connected using two screws.
- Use 10’ pressure-treated lumber for your roof beams. Connect the beams with flat-head Phillips wood screws.
- Build your rafters with either 2x4 or 2x6.
- Make the rafters, collar ties, and ride board. Each rafter is 6’-11”long, and we need 18 rafters spaced 1’-1 ¼”
- We will be using 1x3 pressure-treated lumber for wall trims. Two 5′-10 3/4″ boards, two eight ′- 1/2″, and one cut of 10' are needed.
- Cut starter course 9′-5″ long from the pressure-treated lumber with cross-section 1/4″ x 3/4″.
- Use 1/2 “ x 6” siding boards for exterior sliding.
- Now prepare the window trims with two boards cut to 3′-9″ and two boards cut to 3′-4″.
7. Attach the roof. Prepare 9/16" plywood for the roof sheathing. You will need four four ′ x 6′-11″ sheets and two 2′-5 3/4″ x 6′-11″ sheets.
8. Install the roof shingles.
9.Assemble the windows, and you can attach them directly to wall framing or on the top of the siding. Once the windows are assembled, line up to the door's opening with the trim and then use three heavy-duty hinges to hang the door.
10.Build the doors and install the ventilation system.
11.The following steps are optional.
- Install roof drainage system.
- Install door ramps.
So, here we are. Our DIY shed is ready.
Jackery Solar Generators for DIY Shed
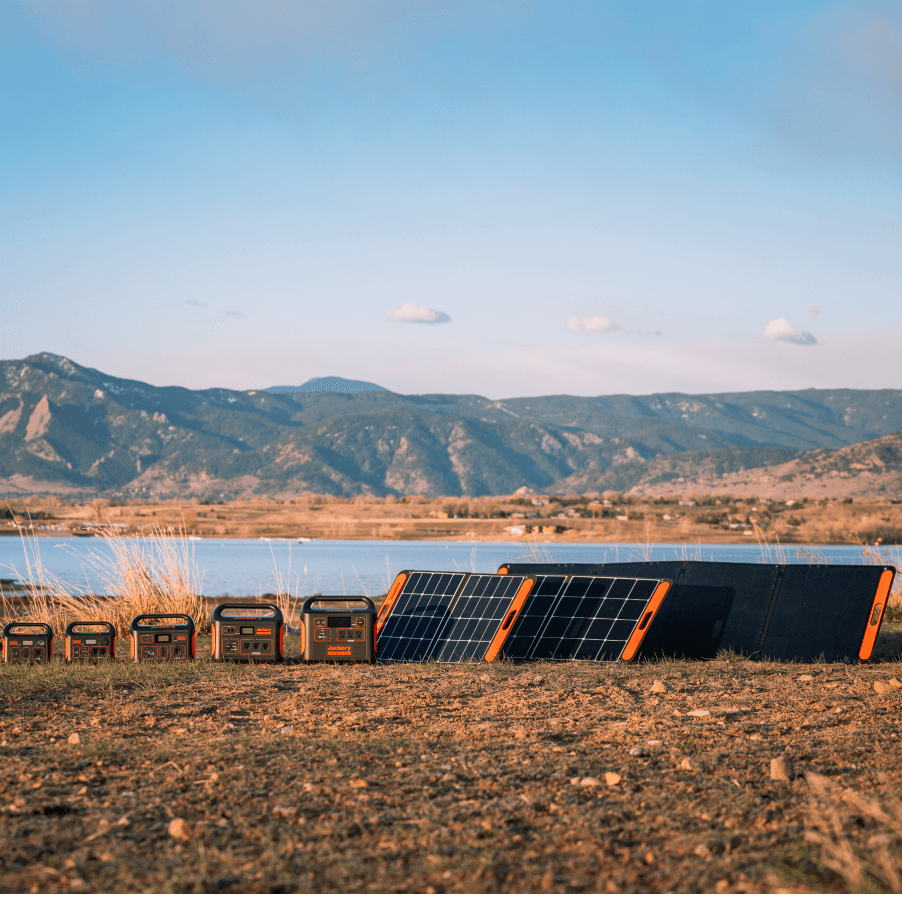
The Jackery solar generators are available from a range of small- to large-capacity power suppliers that are compact and weather-resistant. These solar generators can provide enough power to run your power tools while building your DIY shed and later. You can power your circular saw, drill, lawn mower, pressure washer, and other tools. Following is a list of power tools with both running and starting wattage. Running wattage is the required power during the tool's operation, while starting wattage is needed for a few seconds when the tool is started.
|
Appliances |
Starting Wattage |
Running Wattage |
|
Circular Saw |
2400 |
1200 |
|
Drill |
1800 |
720 |
|
Edger |
2400 |
960 |
|
Electric Chainsaw |
2400 |
1200 |
|
Electric Lawn Mower |
4320 |
1440 |
|
Electric Pressure Washer |
3600 |
1200 |
|
Electric String Trimmer |
1500 |
600 |
|
Jig Saw |
1800 |
720 |
|
Miter Saw |
2100 |
840 |
Jackery Solar Generator 3000 Pro

The Jackery 3000 Pro is a large solar generator with a 3024 Wh capacity. It is large enough to power up your electric drill, circular saw, grinder, and lawn mower. Despite being large in capacity, it charges fast within 3 to 4 hours with solar panels and only 2.4 hours with wall charging.
|
Solar Generator 3000 Pro |
||
|
Capacity |
3024Wh |
|
|
Battery Cell |
Lithium-ion Battery |
|
|
Cycle Life |
2000 cycles to 70%+ capacity |
|
|
Dimension |
Length: 18.6in (47.3cm) Width: 14.1in (35.94cm) Height: 14.7in (37.36cm) Weight: 63.93lbs (29kg) |
|
|
Recharging Methods |
Solar Panel: 3-4 Hours AC Adapter: 2.4 Hours Car Adapter: 35 Hours |
|
|
Output Ports |
AC Output(x1): 120V~ 60Hz 25A Max AC Output(x3): 120V~ 60Hz 20A Max USB-C Output(x2): 100W Max, 5V⎓3A, 9V⎓3A, 12V⎓3A, 15V⎓3A, 20V⎓5A |
|
|
Working Hours |
Electric Drill (1500W) |
1.7 Hours |
|
|
Circular Saw(1200W) |
2.14 Hours |
|
|
Drill(720W) |
3.57 Hours |
|
|
Edger(960W) |
2.6 Hours |
|
|
Electric Chainsaw(1200W) |
2.14 Hours |
|
|
Electric Lawn Mower(1440W) |
1.78 Hours |
|
|
Electric Pressure Washer(1200W) |
2.1 Hours |
|
|
Electric String Trimmer(600W) |
4.2 Hours |
|
|
Jig Saw(720W) |
3.57 Hours |
|
|
Miter Saw(840W) |
3.06 Hours |
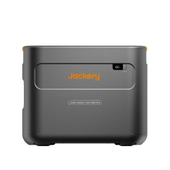
Jackery Solar Generator 2000 Plus

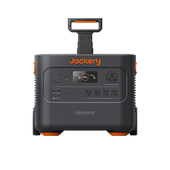
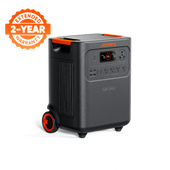
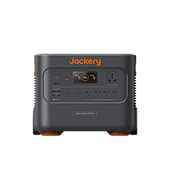
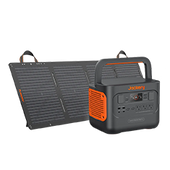
The Jackery solar generator 2000 Plus is unique in the Jackery product line as it offers an expandable 2-24 kWh capacity. It can power several tools and appliances up to 6000W. It is weather-resistant so you can keep it in your DIY shed for day-to-day work.
|
Solar Generator 2000 Plus |
||
|
Capacity |
2042.8Wh |
|
|
Battery Cell |
LFP (LiFePO4 battery) |
|
|
Cycle Life |
4000 cycles to 70%+ capacity |
|
|
Dimension |
Length: 14.7in(37.36cm) Width: 18.6in(47.3cm) Height: 14.1in(35.94cm) Weight: 61.5 lbs(27.9 kg) |
|
|
Recharging Methods |
Solar Panel: 2 Hours AC Adapter: 2 Hours Car Adapter: 25 Hours |
|
|
Output Ports |
AC Output(x5): AC Output(×4):120V~ 60Hz, 20A Max, AC Output(×1):120V~ 60Hz, 25A Max, AC Total Output,3000W Max, 6000W surge peak USB-A Output(x2): Quick Charge 3.0, 18W Max USB-C Output(x2): 100W Max, (5V, 9V, 12V, 15V, 20V up to 5A) |
|
|
Working Hours |
Electric Drill (1500W) |
1.15 Hours |
|
|
Circular Saw(1200W) |
1.44 Hours |
|
|
Drill(720W) |
2.4 Hours |
|
|
Edger(960W) |
1.8 Hours |
|
|
Electric Chainsaw(1200W) |
1.44 Hours |
|
|
Electric Lawn Mower(1440W) |
1.2 Hours |
|
|
Electric Pressure Washer(1200W) |
1.44 Hours |
|
|
Electric String Trimmer(600W) |
2.89 Hours |
|
|
Jig Saw(720W) |
2.4 Hours |
|
|
Miter Saw(840W) |
2.06 Hours |
Jackery Solar Generator 1000 Plus
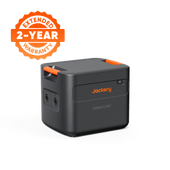
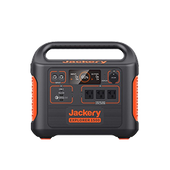
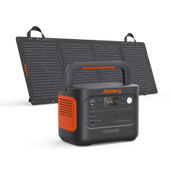
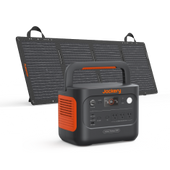
The Jackery solar generator 1000 plus is a compact yet powerful solar power station. It has a 1264Wh capacity and a 2000W output. It can be charged with solar panels, wall charging, and also with a carport. Its advanced APP feature lets you control and operate the generator using WiFi or Bluetooth.
|
Solar Generator 1000 Plus |
||
|
Capacity |
1264.64Wh |
|
|
Battery Cell |
LiFePO4 |
|
|
Cycle Life |
4000 cycles to 70%+ capacity |
|
|
Dimension |
Length: 14in (35.6cm) Width: 10.24in (26cm) Height: 11.14in (28.3cm) Weight: 32lbs (14.5kg) |
|
|
Recharging Methods |
AC Adapter: 1.7 Hours Car Adapter: 7 Hours Solar Charging(200W*6) 2 H |
|
|
Output Ports |
AC Output(x3): 120V~60Hz, 2000W (4000W Peak) USB-A Output(x2): 18W Max, 5-5V⎓3A USB-C Output(x2): 100W Max, (5V, 9V, 12V, 15V, 20V up to 5A) |
|
|
Working Hours |
Electric Drill (1500W) |
0.7 Hour |
|
|
Circular Saw(1200W) |
0.9 Hour |
|
|
Drill(720W) |
1.5 Hours |
|
|
Edger(960W) |
1.1 Hours |
|
|
Electric Chainsaw(1200W) |
0.9 Hour |
|
|
Electric Lawn Mower(1440W) |
0.7 Hour |
|
|
Electric Pressure Washer(1200W) |
0.9 Hour |
|
|
Electric String Trimmer(600W) |
1.8 Hours |
|
|
Jig Saw(720W) |
1.5 Hours |
|
|
Miter Saw(840W) |
1.3 Hours |
How to Save Money On Your DIY Shed?
The first step to saving money on your DIY shed is choosing suitable materials and an innovative, basic, no-frills design.
Using pressure-treated lumber makes your DIY shed very durable and resistant to decay. Also, pressure-treated lumber is less expensive than premium lumber. You can easily use reclaimed or salvaged materials for your siding, roof, and finishing. Local classified and salvage yards are also favorite places for DIY-ers to shop for secondhand building materials and accessories.
As for the smarter design, consider using single-slope roofs as they use fewer materials. Additionally, compact designs use less material and are quick to construct.
Following is a general overview of the average cost of DIY sheds by size.
|
Size |
Average Cost |
|
8 x 8 |
$5120 |
|
10 x 12 |
9,600 |
|
12 x 24 |
12,040 |
DIY Shed FAQs
1. What size of solar generator do I need for a DIY shed?
The size of a solar generator for a DIY shed depends on what tools you will be running. Generally, 1000 to 3000 watts is a reasonable range. So, the primary method to calculate the required generator wattage is to add the running wattage of all the tools you will be running. Add the highest starting wattage among all the tools to the total running wattage. This is your required wattage.
The second way is to calculate the working hours of your required equipment and see how long your generator can support it.
How to calculate the hours:
Working time = Capacity Wh * 0.85 / operating wattage of your equipment
For example, assuming the power consumption of your jigsaw is 300 Watts.
The working time for the Jackery Solar Generator 1000 plus will be 1264Wh * 0.85 / 300W = 3.58 hrs. These calculated estimates are very realistic as we have already incorporated15% loss of efficiency during operation and transmission.
2. Is it cheaper to build your shed?
Yes, a prebuilt shed is far more expensive than a DIY shed. We have discussed how to DIY a shed and the required tools and materials above to give you a better understanding of what to expect.
3. Should my shed have a floor?
Yes, the floor is a foundation that protects against sagging and sinking. Also, it keeps the stored stuff dry and weather-protected.
4. Are DIY sheds worth it?
A DIY shed is worth it because it is cost-effective and more powerfully built. The prebuilt shed very commonly has cheaper cuts of wood and also substandard materials, so a DIY shed is of far better quality.
|
Shed size |
Average overall cost |
|
8’ x 8’ |
$5,120 |
|
10’ x 12’ |
$9,600 |
|
12’ x 24’ |
$23,040 |
Final Thoughts
A DIY shed in the backyard or the garden adds some much-needed storage space to your house. It eventually helps you organize your home and keep your tools and equipment handy. We have discussed above how to DIY a shed and also how this shed is cost-effective and of much better quality. A Jackery solar generator in your DIY shed is a much-needed piece of equipment as it allows you to work outdoors and when you want to save on your grid power cost.











![[Add - on] Jackery Manual Transfer Switch for Explorer 5000 Plus - Jackery](http://www.jackery.com/cdn/shop/files/add-on-jackery-manual-transfer-switch-for-explorer-5000-plus-9017324.png?v=1754016782&width=170)



























Leave a comment