


![[Add - on] Jackery Manual Transfer Switch for Explorer 5000 Plus - Jackery](http://www.jackery.com/cdn/shop/files/add-on-jackery-manual-transfer-switch-for-explorer-5000-plus-9017324.png?v=1754016782&width=350)


![[Add - on] Jackery Battery Pack 5000 Plus - Jackery](http://www.jackery.com/cdn/shop/files/add-on-jackery-battery-pack-5000-plus-6078351.png?v=1754016791&width=324)

![[Add - on] Jackery Car Charging Cable - Jackery](http://www.jackery.com/cdn/shop/files/add-on-jackery-car-charging-cable-3882421.png?v=1754016863&width=324)


![[Add - on] Jackery Smart Transfer Switch - Jackery](http://www.jackery.com/cdn/shop/files/add-on-jackery-smart-transfer-switch-5842915.png?v=1754016784&width=324)
![[Add - on]Jackery 102W GaN 3 - Port Fast Charger - Jackery](http://www.jackery.com/cdn/shop/files/add-onjackery-102w-gan-3-port-fast-charger-6377742.png?v=1754016790&width=324)


![[Add - on] SolarSaga 200W - Jackery](http://www.jackery.com/cdn/shop/files/add-on-solarsaga-200w-4834329.png?v=1754016915&width=324)

![[Add - on] Jackery Manual Transfer Switch for Explorer 5000 Plus - Jackery](http://www.jackery.com/cdn/shop/files/add-on-jackery-manual-transfer-switch-for-explorer-5000-plus-9017324.png?v=1754016782&width=324)


Living off the grid in a solar powered cabin can be an inexpensive way to own your own home, embrace minimalism, and escape the rat race. A DIY off grid cabin allows you to build your home to your exact preferences and specifications, and live mortgage-free while you pursue your passions.
In this guide, we’ll cover the basic steps involved in the process of bringing your off grid cabin ideas to life, from calculating your energy needs to selecting the right components.
Let’s get started!
What is an Off Grid Cabin?
An off grid cabin is a small dwelling that does not connect to city or municipal water, sewer, gas, or power lines. All power is generated on-site, usually with solar power but potentially with other power sources as well.
Most off grid cabins are pretty small – usually between 200 and 500 square feet, although there isn’t necessarily a size limit. However, smaller homes are easier (and more economical) to heat, light, and power with off grid sources than larger ones.
How Does a Solar Powered Cabin Work?
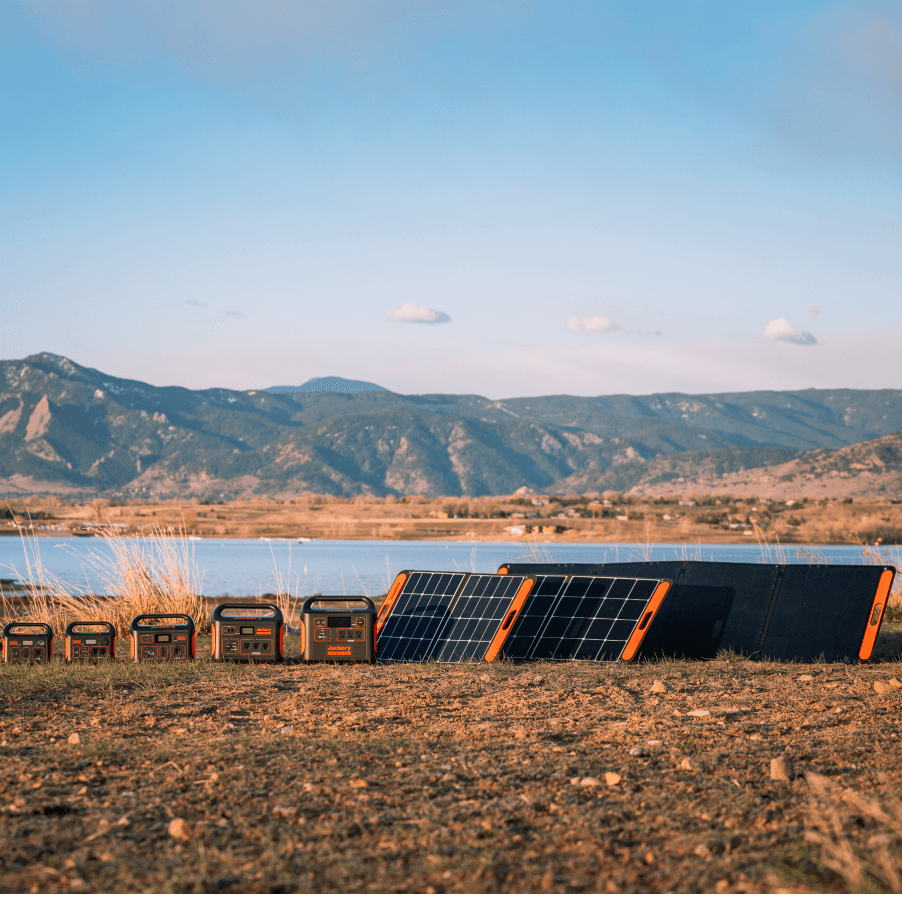
Most off grid solar cabins have solar panels installed on the roof and/or a ground-mounted array of solar panels. The power from the solar panels then flows into a battery bank, where it’s stored for later use. Then, the power passes through an inverter (to change the current from DC to AC) to run standard household appliances.
Of course, solar panels only generate power when the sun is shining. So the power must be stored in batteries for nighttime use and to save up energy for days when it’s rainy or snowy. Although modern solar panels can still harness the sun’s rays even on overcast days, the power output will be much less.
While installing your own solar energy system may feel daunting if you’ve never done it before, it’s a relatively simple process if you follow the right order of operations.
Here are the 6 steps to building an off grid cabin.
Step 1: Assess Energy Needs and Site Analysis
Before you buy a single solar panel or piece of lumber, you must do the math. Skipping this step is the most common reason DIY solar setups fail.
Conduct a Lifestyle Audit
You need to calculate exactly how much energy you will consume. Create a spreadsheet listing every electrical device you plan to use (lights, fridge, well pump, laptop). Note the Running Watts and the Surge Watts (startup power) for each.
Calculate Daily Watt-Hours (Wh)
Use this formula to determine your daily consumption: Wattage × Hours Used = Daily Watt-Hours
For example, if you run a 100W bulb for 5 hours, that is 500Wh. Sum up the total Wh for all appliances to get your daily energy requirement.
Understanding Peak Sun Hours vs. Daylight Hours
A common mistake is assuming that 12 hours of daylight equals 12 hours of solar charging. It doesn't. You need to know your location's Peak Sun Hours—the number of hours per day the sun is at full intensity (1000 watts per square meter). In the US, this ranges from about 3 hours in the winter North to 6+ hours in the Southwest. You can find this data on NREL.gov maps. Always size your system based on winter sun hours to ensure reliability year-round.
The "20% Rule" for System Sizing
Once you have your total daily Watt-Hours, apply the 20% Rule. Oversize your system production by at least 20% to account for inefficiencies like heat loss, wiring resistance, dirt on panels, and cloudy days.
-
Calculation: Multiply your total daily Wh by 1.2 to find your target production.
Step 2: Choose Your Location Carefully
Select a site that gets an adequate amount of sunlight – somewhere that’s not shaded by trees, hills, or other structures.
Also, be sure to think ahead several years. For example, suppose there are saplings around your cabin that will eventually grow into giant trees. In that case, you may need to either replant the saplings or choose another location for your cabin. Alternatively, you can build the cabin there and opt for a ground-mounted solar array away from the trees.
You will also need to ensure that it’s legal to build an off grid cabin in the location that you select. These rules vary by county, city, and township, so you’ll want to research the laws for your specific area. Some zones have regulations regarding the minimum size of a residence or forbidding the use of entirely off grid power. Be sure to do your due diligence, secure any necessary permits, and carefully draft your off grid cabin plans before you begin building.
Step 3: Calculate Solar Needs and Purchase Components
Once you have decided on your goal wattage and amp-hours from Step 1, you can begin shopping for your components. You have two main paths: building a complex DIY component system or choosing an all-in-one solar generator solution.
Path A: The DIY Component Build
If you are building a custom system from scratch, you will need:
- Solar Panels: Monocrystalline solar panels are more efficient but slightly more expensive than polycrystalline.
- Charge Controller: This regulates voltage to prevent batteries from overcharging. Always choose an MPPT (Maximum Power Point Tracking) controller over a PWM controller; MPPT is roughly 30% more efficient, which is critical in winter.
- Battery Bank: While lead-acid (AGM/Flooded) batteries are cheaper upfront, LiFePO4 batteries are the superior choice for cabins. Lithium batteries can be safely discharged 80-100% (Depth of Discharge), whereas lead-acid batteries should only be discharged 50% to avoid damage. This means you need twice as many lead-acid batteries to get the same usable capacity as lithium.
- Inverter: This converts DC battery power to AC wall power. Ensure you buy a Pure Sine Wave inverter. Modified sine wave inverters are cheaper but can damage sensitive electronics like laptops and fridges.
You can also follow this comprehensive DIY off-grid solar power guide for more detailed instructions.
Path B: The All-in-One Solution (Jackery Solar Generators)
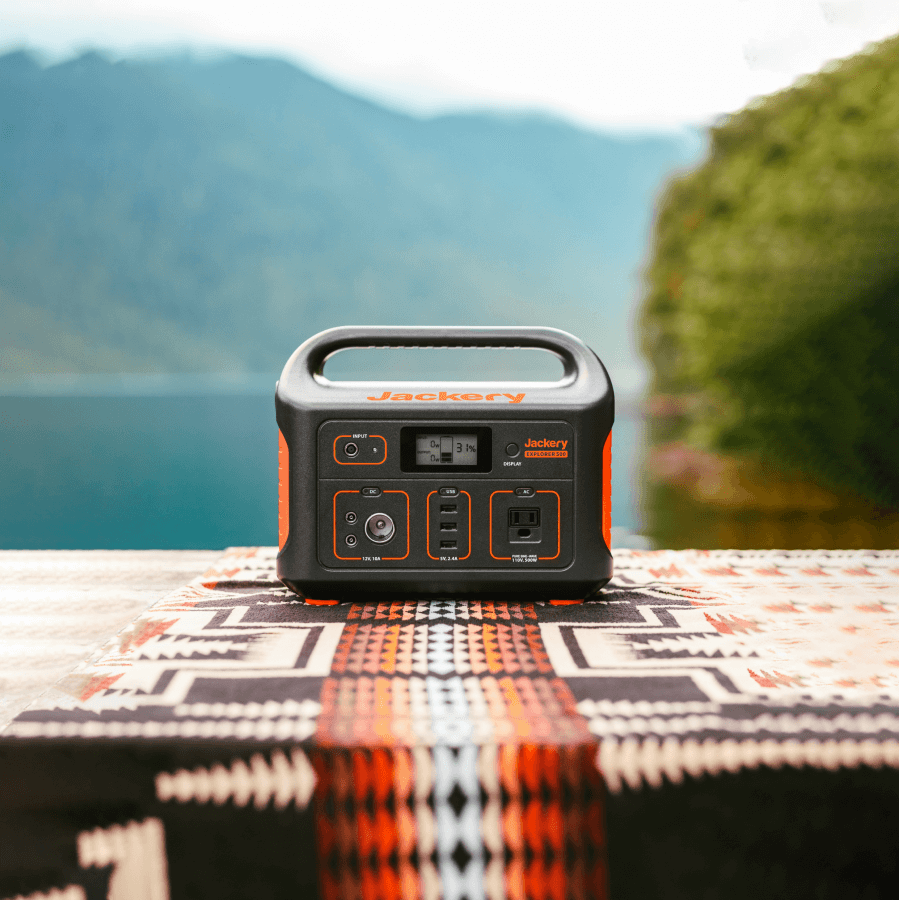
If calculating wire gauges, fusing, and matching charge controllers sounds intimidating, or if you have a smaller cabin (under 500 sq ft), a portable power station is often the smarter choice. These units combine the battery, MPPT charge controller, and pure sine wave inverter into one safe, portable unit.
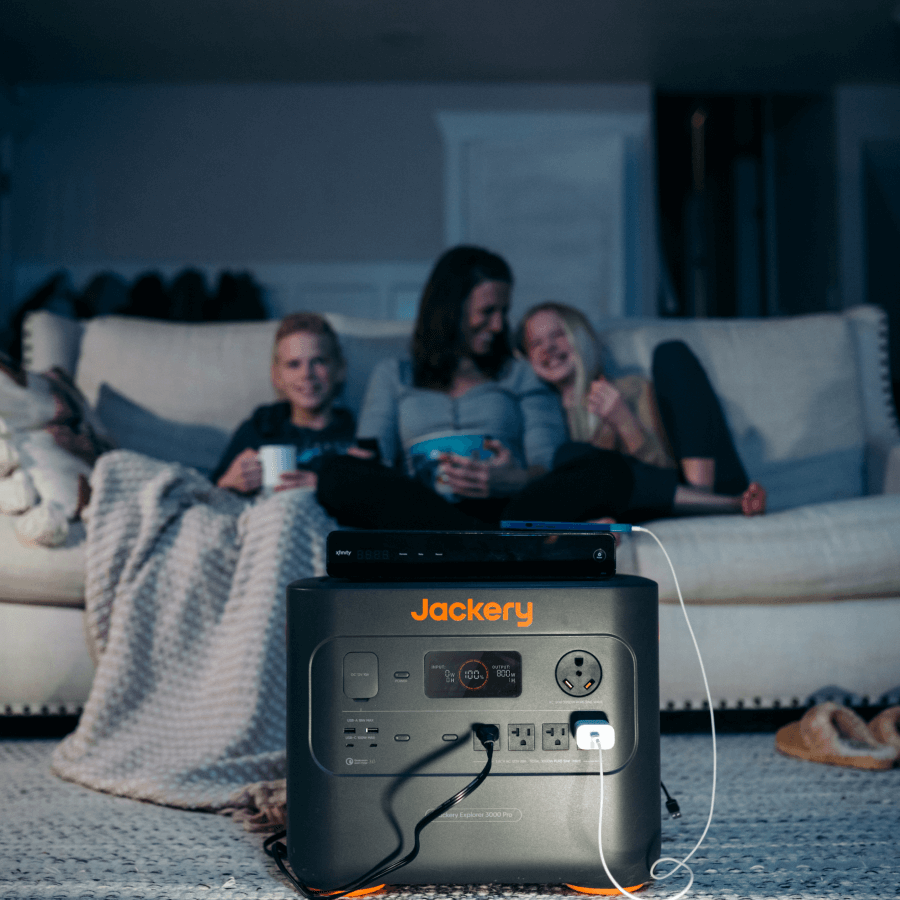
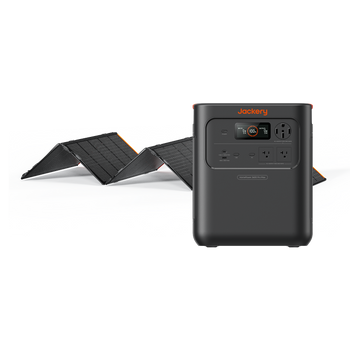
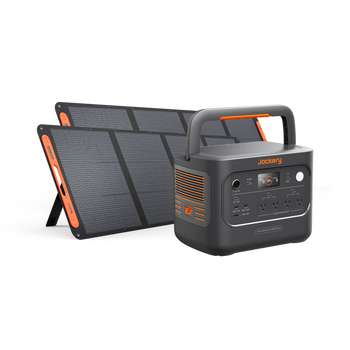
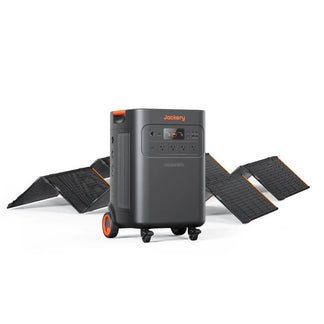
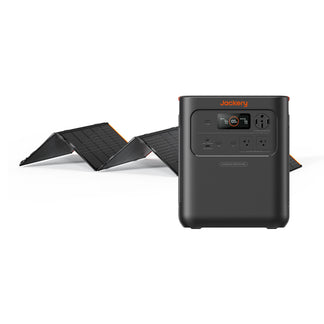
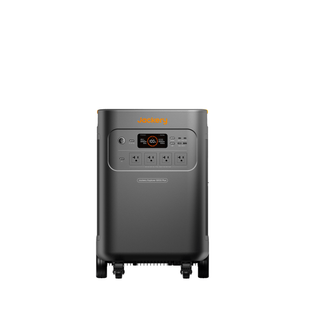
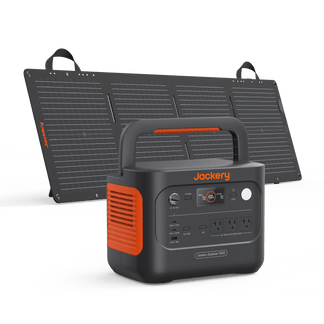
- For Medium Cabins: The Jackery Solar Generator HomePower 3600 Plus offers a substantial 3.6kWh capacity. It is expandable and portable, making it ideal for running lights, laptops, and small appliances.
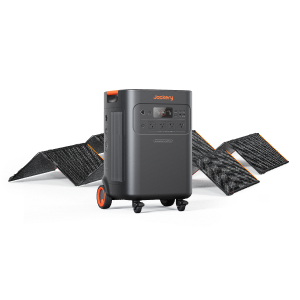
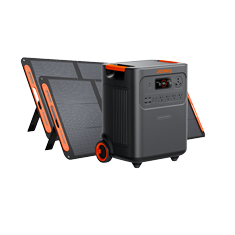
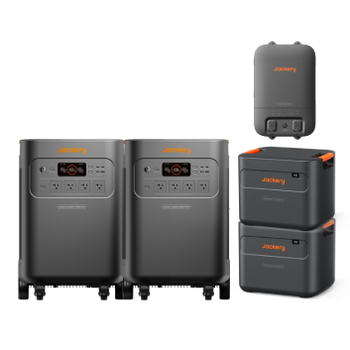
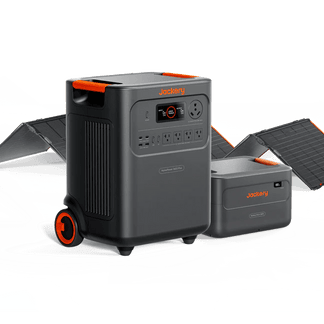
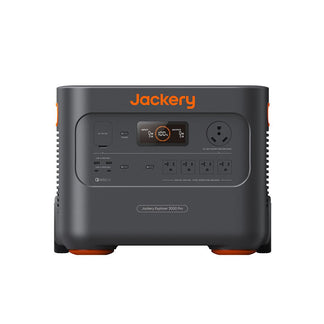
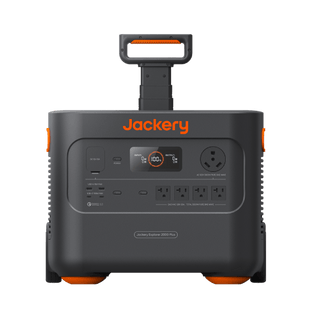
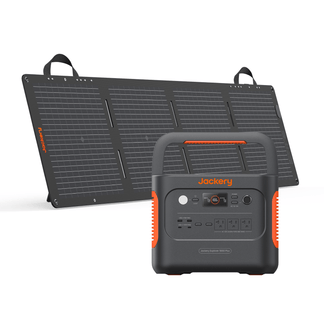
- For Full Off-Grid Living: The Jackery Solar Generator 5000 Plus is the ultimate powerhouse. With a massive capacity and high output, it can handle heavy-duty appliances and power tools. It supports expandability, meaning you can add extra battery packs as your energy needs grow—something that is very difficult to do with traditional lead-acid battery banks.
Can I Run AC Off-Grid?
Running air conditioning requires a robust system due to the high surge current needed to start the compressor.
- The Solution: If you are building a custom system, you may need a "Soft Starter" device to lower that surge.
- The Jackery Advantage: The Jackery Solar Generator 5000 Plus has a high surge output capability designed to handle inductive loads like air conditioners and power tools without tripping, simplifying the process significantly.
Step 4: Build Your Structure and Design for Safety
Once you’ve got your site chosen and components planned, you can begin building the off grid cabin.
Roof Pitch and Orientation
Keep the pitch of your roof in mind if you’ll be installing roof-mounted solar panels. The angle at which the sun hits your panels makes a big difference in energy production. In the US, your panels should face True South (not magnetic south).
The "33% Rule" (Fire Code)
If you are mounting panels on your roof, be aware of the 33% Rule related to fire codes (IFC). In many jurisdictions, you must leave clear pathways for firefighters. Often, if the solar array covers more than 33% of the roof area, you are required to have specific setbacks (usually 36 inches) from the ridge and sides. Check your local Authority Having Jurisdiction (AHJ) requirements.
Powering the Build
You may be wondering; how do I power my tools and equipment when I don’t have my solar energy system hooked up yet?
Enter the Jackery Solar Generator HomePower 3600 Plus!
With portable folding solar panels and a high-capacity power station, the Jackery Solar Generator HomePower 3600 Plus allows you to generate power wherever you need to and run all your power tools, lights, and equipment during the build phase. You can charge it via solar while you work, or top it up via your vehicle's 12V port. Once the cabin is finished, this unit becomes your primary or backup power source.

Step 5: Install and Hook Up Your System
If you chose the DIY component route, installation requires strict adherence to safety sequences.
The "Battery First" Rule
When wiring your system, you must follow a specific order to avoid destroying your equipment:
- Connect the Battery to the Charge Controller FIRST. The controller needs to detect the battery voltage (12V, 24V, or 48V) to calibrate itself.
- Connect the Solar Panels to the Charge Controller SECOND. Never connect panels to a controller that isn't connected to a battery; the voltage spike can fry the controller.
Wiring and Grounding
- Wire Gauge: Use thick, heavy-gauge wire to minimize voltage drop. DC power loses voltage quickly over distance.
- Grounding: For safety and lightning protection, your system must be grounded. This usually involves driving a copper grounding rod 8 feet into the earth and connecting your frames and equipment to it, per NEC code.
Hooking Up
Minimize cable runs to reduce resistance. Most components come with wiring diagrams. Unlike old advice that suggested working only at night, modern systems use disconnect switches (breakers). You should install a disconnect switch between the panels and the controller. simply flip the switch to "OFF" to safely work on the wiring during the day.
Double-check all your wiring and connections. Keep an eye on your system as the sun hits your panels and you begin generating your own off grid energy.
Step 6: Enjoy Off Grid Living and Maintenance
Most solar panels have a lifespan of 25-30 years, and modern LiFePO4 batteries (like those in the Jackery Solar Generator 5000 Plus) can last for over a decade of daily use (4000+ cycles).
Monitoring
You need to track your energy "State of Charge." Voltage is not an accurate way to measure battery level for lithium batteries.
- DIY: Install a "Smart Shunt" to count energy going in and out.
- Jackery: Use the Jackery App paired with your Jackery Solar Generator HomePower 3600 Plus or Jackery Solar Generator 5000 Plus. It provides real-time data on input, output, and remaining runtime, making energy management effortless.
Seasonal Maintenance
- Winter: Clear snow off panels immediately. Adjust the tilt angle to be steeper to catch the low winter sun.
- Summer: Ensure your inverter and batteries have good ventilation to prevent overheating.
It’s time to get building
Making the move to living off grid doesn’t have to be daunting. We hope the steps covered in this article help you on the way to building the off grid cabin of your dreams.
For the best outcome, remember to plan things out carefully using the math provided above. Whether you choose a complex DIY build or the plug-and-play reliability of the Jackery Solar Generator 5000 Plus, ensuring your energy needs are met is the key to a comfortable sustainable life.
Most importantly, enjoy the experience and your new sustainable way of life. Go for it.