Building a vine-covered DIY pergola in the home's backyard provides a space for relaxing and entertainment. A freestanding DIY or backyard pergola attached to the house can be completed in only a few weekends. It's really inexpensive and provides a beautiful setting for hot tubs, backyard barbecues, and firepits.
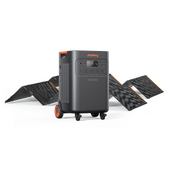
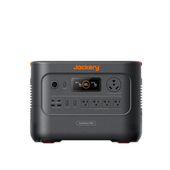
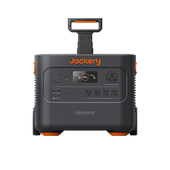
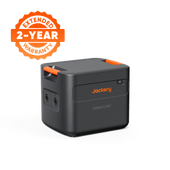
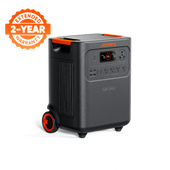
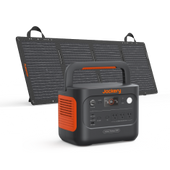
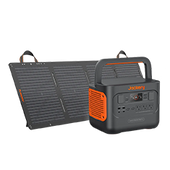
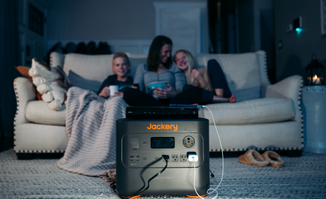
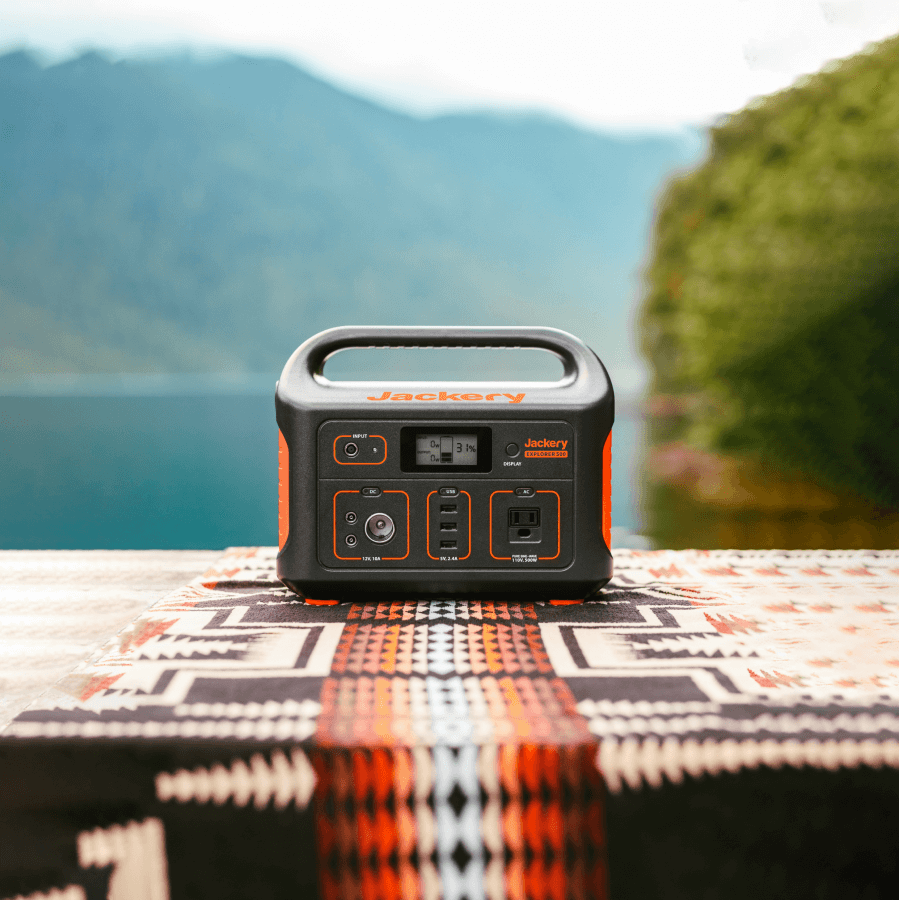
Jackery Solar Generators are reliable and powerful charging solutions for safely charging outdoor tools to build a DIY pergola. The Jackery Solar Generator 3000 Pro and Jackery Solar Generator 2000 Plus have large battery capacities that support nearly 99% of outdoor appliances, such as drills, circular saws, miter saws, saber saws, etc.
Why Is DIY Pergola So Popular?
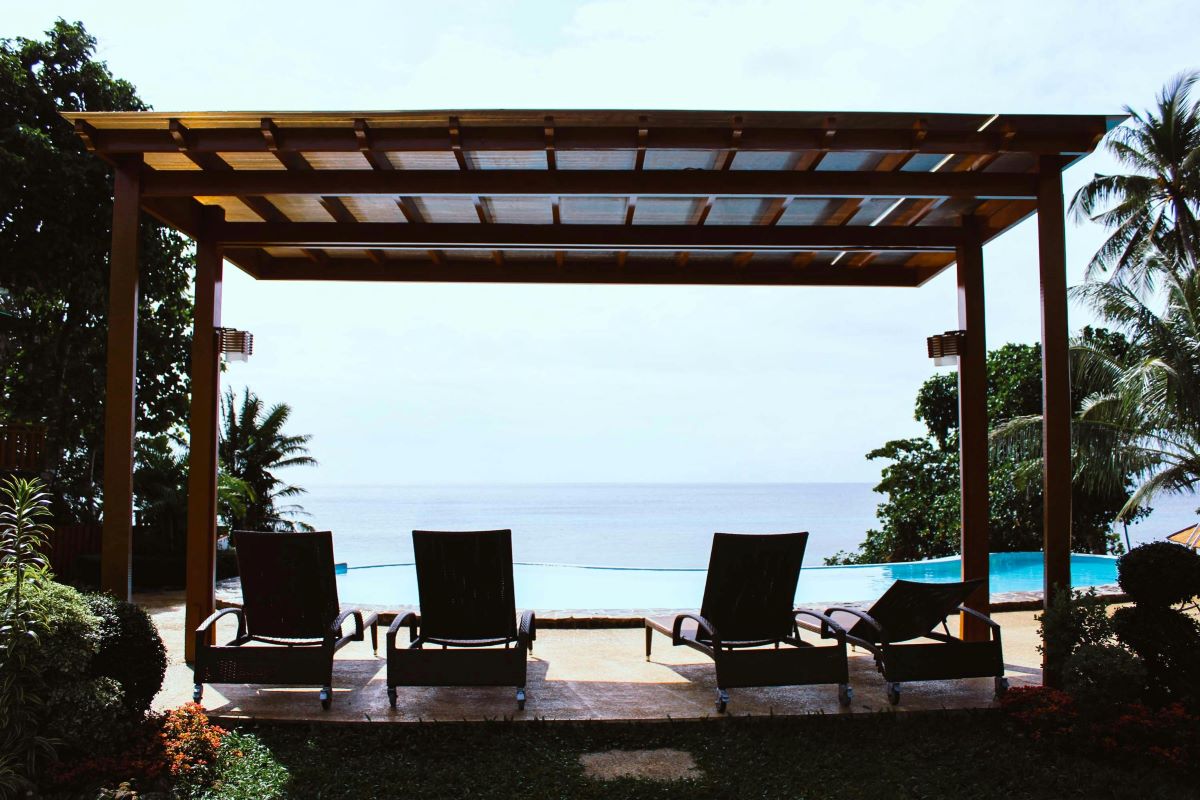
A backyard pergola is like an overhead structure built without a solid, fixed roof cover. It is less expensive than a roofed structure and is lighter. Building your own wooden pergola means you know where you'll spend an entire weekend every spring. When building a patio, you have complete control over the design, which can be altered to meet your needs. It can be used for a variety of purposes, including:
- Outdoor entertainment and dining
- Filtered shade throughout the day
- Poolside lounge
- Cover for shadows

DIY Pergola Ideas
Your DIY pergola design usually has a timber frame on which climbing plants grow. There's a dappled shade for the seating area where you can sit and celebrate the beautiful season. Here are a few DIY pergola ideas to inspire you:
Wildlife-Friendly DIY Pergola
If you are a wildlife lover, there's nothing better than building a DIY pergola with birds and bees feeding around you. To create this, cover the pergola with flowers and trees while ensuring ample space for nesting birds.

House-Shaped DIY Pergola
Another DIY pergola plan you can check out is this house-shaped pergola design built with wooden beams. This house-shapeddesign has walls on all sides to provide additional shelter from the wind.

Modern-Style DIY Pergola
A comfortable seating area makes the most of the backyard space. If you want a simple DIY pergola, consider building a 4×4 pergola with four walls and a day bed for maximum relaxation. You can also add your personalized design touch by mixing colors and styles that suit your needs.

What Tools & Materials Do You Need for a DIY Pergola?
For your DIY pergola plan, you need to gather some essential tools, such as:
|
DIY Pergola Tools & Materials |
||
|
4-in-1 screwdriver |
Hammer |
Hole saw kit |
|
Caulk gun |
Jigsaw |
Putty knife |
|
Cordless drill |
Miter saw |
Post hole digger |
|
Safety glasses |
Tool belt |
Level |
|
Speed square |
Tape measure |
Extension cord |
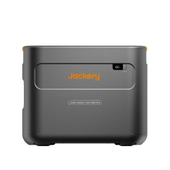
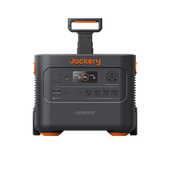
- Jackery Solar Generator 3000 Pro: This large solar generator, with a 3024Wh capacity, is designed to support 99% of outdoor tools. It features various output ports to charge multiple tools simultaneously and finish building a DIY pergola faster.
- Jackery Solar Generator 2000 Plus: It is another power source with a battery of 2042.8Wh and can be expanded up to 24kWh. You can charge 99% of outdoor tools, like drills, miter saws, etc., for long hours and complete the DIY pergola project.
How to DIY Pergola?
Like any DIY project, a pergola requires resilient materials that can withstand the local weather. Some excellent choices for building a pergola include cedar, rosewood, and pressure-treated wood.
Here are the steps to execute a DIY pergola plan:
Step 1: Choose the Right Location
Often, pergolas are built independently of the house. For this reason, you need to build the pergola either near the home or as a standalone structure in the garden.
Step 2: Find Pergola Design Plans
Next, decide which pergola styles, sizes, and ideas you would like to implement. You can choose between traditional designs and more modern styles that align with the surrounding decor.

Step 3: Measure the Column
The standard size of any pergola is usually 6 into 6-inch support posts. If you want a smaller pergola, build one that requires 4*4 inch pergola pillars. If the pergola is constructed close to the house, measure the protection of the eaves and keep the center of the posts at least 7 inches from the house.
Step 4: Set Posts
Clear the space where you want to install the pergola and level the ground. Now, carefully trim the 4×4 posts and fasten them to the concrete flooring. Connect the posts and beams with nuts and bolts, then tighten the bolts using a wrench. Finally, attach the pergola strings with ropes or pulleys to complete the installation.
Step 5: Attach Support Beams & Crossbeams
Next, build the rafters by cutting 2×4 to the desired length and then nailing them to the top of the joists. You can build a DIY pergola by attaching cross beams between the rafters. Cover the pergola with a roof or decking to protect it from the weather.
Step 6: Place the Decorative Pieces
While you can always go ahead with a simple pergola, adding some plant hangers or fairy lights as decor can improve the overall look. You can also paint the pergola sides with sleek and vibrant colors to make the structure more beautiful.

Jackery Solar Generators for DIY Pergola
The wattage consumption of the power tools required to build a DIY pergola will decide what solar generator you'll need. The larger the battery capacity of the generator, the more appliances it can charge simultaneously.
|
Appliances |
Starting Wattage |
Running Wattage |
|
Caulk Gun |
— |
80W |
|
Drill |
1800W |
720W |
|
Jigsaw |
300W |
300W |
|
Miter Saw |
2100W |
840W |
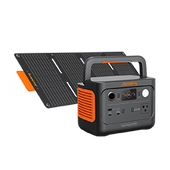
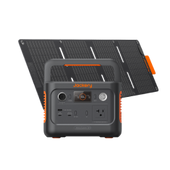
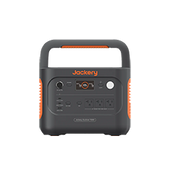
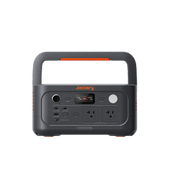
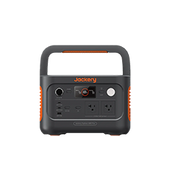
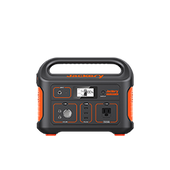
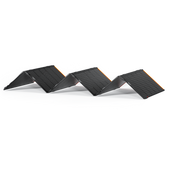
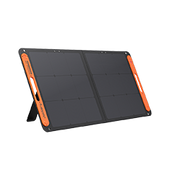
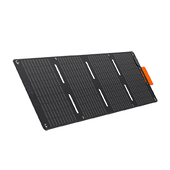
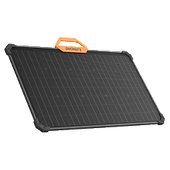
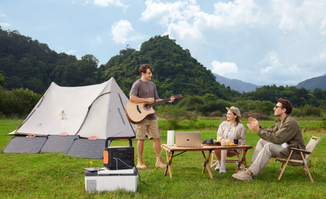
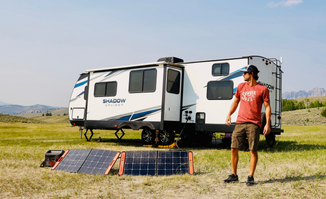
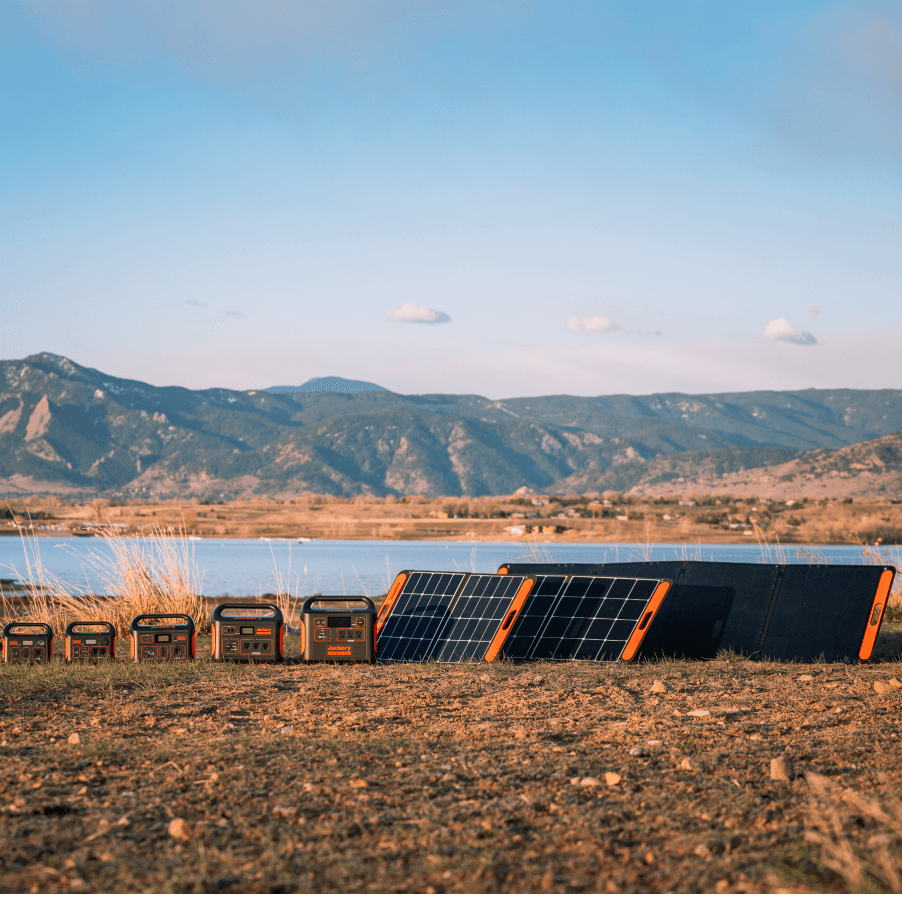
In order to build a DIY pergola, you need a reliable power source like Jackery Solar Generators. These generators combine Jackery Explorer Portable Power Stations and Jackery SolarSaga Solar Panels. The solar power panel converts solar energy into DC electricity, which is then passed to the Jackery Explorer Portable Power Stations for converting DC to AC electricity. You can then plug in the appliances to the portable battery backup and start charging them anywhere.
Jackery Solar Generator 3000 Pro
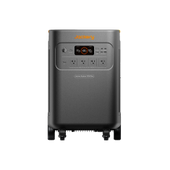
The Jackery Solar Generator 3000 Pro is like a smart power master to cover the electricity needs of 99% of outdoor tools, like electric drills, circular saws, miter saws, etc. It has an advanced BMS (Battery Management System) to provide 12 layers of protection against overvoltage and short circuits. The ergonomic design has a non-slip silicone strip and aluminum alloy pull rod for conveniently moving the solar generator from one place to another.

Customer Review
"I was looking to add electricity to my tuff shed, and instead of having the whole shed wired from the house, I ran a couple of outlets for lights and power using my new Jackery generator. It gives me the power I need and a backup if electricity drops to the house." — Allen Lewis.
Jackery Solar Generator 2000 Plus
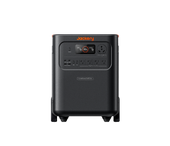
The Jackery Solar Generator 2000 Plus has a LiFePO4 battery of 2042.8Wh capacity and can be expanded to 24kWh. It can power heavy-duty tools up to 6000W, including circular and table saws. It can be recharged off-grid in 2 hours with the help of 6*Jackery SolarSaga 200W Solar Panels. If you want a power solution that can charge multiple power tools simultaneously, the Jackery Solar Generator 2000 Plus might be ideal.

Customer Review
"I like this thing; it's got a lot of power. It powered power tools. It's really not that heavy. It doesn't take too long to charge. It's nice and portable." — Michael Wheeler.
|
|
Jackery Solar Generator 3000 Pro |
Jackery Solar Generator 2000 Plus |
|
Capacity |
3024Wh |
2kWh-24kWh |
|
Battery Cell |
NMC |
LiFePO4 |
|
Cycle Life |
2000 cycles to 70%+ capacity |
4000 cycles to 70%+ capacity |
|
Dimension |
Length: 18.6 in (47.3cm) Width: 14.1 in (35.94cm) Height: 14.7 in (37.36cm) |
Length: 14.7in (37.36cm) Width: 18.6in (47.3cm) Height: 14.1in (35.94cm) |
|
Recharging Methods |
AC Adapter: 2.4 Hours Car Adapter (12V): 35 Hours 6*Jackery SolarSaga 200W Solar Panels: 3.5 Hours |
AC Adapter: 2 Hours Car Adapter (12V): 25 Hours 6*Jackery SolarSaga 200W Solar Panels: 2 Hours |
|
Output Ports |
AC Output(x1): 120V~ 60Hz 25A Max AC Output(x3): 120V~ 60Hz 20A Max USB-A Output(x2): Quick Charge 3.0x2, 18W Max USB-C Output(x2): 100W Max, 5V⎓3A, 9V⎓3A, 12V⎓3A, 15V⎓3A, 20V⎓5A |
AC Output(×4): 120V~ 60Hz, 20A Max, AC Output(×1):120V~ 60Hz, 25A Maximum USB-A Output(x2): Quick Charge 3.0, 18W Maximum USB-C Output(x2): 100W Maximum, (5V, 9V, 12V, 15V, 20V up to 5A) |
|
Working Hours |
Caulk Gun (80W): 32.1H Drill (720W): 3.5H Jigsaw (300W): 8.5H Miter Saw (840W): 3H |
Caulk Gun (80W): 21.7H Drill (720W): 2.4H Jigsaw (300W): 5.7H Miter Saw (840W): 2H |
DIY Pergola FAQs
What size of solar generator do I need for pergola?
The size of a solar generator for a pergola will depend on how many appliances you'd like to charge simultaneously and for how long.
Let's take an example:
Suppose we are charging a ¼' drill (300W), the jigsaw (300W), and the miter saw (840W) with the Jackery Solar Generator 3000 Pro. Here's the mathematical formula to determine the working hours:
Running Time = Battery Capacity × 0.85 / Wattage Consumption of Appliances = 3024Wh × 0.85 / 1440W = 1.7H.
We have multiplied the battery capacity by 0.85 because there will be some power loss while charging power tools.
Is it cheaper to build your own pergola?
Yes, it's cheaper to build a DIY pergola, which costs between $1000 and $2500. However, a more customized design will increase the price.
|
Materials Needed |
Costs Per Square Foot |
|
Pine |
$20 - $40 |
|
Aluminum |
$10 - $30 |
|
Fiberglass |
$50 - $70 |
|
Teak |
$45 - $100 |
|
Redwood |
$40 - $50 |
|
Vinyl |
$10 - $30 |
|
Roof |
$10 - $90 |
|
Total |
$185 - $410 |
Can you build a pergola with 4×4 posts?
Yes, you can build a DIY pergola with 4x4 posts. It is ideal for a large outdoor area and makes good use of the space.
Is it easy to make your own pergola?
The difficulty level of building a pergola will depend on the plan you pick and your skill level. However, you can handle this project and build a beautiful structure with some essential tools, an easy DIY pergola plan, and some free time.
Final Thoughts
A desired DIY pergola means you have the highest quality shade for your backyard that'll remain safe for years to come. Make sure to check the pergola in a timely manner to keep it visually appealing. Before you start the process, keep all the necessary power tools, materials, and a power source handy. Jackery Solar Generators are robust and powerful charging solutions for various power tools required to construct a customized pergola.










![[Add - on] Jackery Manual Transfer Switch for Explorer 5000 Plus - Jackery](http://www.jackery.com/cdn/shop/files/add-on-jackery-manual-transfer-switch-for-explorer-5000-plus-9017324.png?v=1754016782&width=170)





























Leave a comment